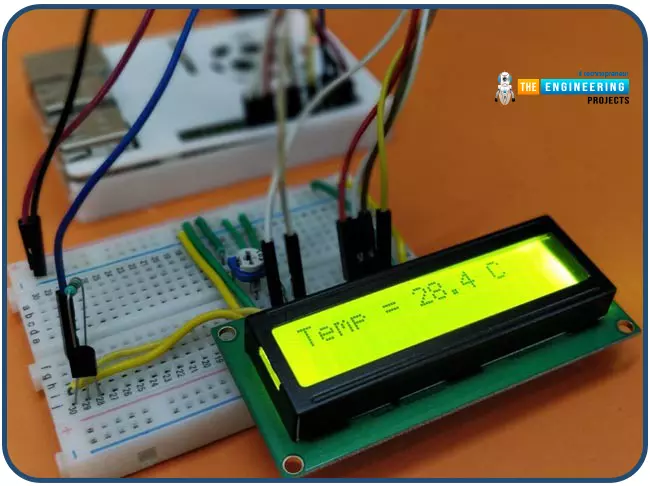
Hello friends, I hope you all are having fun. Today, we are going to share the 7th tutorial of Section-III in our Raspberry Pi Programming Course. In the last tutorial, we interfaced a DHT11 sensor with Raspberry Pi 4. Today, we are going to interface another temperature sensor i.e. DS18B20 with Raspberry Pi 4.
DS18B20 is a popular temperature sensor especially in severe/critical environments i.e. chemical plants, mines, industrial sites etc. because of its 1-wire operational technique and accurate readings up to 4 decimal digits.
Project Description
Today, we will interface a DS18B20 temperature sensor with Raspberry Pi 4 and will display the values on a 16x2 LCD.Let's have a look at the components required for this project:
Components ...
Welcome to today's article on our comprehensive Raspberry Pi 4 programming guide. As we saw in the previous article, the Raspberry Pi 4 may power a single seven-segment display. In addition, we also interfaced a Raspberry Pi with 4 Seven-Segment Display Modules to display the time. However, this guide will show you how to construct a Raspberry Pi 4 crypto miner that uses very little electricity.
Cryptocurrencies have been the subject of widespread conversation for some time now. It's possible to use your computer to create them, and they can be used as currency. Because of this, the Raspberry Pi can also be used for Bitcoin mining. It's also possible to mine other cryptocurrencies. One drawback of mining is that the cost of electricity often excee ...
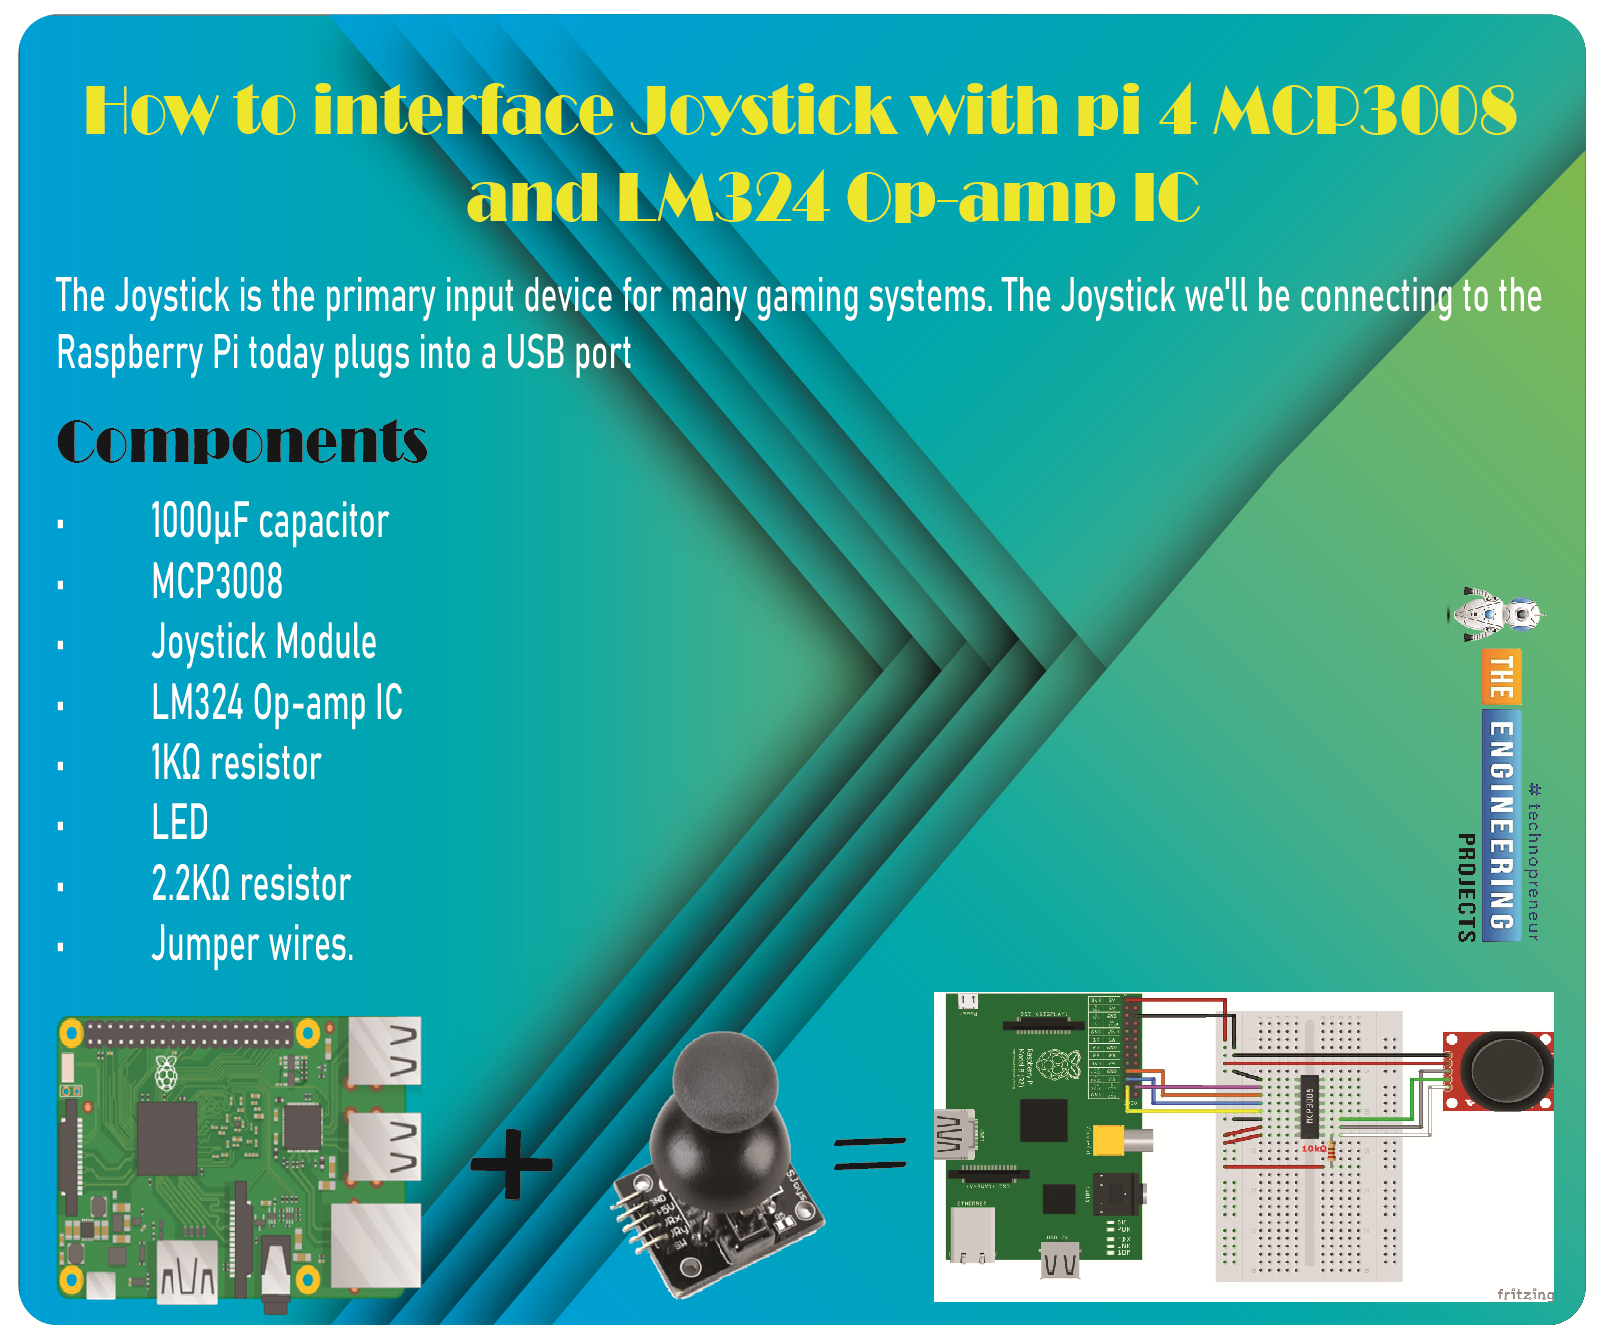
Greetings, and welcome to the next tutorial in our series on programming for the Raspberry Pi 4. The previous tutorial showed us how to connect a 4x4 keypad to a Raspberry Pi 4. In the previous tutorial, we examined the inner workings of the 4-by-4 keyboard; in this one, we'll use the MCP3008 and the LM324 Op-amp IC to connect a joystick to the Raspberry Pi 4. The Joystick is the primary input device for many gaming systems. The Joystick we'll be connecting to the Raspberry Pi today plugs into a USB port, but there are plenty of situations when having access to the Pi's GPIO pins would be useful. We'll review the steps for preparing the circuit for each interface technique and creating a corresponding python script.
So let’s dive in!
Components ...
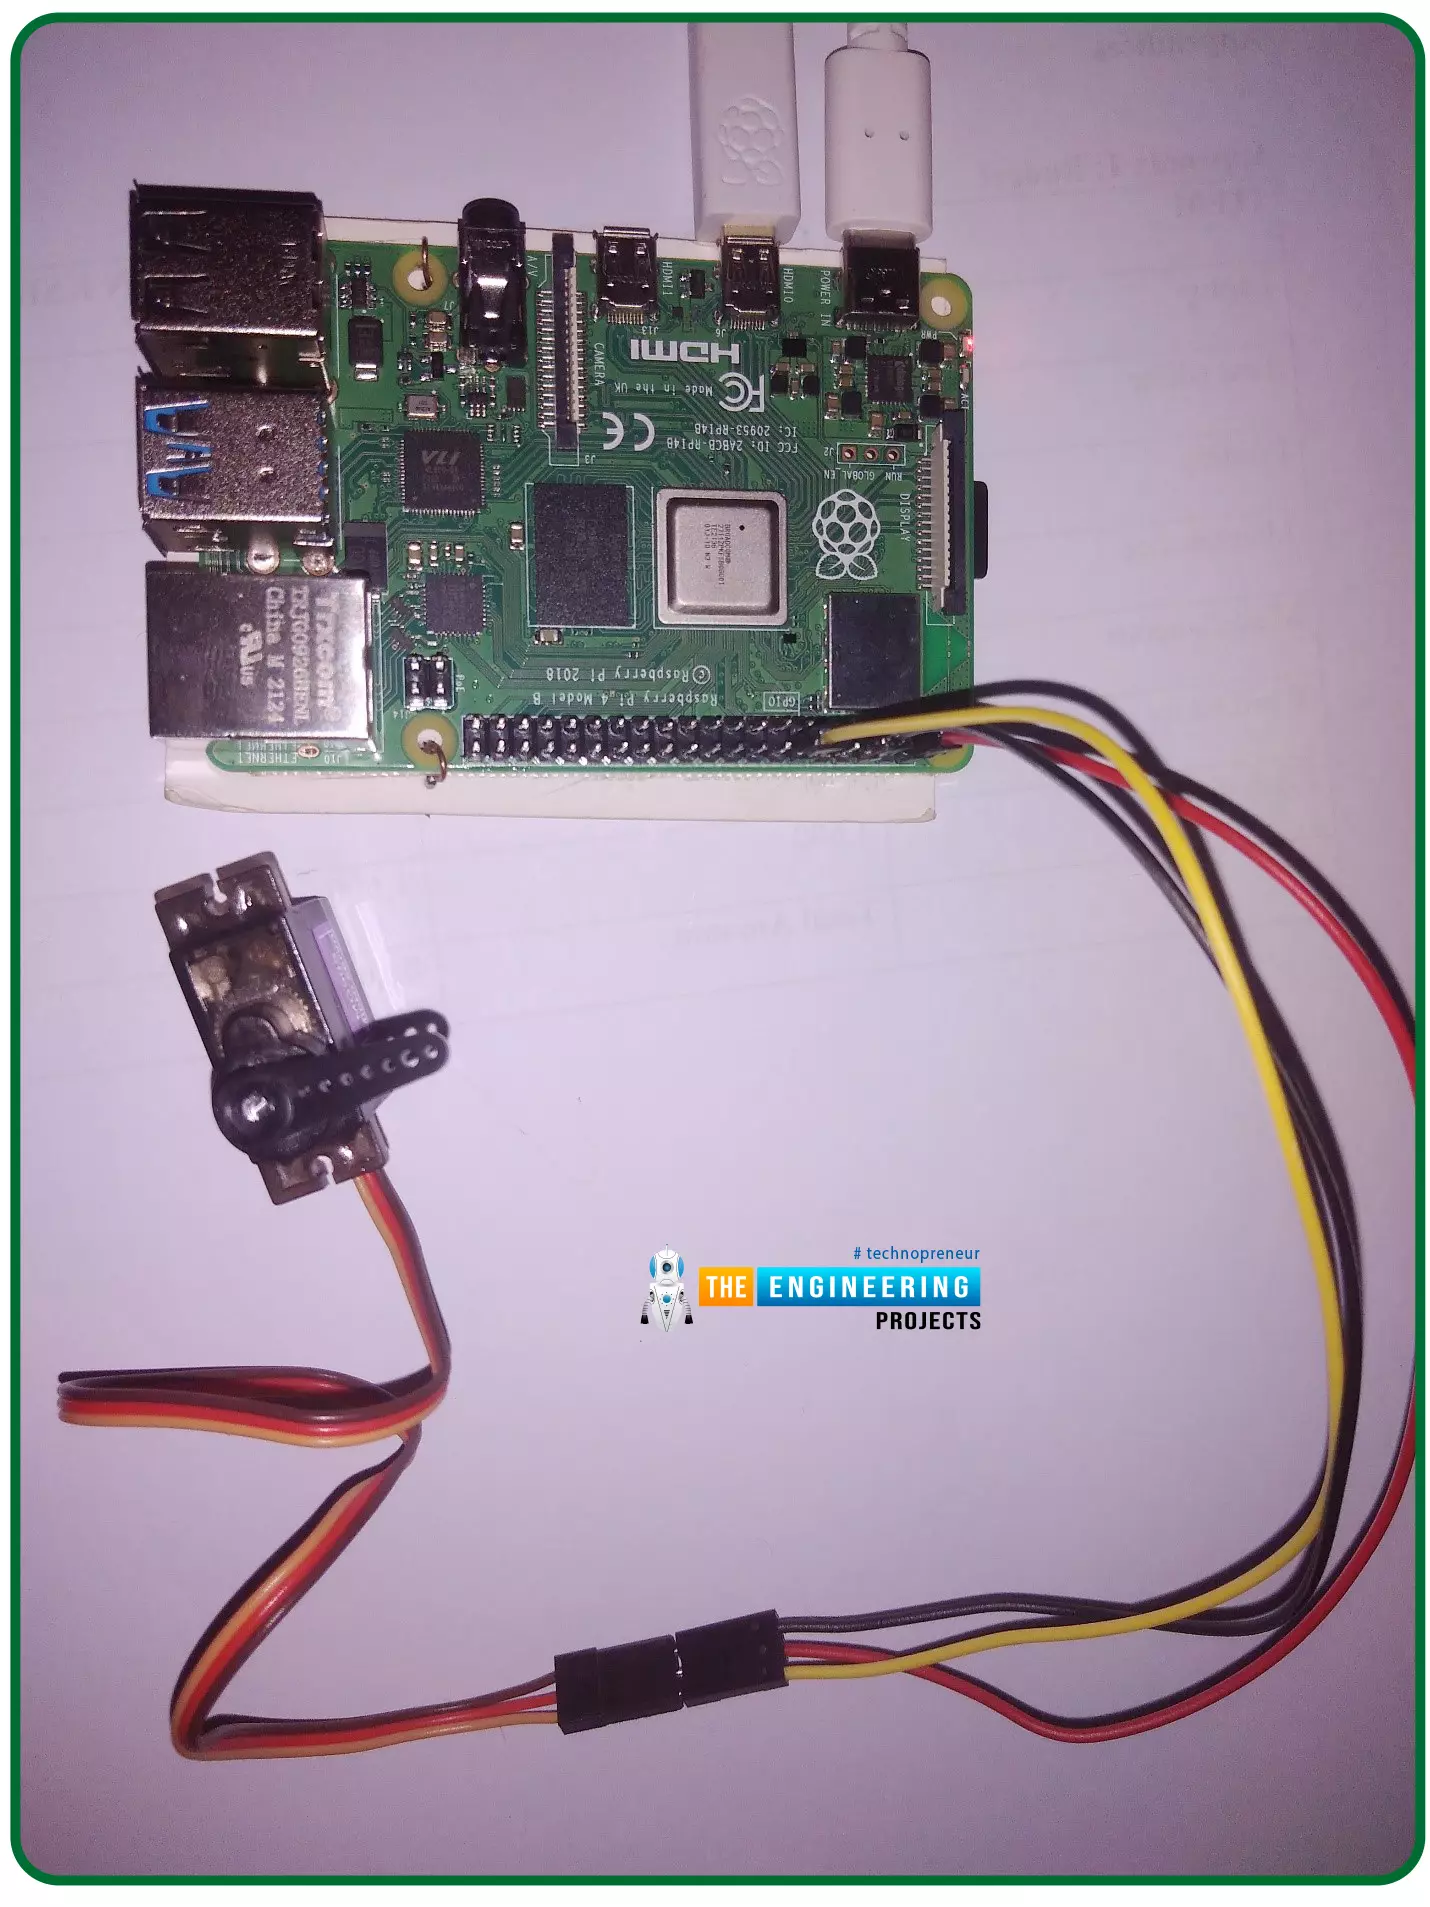
Hello friends, I hope you all are doing well. Welcome to the 11th tutorial of our Raspberry Pi programming course. In the previous chapter, we have seen how to regulate the speed of a Stepper motor with Raspberry Pi 4. Today, we'll work on the servo motor and will control it with RPi4. So, let's get started:
Components Required:We will need the following components to control Servo Motor with Raspberry Pi 4:
Raspberry Pi 4.
Servo Motor.
Male-to-female jumper wires.
What is a servo motor?
A Servo Motor is a simple DC motor with a position feedback Control System and a gearbox.A Servo Motor's primary advantage is its ability to maintain its shaft's angular position at any desired angle i.e. if we want to keep our shaft at 67 degre ...
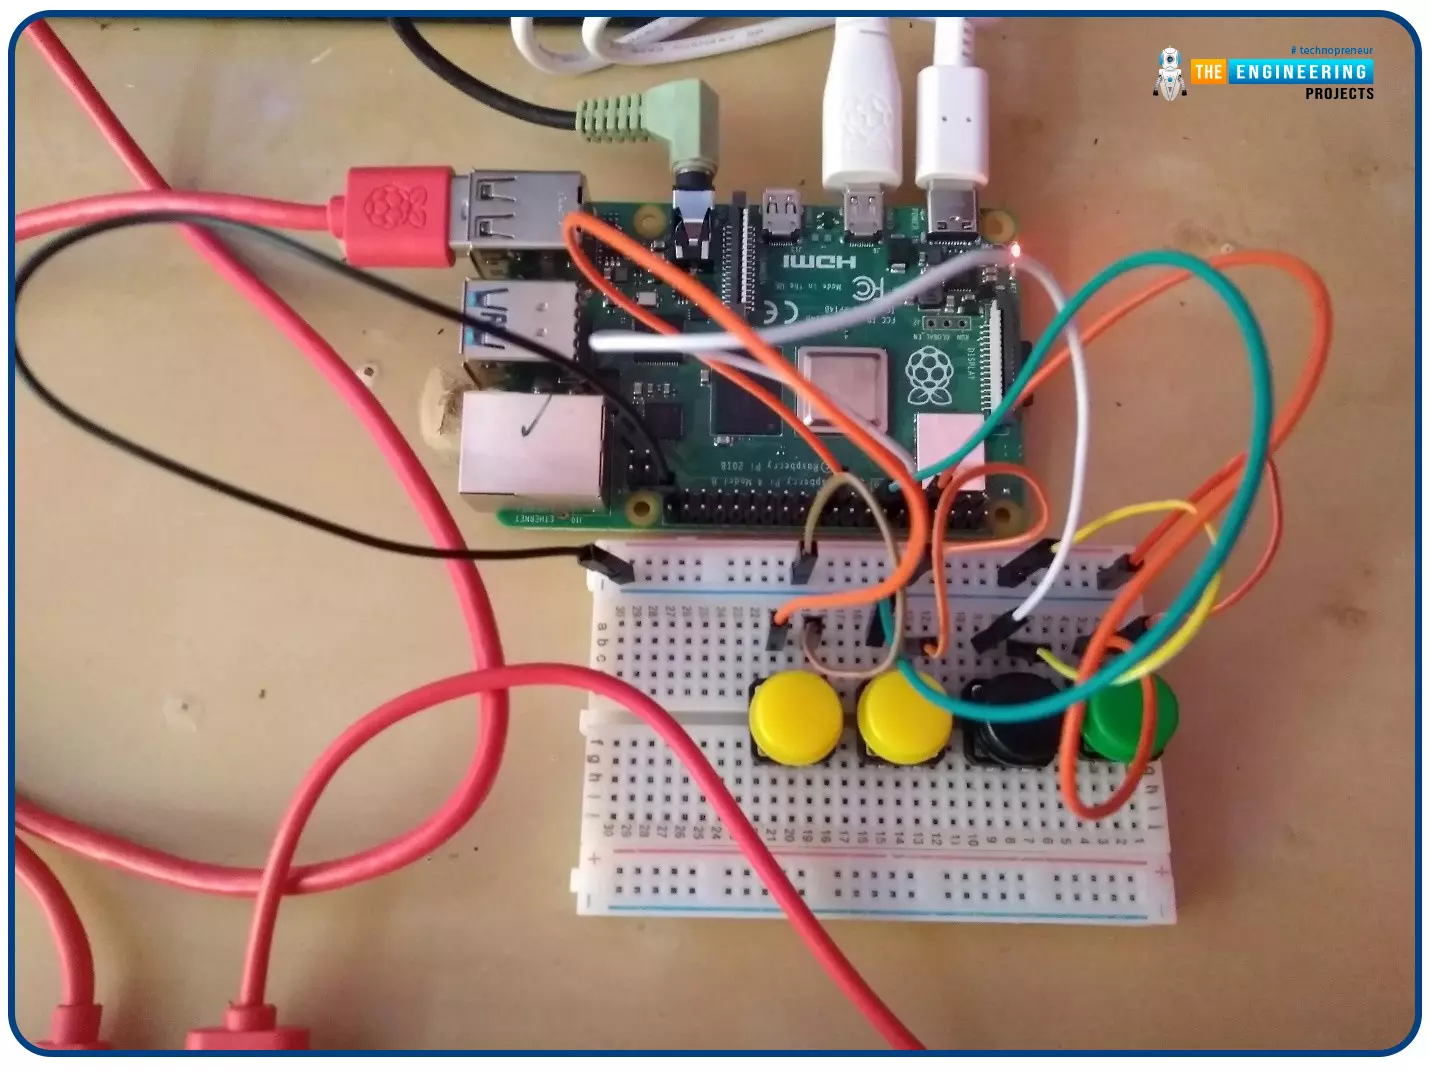
Welcome to the next tutorial of our Raspberry Pi programming course. In our previous tutorial, we learned how to create a timelapse video with still images and understand how phototimer and FFmpeg work. In this lesson, you'll make a button-controlled "music box" that plays different sounds depending on which buttons are pressed.
What you will learn
Connect button pushes to function calls using the Python gpiozero package and uses the Python dictionary data structure
Components
Raspberry Pi
Breadboard
Buttons
Jumper wires
Speaker
Set up your project
For this project, you'll need some audio samples. On Raspbian, there are many audio files; however, playing them with Python can be challenging. You can, however, transform the audio files ...
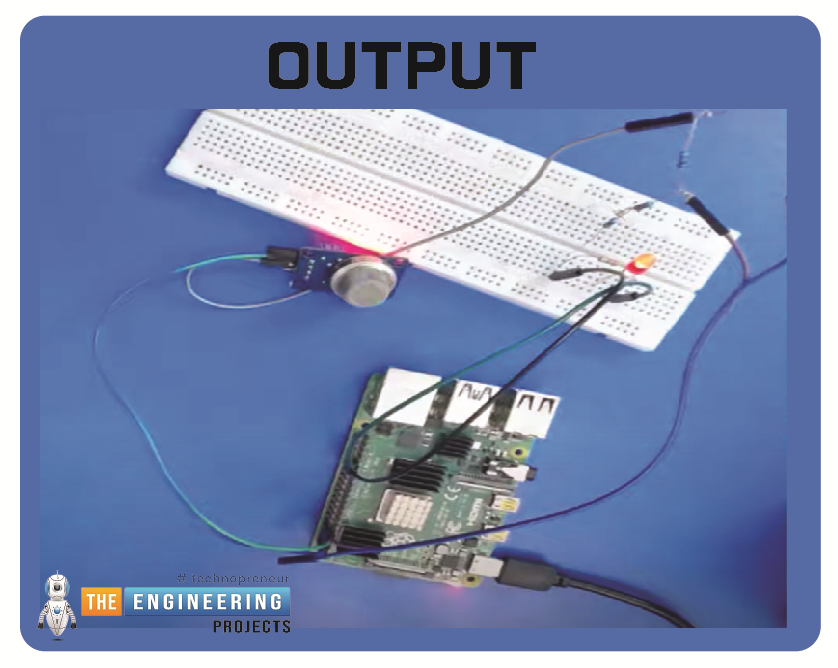
Hello friends, I hope you all are having fun. Today, I am going to share the 9th tutorial of Section-III in our Raspberry Pi 4 Programming Course. In the previous tutorial, we interfaced an air pressure sensor BMP180 with Raspberry Pi 4. In this tutorial, you'll learn how to interface an MQ-2 gas sensor with a Raspberry Pi 4. Many apartments, residences, and workplaces rely heavily on these gas sensors to detect smoke or gas and alert the appropriate personnel in an emergency. In addition to gas and smoke, this sensor is sensitive to various odorous gases.
Project DescriptionToday, we will interface a gas sensor MQ-2 with Raspberry Pi 4 and will display the values on Raspberry Pi Console Window.
Components Required
These are the components use ...
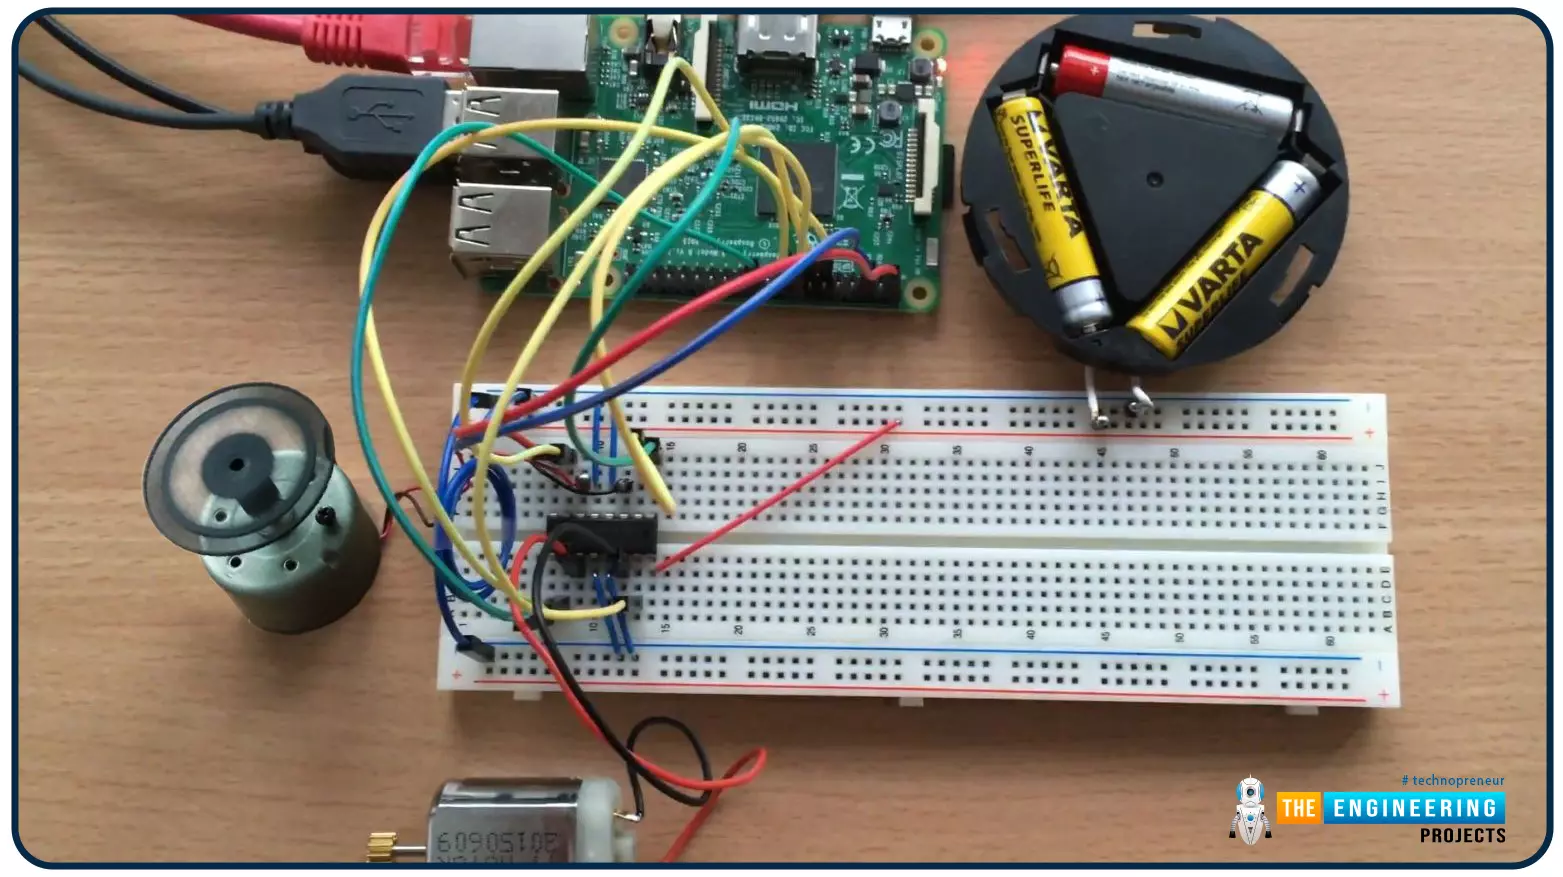
Hello friends, I hope you all are doing well. Welcome to the 9th tutorial of our Raspberry Pi programming course. In the last chapter, we generated a PWM signal from our Raspberry Pi to control the brightness of an LED. We also studied different functions used in Python to perform PWM. In this chapter, we'll get a bit advanced with PWM and use it to control the speed and direction of a DC motor with the help of a motor driver IC.
To control the speed & direction of the DC Motor, we will:
Design a Circuit Diagram.Write Python code.
Components RequiredWe will use the following components to control the DC motor speed:
Raspberry Pi 4.DC Motor.Motor driver IC(L293D).Breadboard.
Jumper wires.
Controlling DC Motor speed wi ...
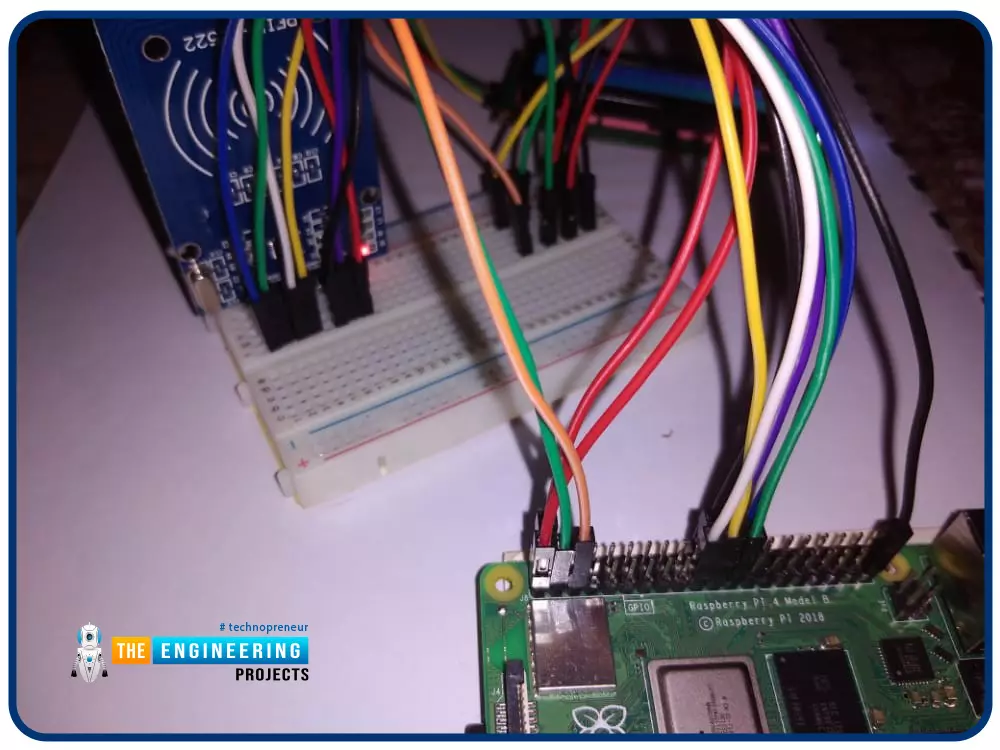
Greetings! This is the complete project of our Raspberry Pi 4 tutorials. In our previous tutorial, we learned to set up our raspberry pi as a virtual private network server. In this tutorial, we will design a smart attendance system using an RFID card reader, which we will use to sign in students in attendance in a class.
First, we will design a database for our website, then we will design the RFID circuit for scanning the student cards and displaying present students on the webpage, and finally, we will design the website that we will use to display the attendees of a class.
Components
RFID card kit
Breadboard
Jumper wires
Raspberry pi 4
I2C LCD screen
Design a database in MySQL server
Additionally, the Database server offers a DBMS ...
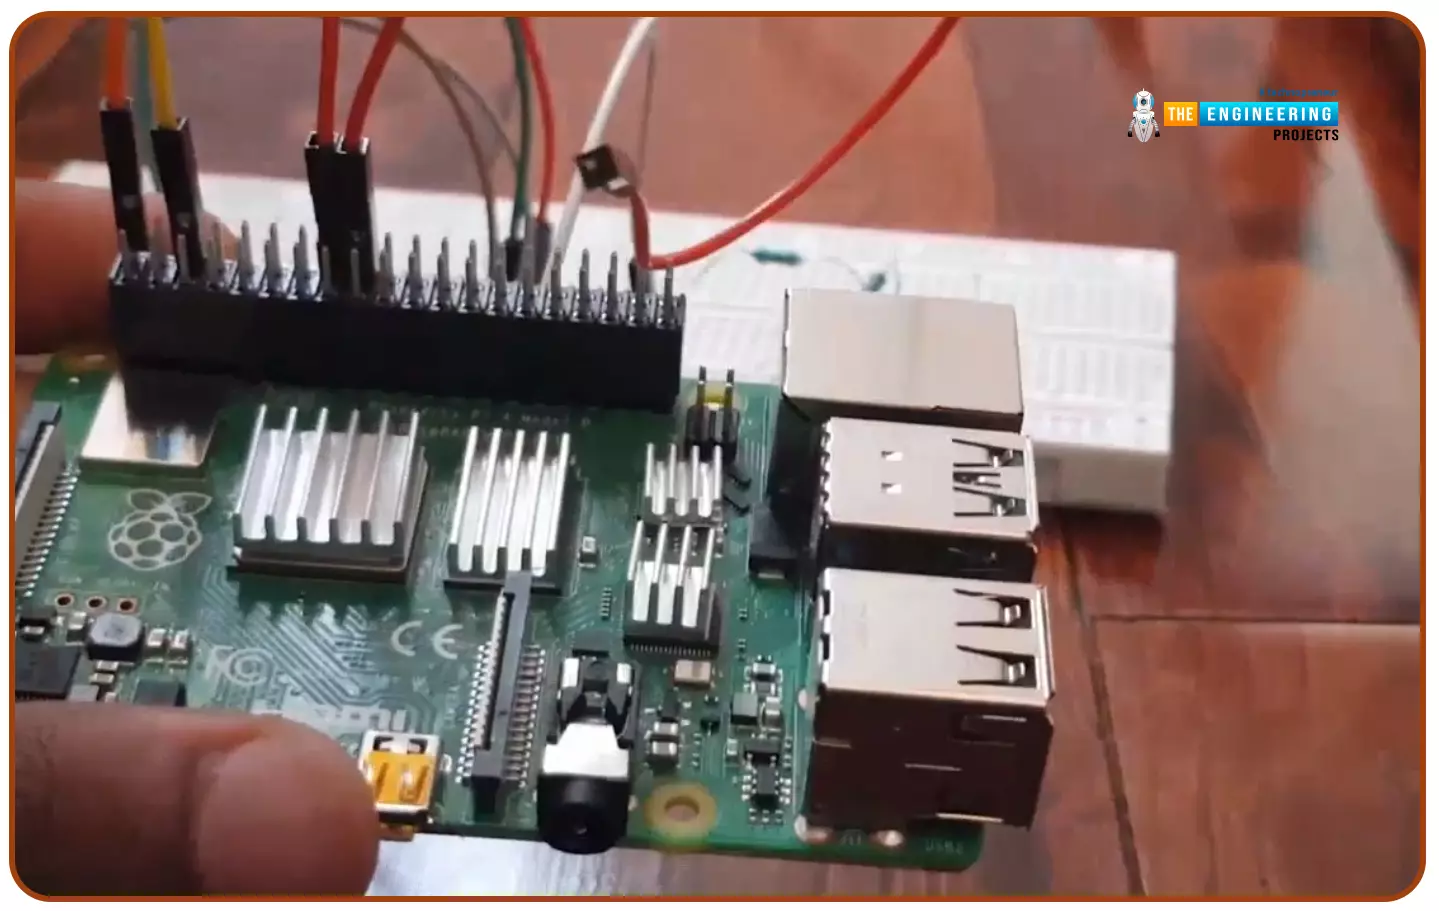
We're glad you could join us for another lesson in our comprehensive Raspberry Pi programming guide. I will show you how to install and connect the RFID card chip to your Raspberry Pi through step-by-step instructions.
Modern security systems would only be complete using radio frequency (RFID) devices. To control who can enter a facility or which rooms they can access, RFID chips and card readers are employed. The RFID card's unique identification number can be read wirelessly with a wall-mounted RFID reader. A door will only unlock and allow entry if the RFID card's unique identification number matches a list of approved cards.
It's fun to tinker with this circuit, and it may be used in many other applications, from opening locks to taking a ...
Hello friends, I hope you all are doing well. Today, I am going to share the 5th tutorial of Section-III in our Raspberry Pi Programming Course. In our previous tutorial, we have seen the interfacing of a PIR Sensor with Raspberry Pi 4. In today's tutorial, we will interface an Ultrasonic sensor with Raspberry Pi and will use Python to perform its calculations. So, let's get started:
Components:Here's the list of components, we are going to use in today's project:
Raspberry Pi 4
Ultrasonic sensor
Male-to-female jumper wires
Breadboard1k ohm resistor
2k ohm resistor
What are Ultrasonic Sensors?
An Ultrasonic Sensor consists of a transmitter and a receiver, the transmitter emits the ultrasonic wave, which after hitting some ob ...