We learned in the previous tutorial how to connect a joystick to a Raspberry Pi 4 using an mcp3008 and an op-amp IC, the LM324A. For each of the interface methods we studied, we created a python script allowing us to interact with the circuit. This tutorial will show you how to connect a 4-channel relay module with a Raspberry Pi to carry out switching.
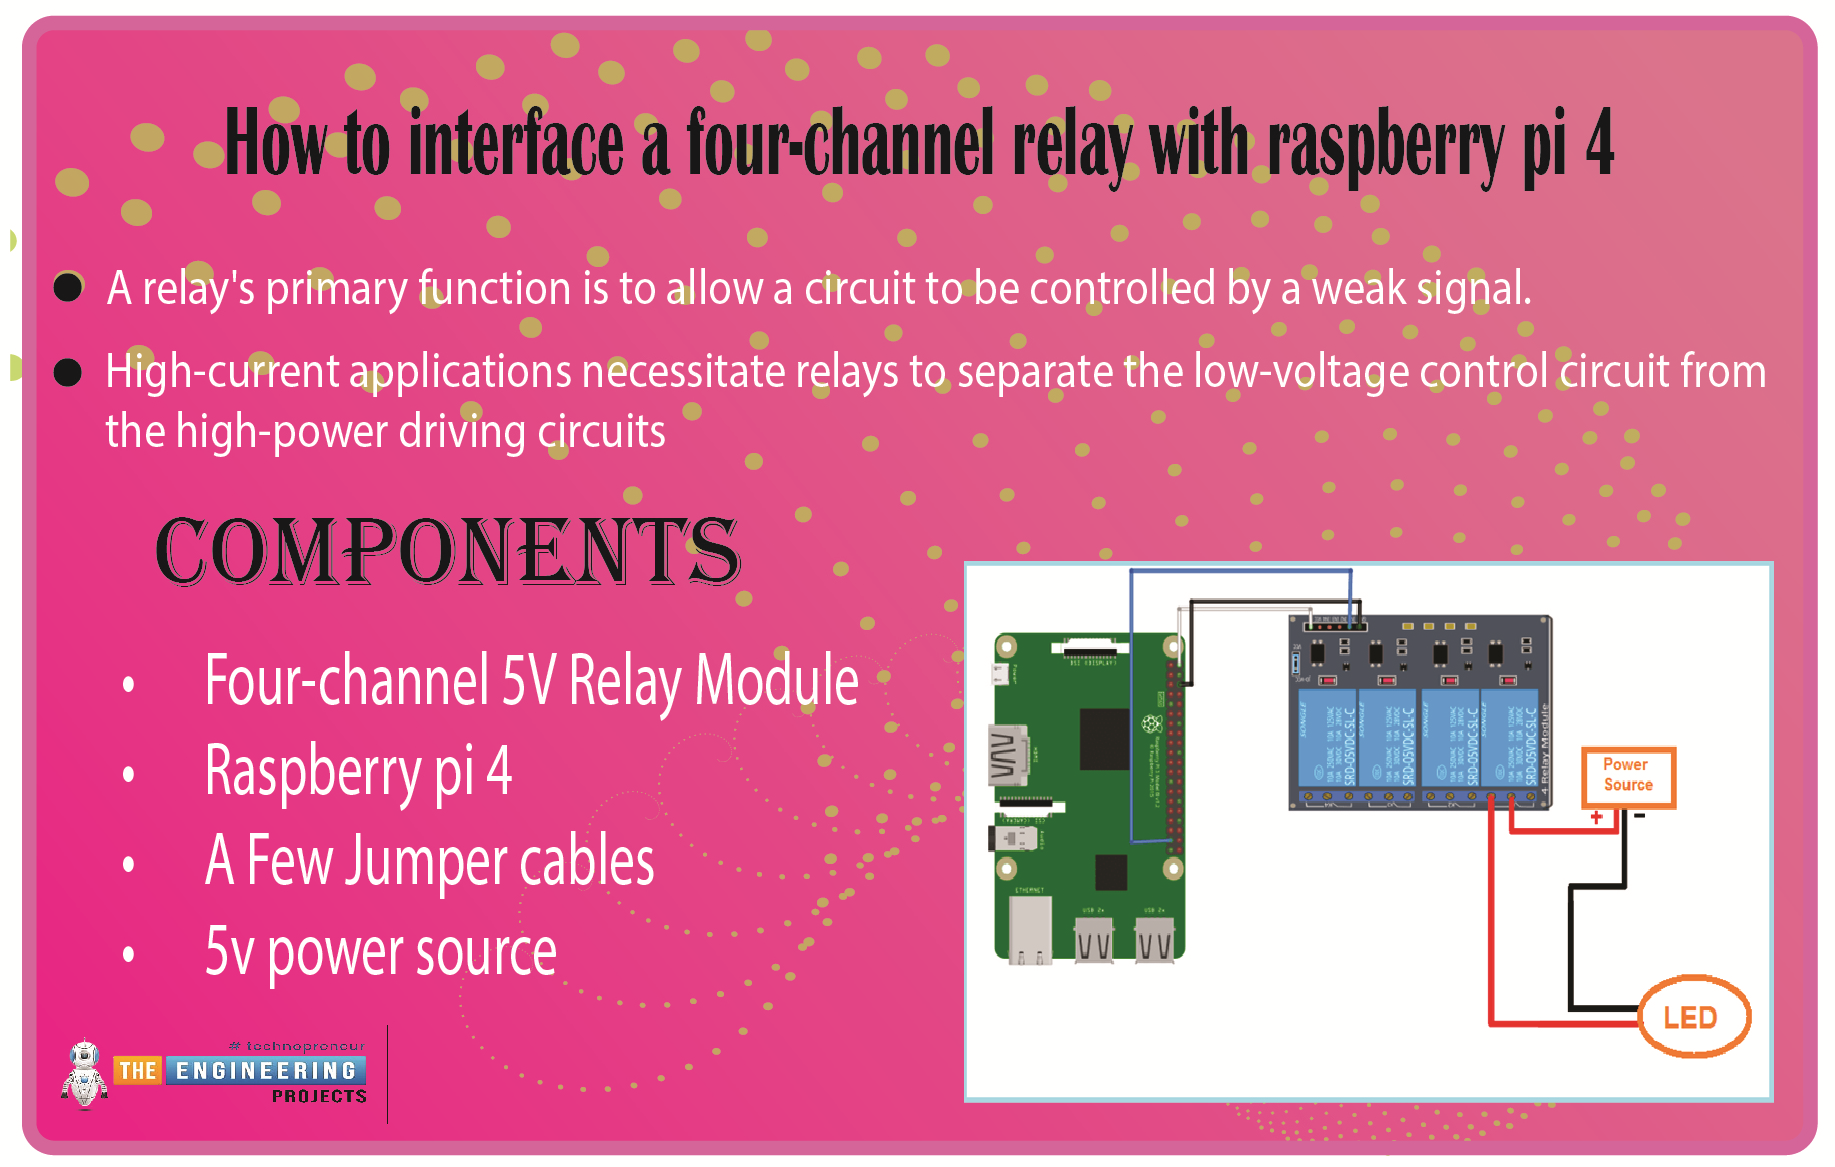
A relay's primary function is to allow a circuit to be controlled by a weak signal. High-current applications necessitate relays to separate the low-voltage control circuit from the high-power driving circuits. Because of this, understanding it is crucial for those interested in industrial or household automation.
If you've been tinkering with a raspberry pi for a while, consider the various ways ...
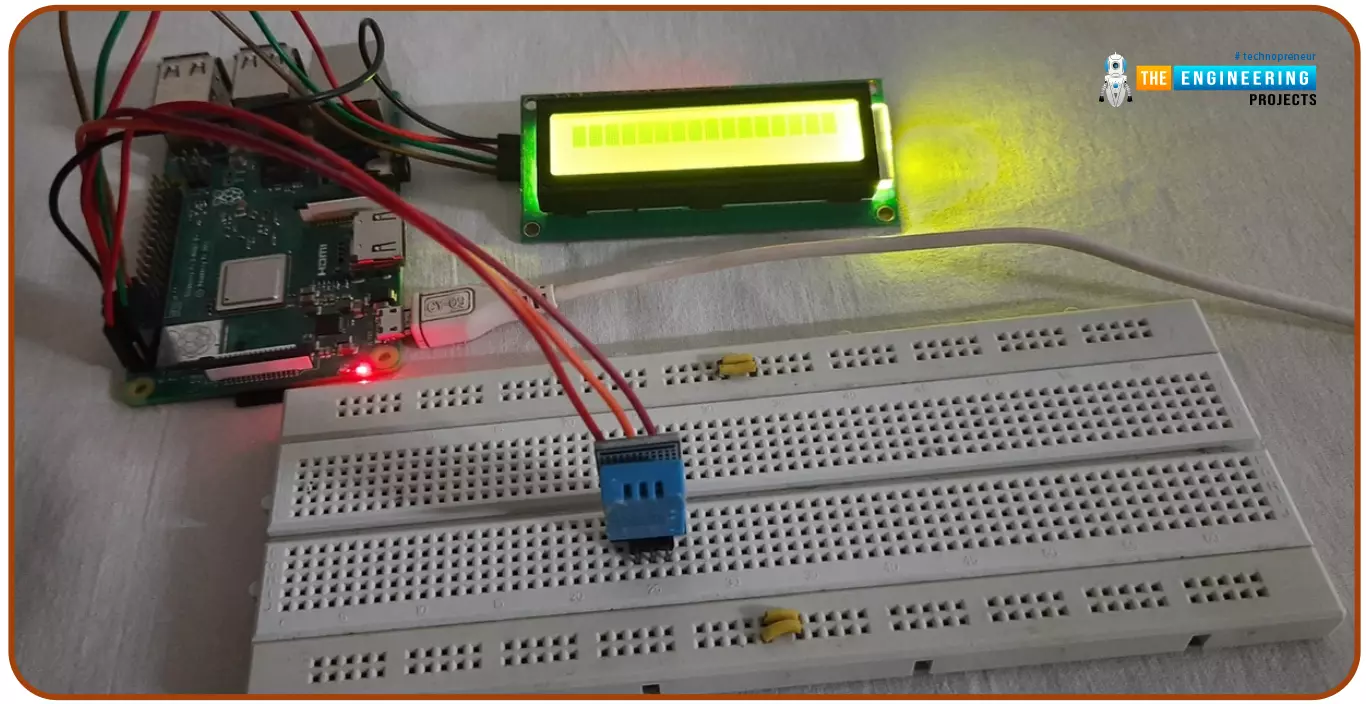
Hello friends, I hope you all are doing great. Today, I am going to share the 6th tutorial of Section-III in the Raspberry Pi Programming Course. In our previous tutorial, we have seen how to interface an Ultrasonic Sensor with Raspberry Pi 4 and used Python to perform its calculations. In today's tutorial, we'll discuss how to interface a DHT11 temperature and humidity sensor to a Raspberry Pi. So, let's get started:
ComponentsHere's the list of components, we are going to use in today's circuit:
LCD display
DHT11 sensor
Raspberry pi
Breadboard
Male-to-female jumper wires
What is a DHT11 sensor?
DHT11 is a low-cost digital sensor, used to measure temperature and humidity in the surr ...
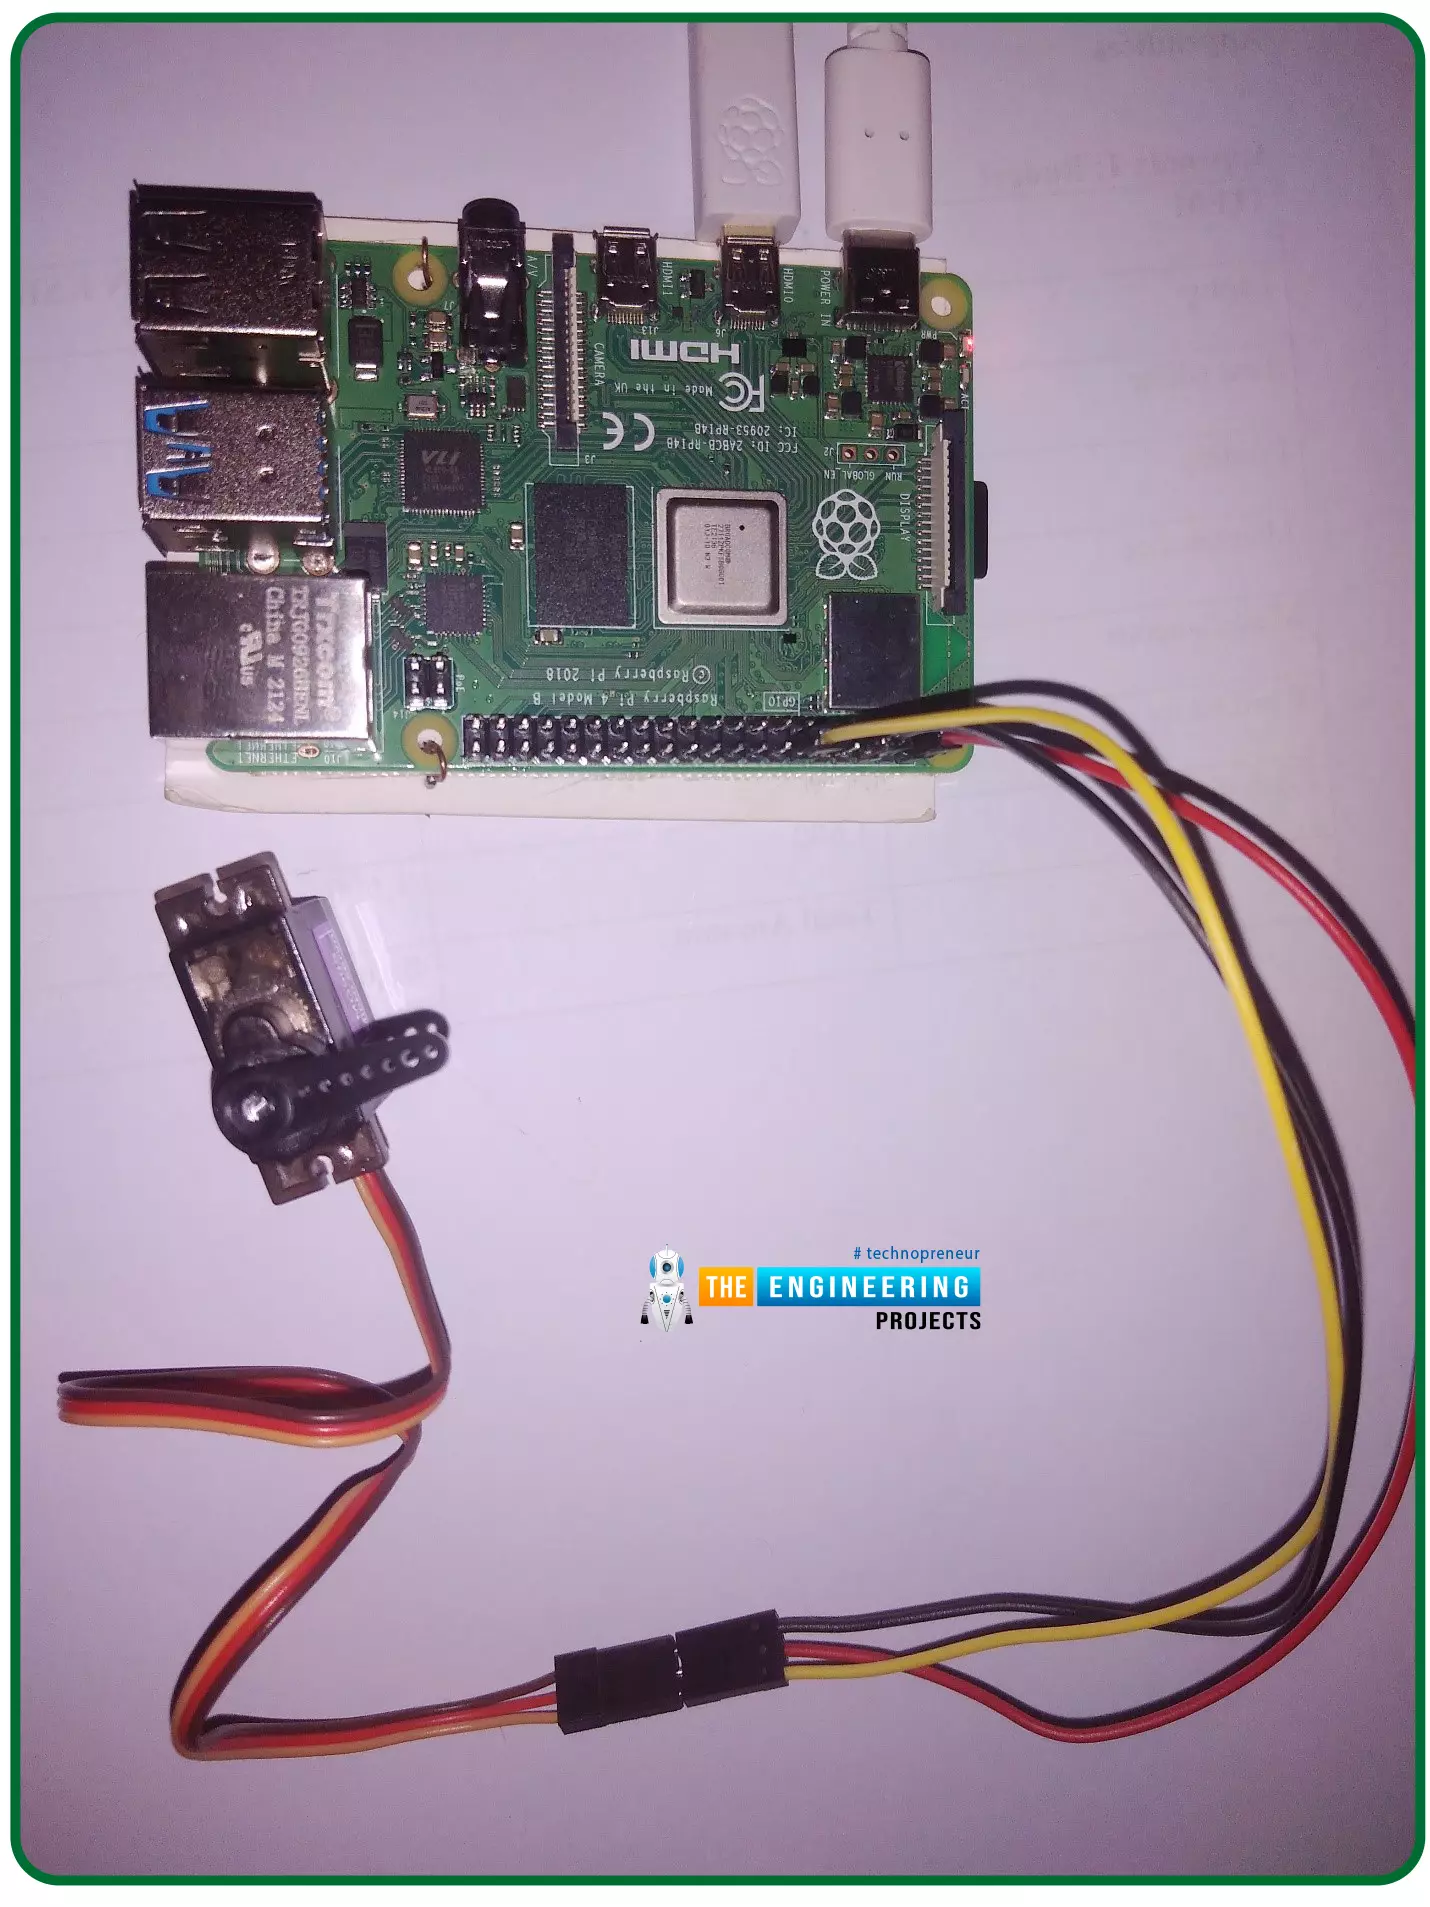
Hello friends, I hope you all are doing well. Welcome to the 11th tutorial of our Raspberry Pi programming course. In the previous chapter, we have seen how to regulate the speed of a Stepper motor with Raspberry Pi 4. Today, we'll work on the servo motor and will control it with RPi4. So, let's get started:
Components Required:We will need the following components to control Servo Motor with Raspberry Pi 4:
Raspberry Pi 4.
Servo Motor.
Male-to-female jumper wires.
What is a servo motor?
A Servo Motor is a simple DC motor with a position feedback Control System and a gearbox.A Servo Motor's primary advantage is its ability to maintain its shaft's angular position at any desired angle i.e. if we want to keep our shaft at 67 degre ...
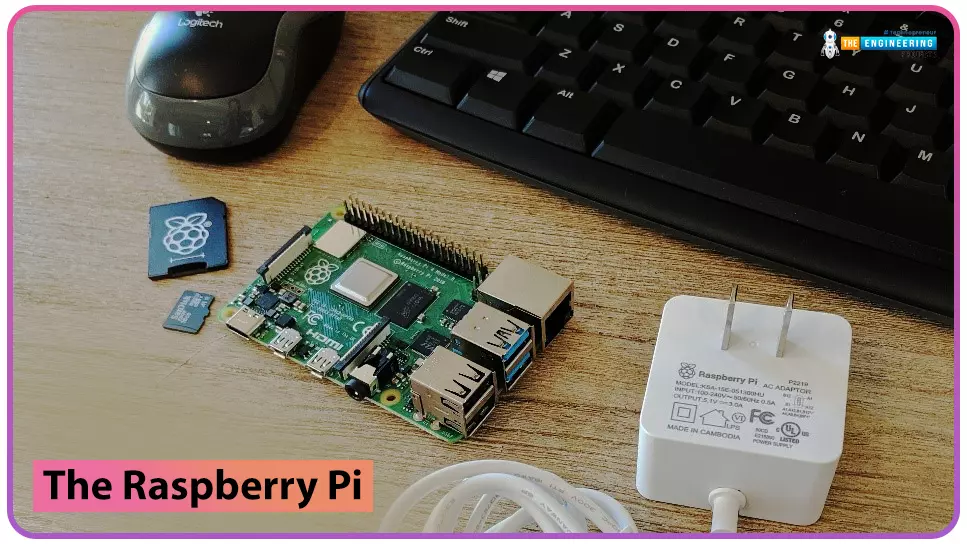
to our new beginner’s course on Raspberry Pi. This course is appropriate for anyone using either a traditional Raspberry Pi board or the new Raspberry Pi 400 board that includes an integrated keyboard and display. Learning how to code, building robots, and doing plenty of other strange and exciting things are all possible with this low-cost computer setup. The Raspberry Pi can do everything a computer can do, from surfing the web to viewing movies and music, and playing video games.
Raspberry Pi is much more than a modern computer. It`s created to educate young people on how to program in languages such as Scratch and Python, and it comes with all of the major programming languages pre-installed. The world is in desperate need of programmers now ...
Welcome to the next tutorial of our raspberry pi 4 programming course. The last guide covered connecting a Sharp infrared distance measurement sensor to a Raspberry Pi 4. Infrared (IR) sensors were demonstrated to be widely used for nearby object recognition and motion tracking. But in this session, we'll utilize Raspberry Pi 4 to create a radio-frequency (RF) remote control that can be used to operate the gadgets wirelessly. With the help of this RF remote control, we can Power On/Off the devices.
Components
Transmitter Side
RF Transmitter
HT12E IC
4 Push Buttons
750k resistor
9 Volt battery
Receiver Side
Raspberry Pi
16x2 LCD
10K POT
Breadboard
1K Resistor (Five)
33K resistor
HT12D IC
RF Receiver
LEDs (Five)
4 10K resistor
Jumper wires
RF Module
This ...
Introduction
Welcome to the next tutorial in our raspberry pi programming. In the previous tutorial, we learned how we could run Xbox cloud on our pi 4. We found that we can run any game easily without lag or having raspberry pi shut down, proving that pi 4 is quite a powerful minicomputer. However, this tutorial will demonstrate how to use Python on raspberry to monitor websites. This Python program will execute on Pi 4 and watch over a website, alerting you whenever it changes or goes down. This is accomplished by keeping a straightforward webpage duplicate locally and monitoring for updates. This webpage monitor is straightforward, so it should work well on pi Zero. Throughout this tutorial, we will demonstrate how to develop your custom code to monitor a webpage. With this information ...
Hello everyone, I hope you all are doing great. Today, we are going to share the second chapter of Section-III in our Raspberry Pi programming course. The previous guide covered how to interface an LDR Sensor with Raspberry Pi 4. This tutorial will cover the basics of hooking up a soil humidity sensor to a Raspberry Pi 4 to get accurate readings. Next, we'll write a Python script to collect the data from the sensors and display it on a Serial monitor.
Are you aware that you can utilize a Raspberry Pi 4 to track the water absorbed by the soil around your houseplants or garden? This helpful guide will show you how to install a soil humidity sensor that will send you a text message when your plant needs watering. A Pi 4, a soil humidity sensor, and a few low-priced components are required. A ...
Hello friends, I hope you all are going great. Today, I am going to share the 10th tutorial of Section-III in our Raspberry Pi Programming Course. In our previous tutorial, we interfaced a Gas Sensor MQ-2 with Raspberry Pi 4. Today, we will be interfacing a Fingerprint Sensor with Raspberry Pi today.
After appearing only in science fiction films until recently, fingerprint sensors are often employed to confirm an individual's identity in various contexts. Today, fingerprint-based systems are used for everything from checking in at the office to verifying an employee's identity at the bank, withdrawing cash from an ATM, and proving one's identity at a government agency. For identifying purposes, fingerprint-detecting technology has been used for so ...
Thank you for joining us for yet another session of this series on Raspberry Pi programming. In the preceding tutorial, we created a pi-hole ad blocker for our home network using raspberry pi 4. We also learned how to install pi-hole on raspberry pi four and how to access it in any way with other devices. This tutorial will implement a speech recognition system using raspberry pi and use it in our project. First, we will learn the fundamentals of speech recognition, and then we will build a game that uses the user's voice to play it and discover how it all works with a speech recognition package.
Here, you'll learn:
The basics of voice recognition
On PyPI, what packages may be found?
Utilize the SpeechRecognition package with a wide range ...
Introduction
Thank you for joining us for yet another session of this series on Raspberry Pi programming. In the preceding tutorial, we implemented a speech recognition system using raspberry pi and used it in our game project. We also learned the fundamentals of speech recognition and later built a game that used the user's voice to play. However, this tutorial will integrate a real-time clock with our raspberry pi four and use it to build a digital clock. First, we will learn the fundamentals of the RTC module and how it works, then we will build a digital clock in python3. With the help of a library, we'll demonstrate how to integrate an RTC DS3231 chip with Pi 4 to keep time.
Real-Time Clocks: What Are They?
RTCs are clock units, as the name ...