The Internet of Things ( or IoT) is a network of interconnected computing devices such as digital machines, automobiles with built-in sensors, or humans with unique identifiers and the ability to communicate data over a network without human intervention.
Hello readers, I hope you all are doing great. In this tutorial, we will learn how to send sensor readings from ESP32 to the ThingSpeak cloud. Here we will use the ESP32’s internal sensor like hall-effect sensor and temperature sensor to observe the data and then will share that data cloud.
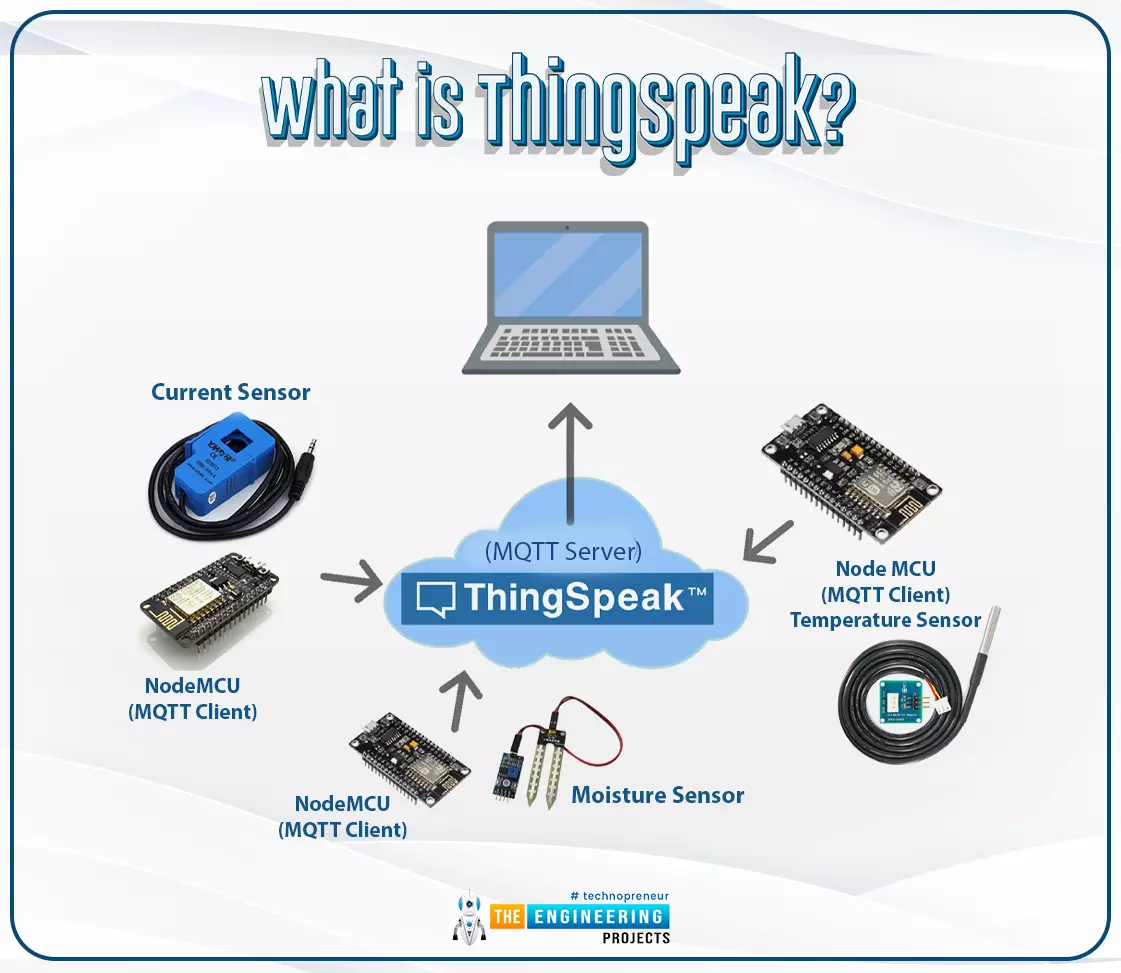
What is ThingSpeak?
Fig. 1: ESP32 ThingSpeak
It is an open data platform for IoT (Internet of Things). ThingSpeak is a web service operated by MathWorks where we can send sensor readings/data to the cloud. We ...
Hello readers, hope you all are doing great. In this tutorial, we are going to discuss a mechanism that allows users to update the ESP32 with a new program wirelessly or over the air (without using a USB cable to upload a new program).
Over-The-Air (OTA) programming
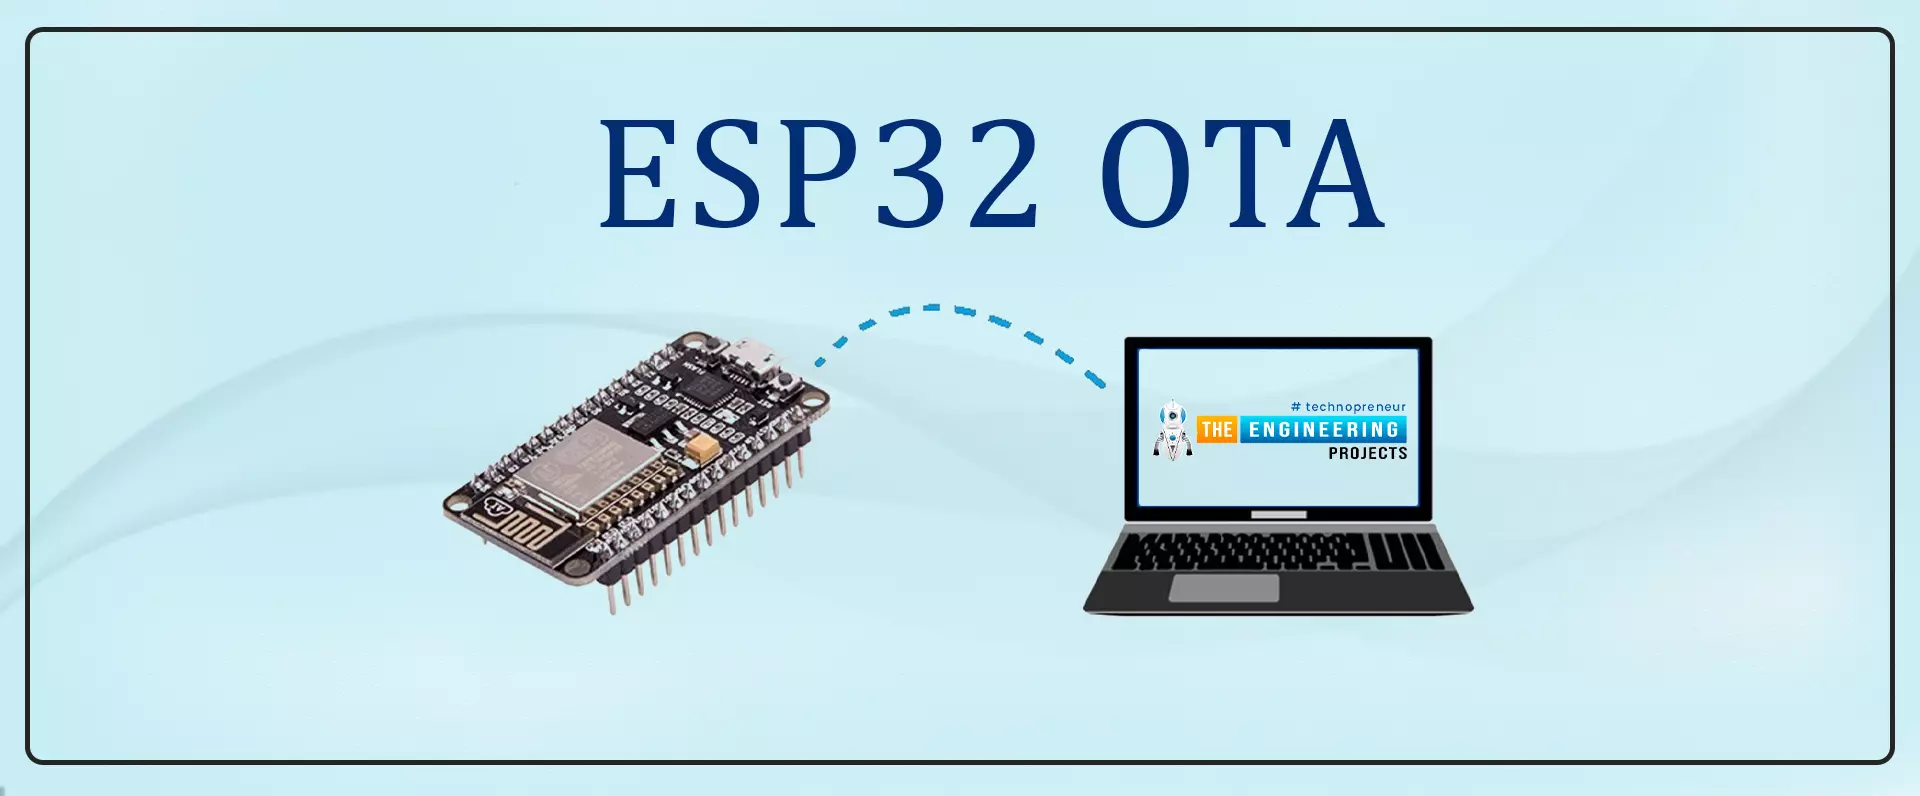
Fig. 1 ESP32 OTA
OTA programming is the mean by which a product manufacturer or product service provider can update the features or functionality of the device wirelessly or over the air, after the device has been deployed in the field where connecting a cable or uploading the code serially is difficult.
One key advantage of OTA is that a single central node can send an update to multiple ESPs on the same network.
The device must have a provisioning client capable of receivin ...
Hello readers, hope you all are doing great. This is our 3rd tutorial in the ESP32 programming series. In our previous tutorial, we discussed the ESP32 Web server, where we created the ESP32 web server in STA mode.
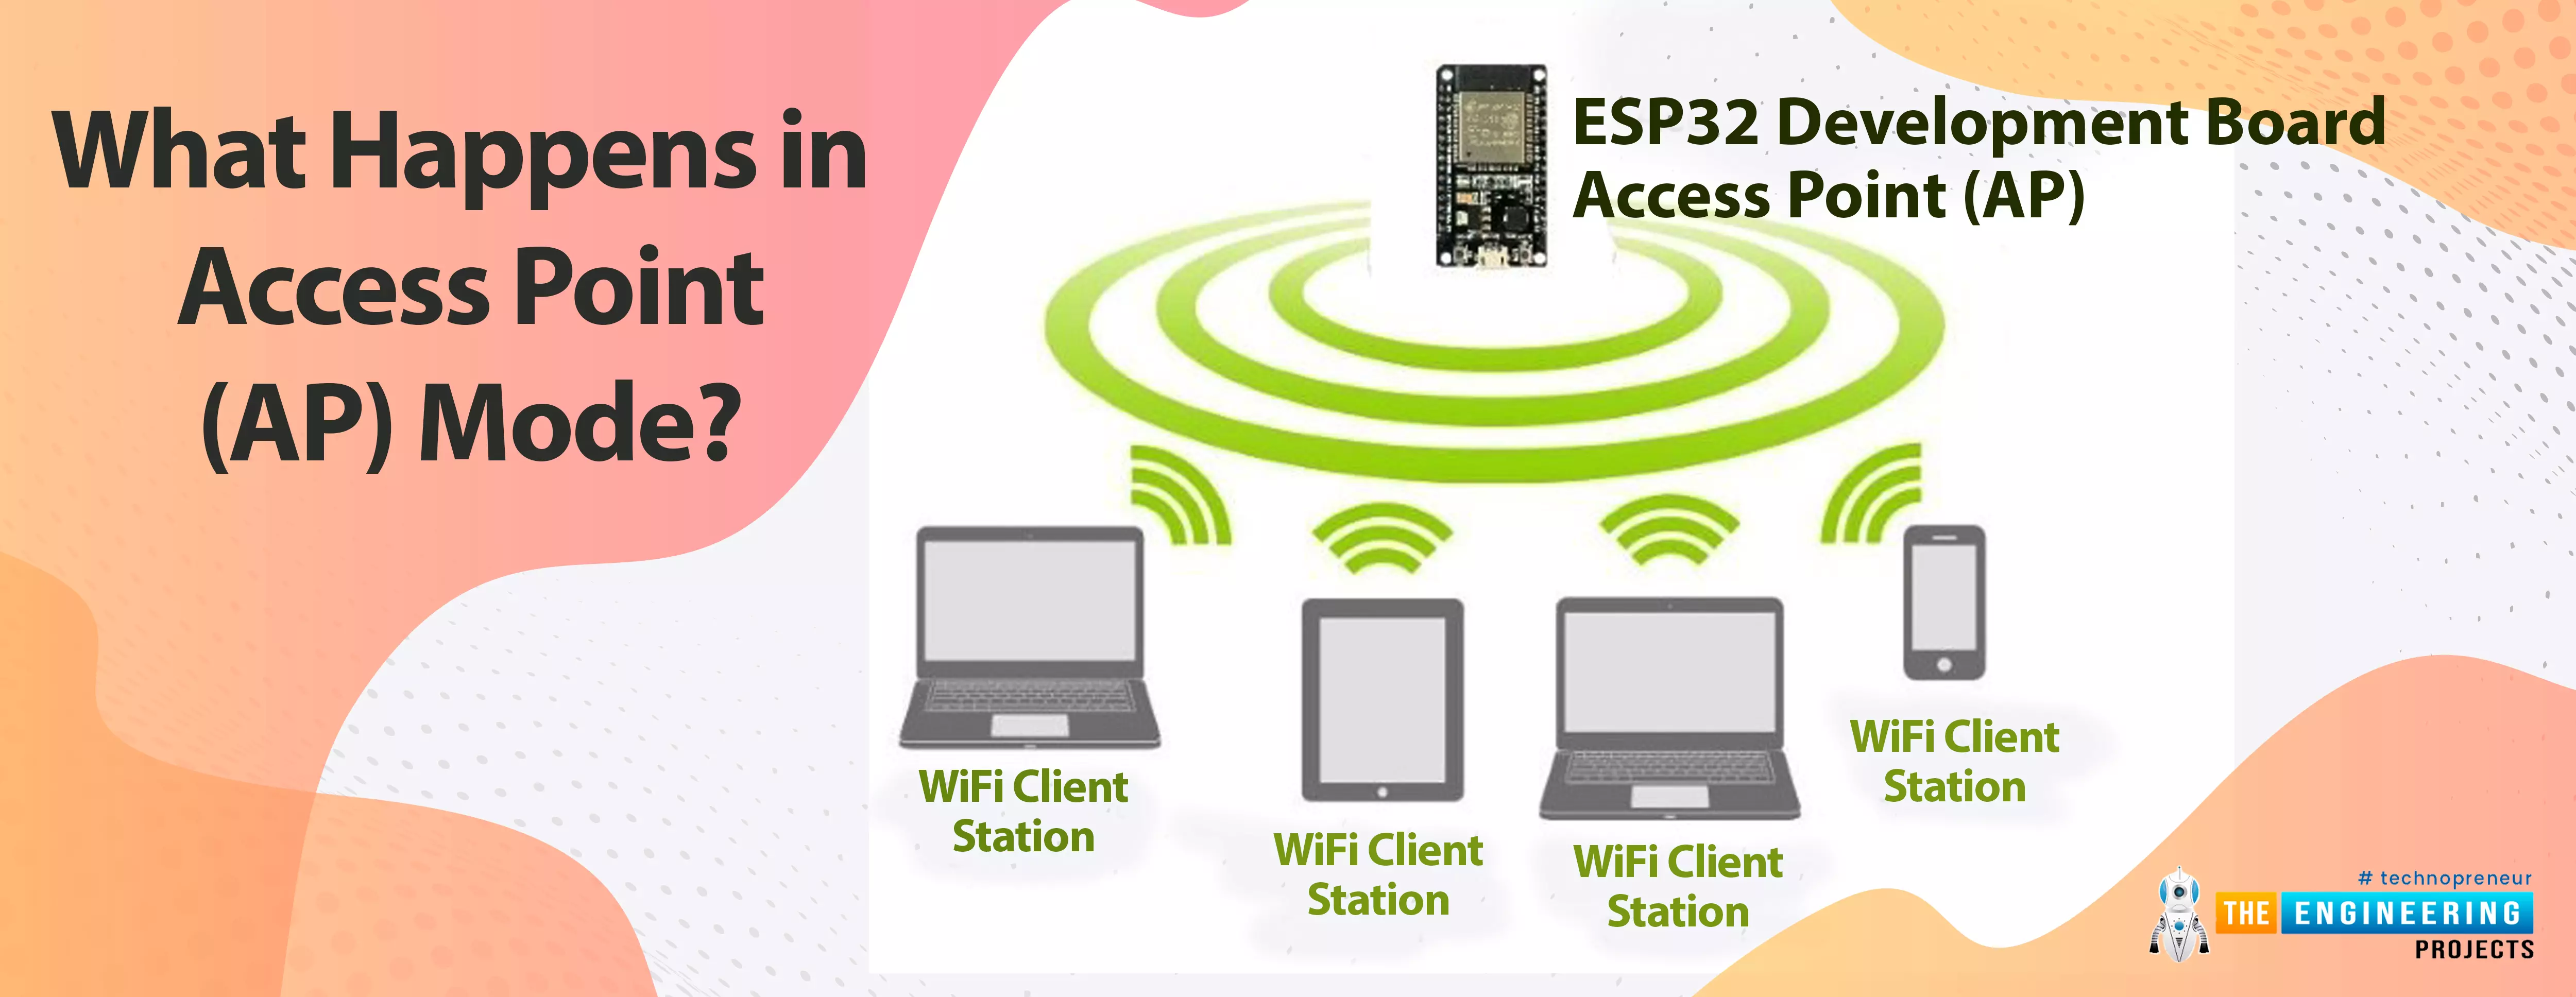
ESP32 can be operated as an access point (AP) or a Wi-Fi station (STA mode). So, in this tutorial, we will create an ESP32 web server in access point (AP) mode. Here's the video demonstration of ESP32 WebServer in Access Point Mode:
As I mentioned above, in our 2nd tutorial, we already discussed the basics of the ESP32 web server. So, in this tutorial, we will only discuss how to create the ESP32 in access point mode.
For detailed information about the basics of the ESP32 web server and how client-server communication takes place, fol ...
We are familiar with multiple features of the ESP32 module. Like Wi-Fi capabilities, classic Bluetooth, Bluetooth low energy (BLE), inbuilt sensors etc.
Hello readers, I hope you all are doing great. We have already mentioned in our previous tutorials that, ESP32 is also featured with a Dual-Core Processor. Which provides better performance and efficiency.
In this tutorial, we will learn how to use ESP32’s dual cores. ESP32 has two (32-bit each) Tensilica Xtensa LX6 microprocessors namely, core0 and core1 which makes it a powerful dual-core microcontroller and hence stands apart from its predecessors.
When we compile and upload a code using Arduino IDE, we do not have to worry about which core executes the code. It just runs.
Fig. 1 ESP32 dual-co ...
Hello readers, I hope you all are doing great. Today, we are going to start the second section of the ESP32 tutorial series and today's our first tutorial, where we will have a look at How to Create a Web Server with ESP32. In our previous tutorial, we introduced you to the basics of the ESP32 microcontroller. where we discuss How to set up Arduino IDE to program ESP32. In this tutorial, we will discuss creating a web server using the ESP32 module.One of the most interesting features of the ESP microcontroller series is its wireless connectivity via WiFi & Bluetooth. Wireless connectivity protocols supported by ESP32 are:
Wi-fi: 802.11b/g/n/e/i
Bluetooth : BLE(Bluetooth low energy) and V4.2
What is a Web server?
A web server is software or hardware that stores, processe ...
Hello readers, I hope you are all doing great. Welcome to the 2nd lecture of Section 5(ESP32 Sensors) in the ESP32 Programming Series. In the previous tutorial, we discussed the built-in ESP32 Hall Effect Sensor. In this tutorial, we will discuss another inbuilt sensor of the ESP32 i.e. Capacitive Touch Sensor.
ESP32 Board has 10 built-in capacitive touch pins, which generate an electrical signal when someone touches these pins. These ESP32 touch pins are normally used to wake up the board from deep sleep mode. These touch pins are also used to replace the normal mechanical buttons with touch pads, improving the presentation of the IoT projects.
Here's the video demonstration of the ESP32 Capacitive Touch Sensor:
Before going forward, let's first understand how this touch sens ...
Hello readers, I hope you all are doing great. In this tutorial, we will learn how to access Firebase (a real-time database) to store and read values or data with ESP32.
It is Google’s mobile application development platform that can be used to can access, monitor and control ESP32 from anywhere in the world with its (firebase) real-time database.
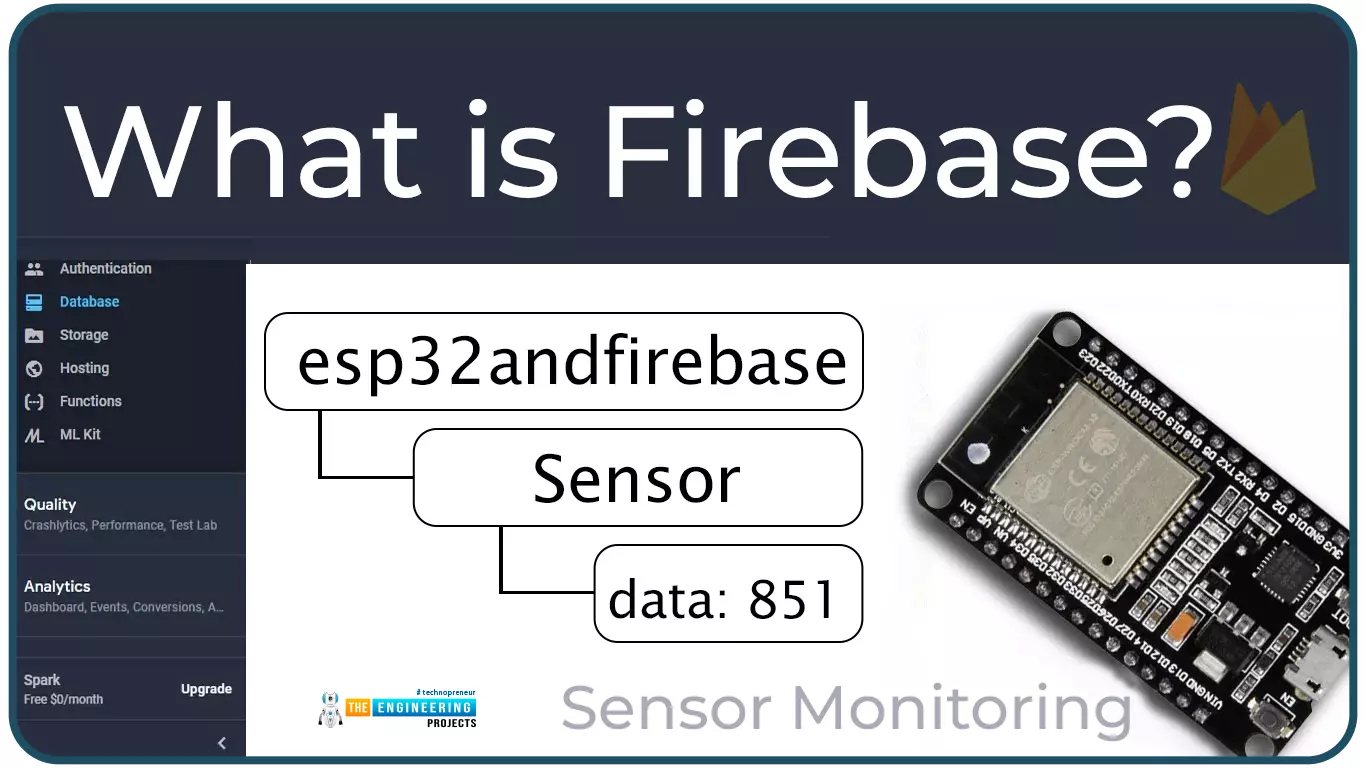
What is Firebase?
Firebase real-time database is a development platform provided by Google which included multiple services to manage and authenticate data.
Firebase is basically a mobile and web app development platform I as works great with Android APIs) that includes features like firebase cloud, real-time data and Firebase authentication etc.
As per Firebase’s official documentation (https://firebase.google.com/docs/database), whenever a us ...
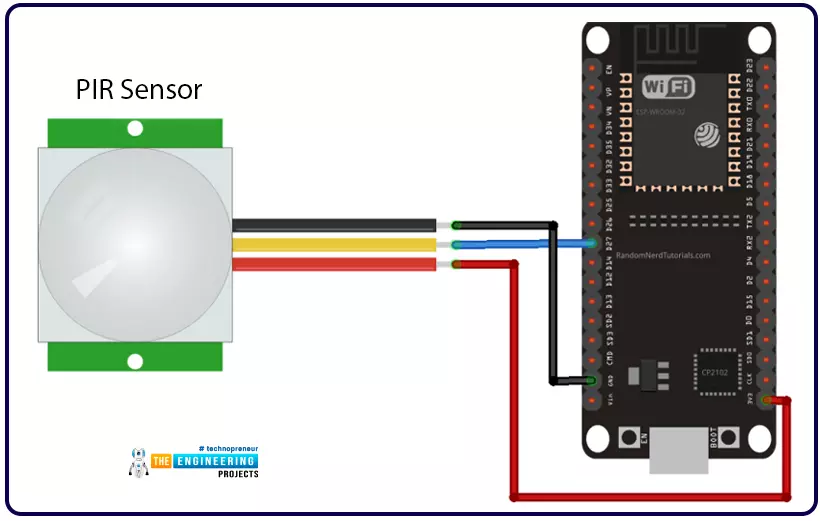
Hello readers, we hope you all are doing great. Welcome to the 4th lecture of Section 5(ESP32 Sensor) in the ESP32 Programming Series. So far, we have discussed the ESP32 built-in sensors in this section. Today, we are going to interface an external embedded sensor(i.e. PIR Sensor) with the ESP32 Microcontroller board. At the start, we will discuss the basics of a PIR Sensor(HC-SR501) i.e. its pinout and working. After that, we will design a simple project to detect the motion with a PIR sensor and ESP32. Finally, we will display the motion detection results on the ESP32 WebServer.
We will use ESP32 interrupts to detect the motion. Interrupts are used when a microcontroller needs to continuously monitor an event while executing other tasks at the same time. We have already posted a tuto ...
Hello readers, today we will learn about the messaging protocol supported by ESP32(called MQTT protocol), which is used for IoT applications. The communication protocol to be used for data transmission and connectivity in web-enabled devices depends upon the type of IoT application.
The Internet of Things (IoT) is a network of interconnected computing devices like digital machines, automobiles with inbuilt sensors, having unique identifiers and the ability to communicate data over a network without the need for human intervention.
Before implementation, let's first have a look at what is MQTT Protocol?
What is MQTT?
MQTT stands for Message Queuing Telemetry Protocol and is a messaging or communication protocol used for IoT applications.
In MQ ...
Hello readers, we hope you all are doing great. Welcome to the 1st lecture of Section 4 in the ESP32 Programming Series. In this section, we will interface the ESP32 module with common Embedded modules(i.e. LCD, Keypad, RTC etc.).
In today's tutorial, we will interface ESP32 with a 16x2 LCD and will display data using both Data Mode and I2C Mode. LCD is the most commonly used embedded module in IoT Projects. It is used to display different types of data i.e. sensor readings, warning messages, notifications etc.
Before going forward, let's first have a look at what is LCD and How it works:
16x2 LCD Module
LCD(Liquid Crystal Display) is a type of electronic display module that is used in a wide variety of applications and devices such as calculators, computers, mobile phones, ...