Hello friends, I hope you all are having fun. In today's tutorial, I am going to share a new Proteus library for Raspberry Pi 2. We have already shared the Proteus Libraries of other Raspberry Pi modules i.e. Raspberry Pi 4, 3, Pico etc. and we discussed that these Pi modules won't be able to read the Python code. We have just designed the external appearance of these modules and you can use these Pi modules for circuit designing and project presentations.We have also added the Arduino firmware in these boards, which is just to provide a bit of interaction with these boards. We have given these boards an unofficial title "Arduino Pi".So, let's have a look at How to simulate Raspberry Pi in Proteus:
Raspberry Pi 2 Library for Proteus
First of all, we need to download the Proteus Library ...
Hello everyone! I hope you all will be absolutely fine and having fun. Today, I am going to provide the detailed discussion on PIR Sensor Arduino Interfacing. PIR basically stands for Passive Infrared Sensor. Basically PIR is an electronic equipment which is often used to measure the infrared light radiating from the different objects in their field of view. It detects the infrared energy released from animals as well as from human beings, when this energy is higher than the certain threshold level PIR sensor shows an indication correspondingly. The energy detected by PIR sensor is usually in the form of heat i.e. emitted by humans as well as from animals.
We can also test and verify our results in Proteus using PIR sensor. I have already shared ...
Hello friends, I hope you all are doing great. In today's tutorial, I am going to do an Arduino 74HC165 Interfacing and we will have a look at How to increase Input Pins of Arduino. 74HC165 is a shift register and works on the principal of Parallel In Serial Out. In my previous tutorial Arduino 74HC595 Interfacing: Increase Output Pins, we have seen How to increase the output pins of Arduino and today we are gonna do exact the opposite and we will increase the input pins.
74HC165 will take 8 parallel inputs from different sensors or buttons etc and will send them to serial OUT Pin, which will be connected to Arduino. So, if you are working on a project where you want to get data of 15 or 20 digital sensors then you can use this shift register and ...
Hello readers, I hope you all are doing great. In this tutorial, we will learn how to interface the BMP280 sensor with the ES32 module to get temperature, pressure and altitude readings. Later, in this tutorial, we will also discuss how to upload these sensor readings to a web server.
BMP280
BMP280 or Barometric pressure sensor is a module used to measure temperature pressure and altitude. The small size and low power consumption feature of this sensor makes it feasible for battery-powered devices, GPS modules and mobile applications etc.
Fig. 1 BMP280 Sensor
The BMP280 is the product of BOSCH which is based on Bosch’s proven Piezo-resistive pressure sensor technology featured with high accuracy, long term stability, linearity and high EMC robus ...
Hello friends, I hope you all are doing great. In today's tutorial, we are gonna have a look at detailed Introduction to TIP41. It is an NPN power transistor. It exists in (TO-220) malleable suite which marks this expedient appropriate for acoustic, power rectilinear and swapping submissions. Its corresponding transistor is TIP42. It is intended by joining three (3) components of semiconductor material by doping with different materials. It's center portion is base which is tinny and the other two outer parts are prominently doped than the base.
Several transistors can strengthen a trivial current which will then be leading adequate to effort attention or other greater current maneuvers. These discretion are proficient to notice a shift in voltage ...
Hi Fellas! I am back to give you a daily dose of valuable information. Today, I'll give you a detailed Introduction to IRF3205. It is an N-Channel HEXFET Power MOSFET that comes in a TO-220AB package and operates on 55V and 110A. It is mainly used for dynamic dv/dt rating and consumer full bridge applications.
Additionally, it falls under the category of ultra LOW on-resistance devices based on Advanced Process Technology, making it a building block of the electronic applications where fast switching is a major concern.
In this post, I'll cover each and everything related to this transistor, its main features, working, pinout, and applications. Let's get down to the nitty-gritty of this tiny component.
Introduction to IRF3205
IRF3205 is an N- ...
ESP32 is a powerful chip for Internet of Things applications. This tutorial is also based on another ESP32 application in the field of IoT.
Hello readers, I hope you all are doing great. In the previous tutorial, we learned how to send sensor readings from ESP32 to the cloud (ThingSpeak webserver).
In this tutorial, we will learn to send HTTP POST requests from the ESP32 board to ThingSpeak and IFTTT APIs.
What is HTTP?
Fig. 1 Hypertext Transfer Protocol
HTTP stands for hypertext transfer control and it is a protocol for transferring data between a web client and a web server. Hyper text transfer protocol was invented alongside HTML (Hypertext markup language) to create the first interactive, text-based web browser: the original www or World Wid ...
Hi Fellas! Hope you’re doing well today. I welcome you on board. In this post today, I’ll detail the Introduction to 2SD882.
2sd882 is an NPN bipolar junction transistor used for amplification and switching purposes. It is a semiconductor device composed of silicon material and comes in the TO-126 package. As this is a bipolar transistor, here conductivity is carried out by two charge carriers i.e. electrons and holes where electrons are major charge carriers and holes are minority carriers. During the amplification application, the small input current across one pair of terminals is used to produce a large output current across other pairs of terminals.
In this post, I’ll walk you through the working principle, pinout, power ratings, alternat ...
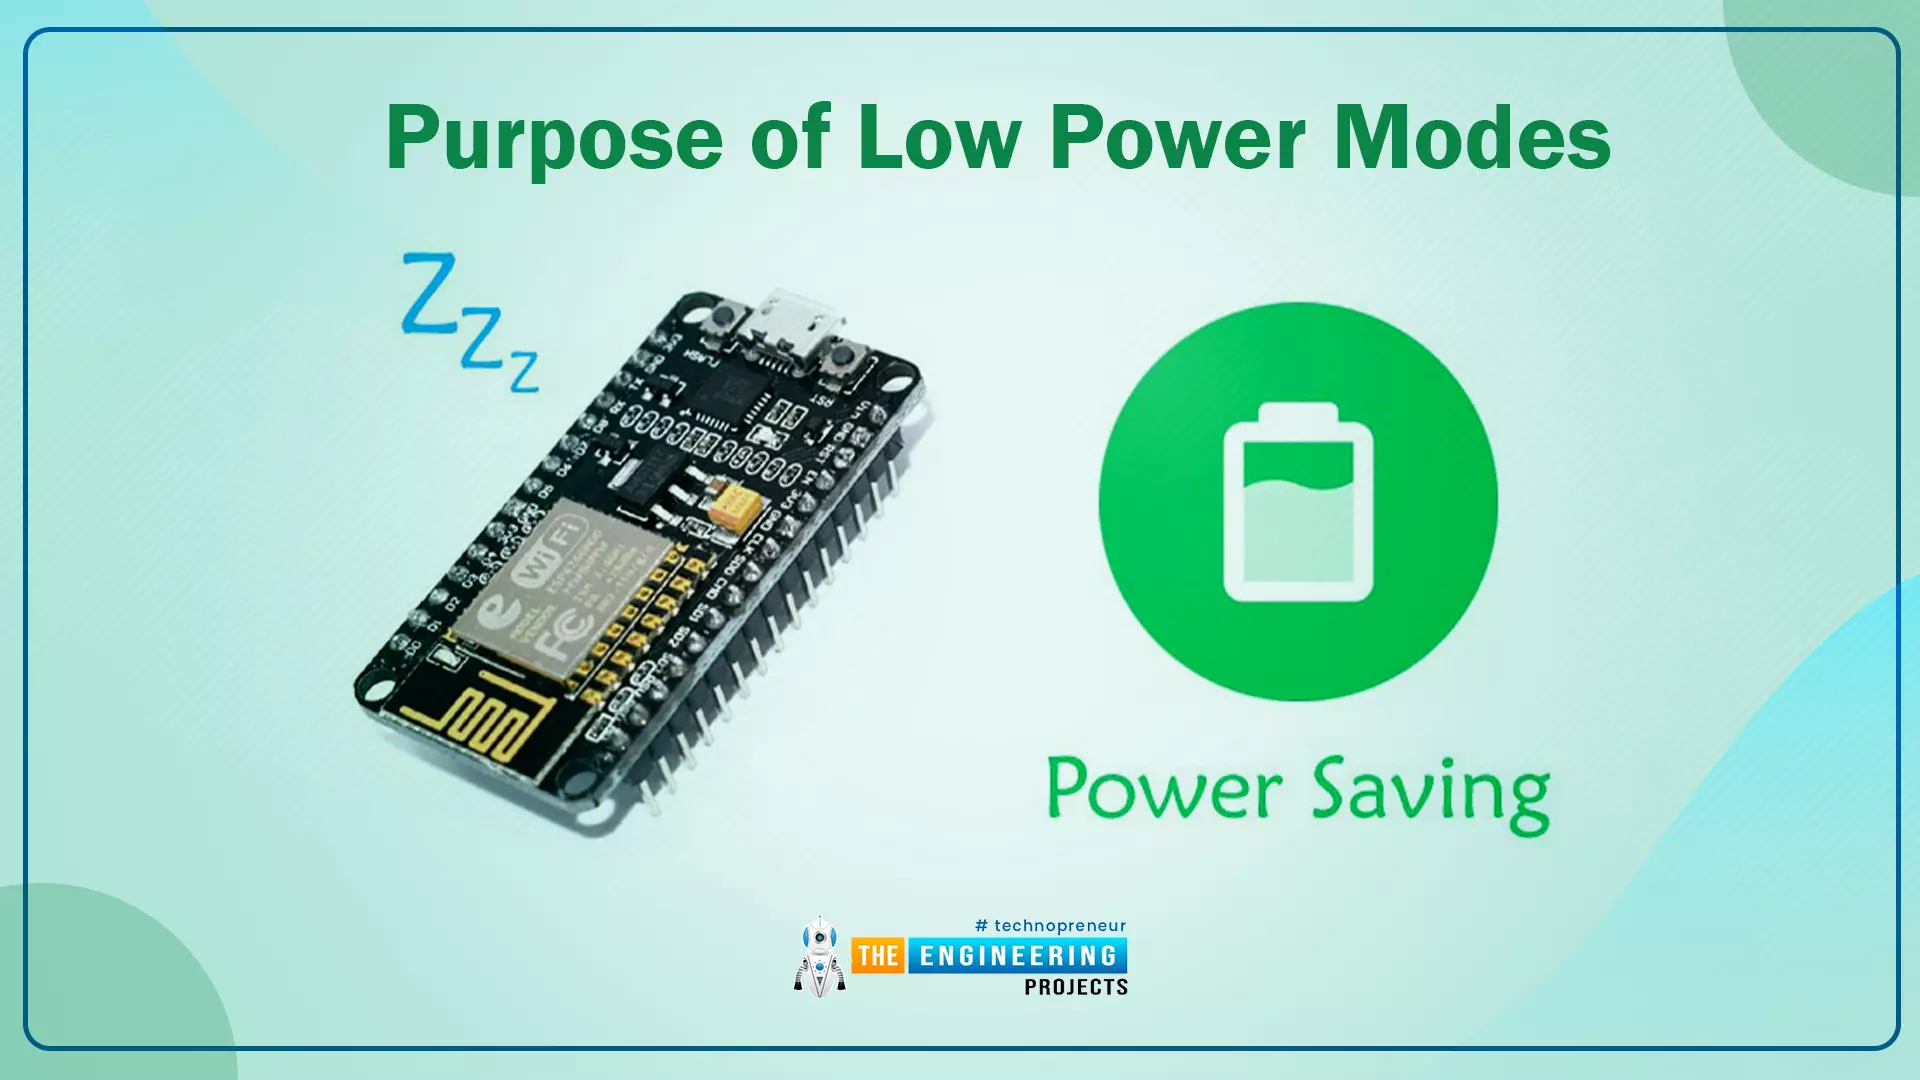
Hello readers, hope you all are doing great. In this tutorial, we will discuss low power modes in ESP32, their purpose and their implementation to increase the battery life by reducing power consumption.
Purpose of Low Power Modes
Fig.1
Along with multiple wireless and processing features, ESP32 also provides us with a power-saving feature by offering sleep modes. When you are powering the ESP32 module from the live supply using an adaptor or a USB cable, there is nothing to worry about power consumption. But when you are using a battery, as a power source to ESP32, you need to manage the power consumption for longer battery life.
Low Power Modes in ESP32
When ESP32 is in sleep mode, a small amount of power is required to maintain the state of ...
Hi Everyone! I hope you are doing great and enjoying your life. I am back to give you daily dose of information so you can grow and progress in your relevant field. Today, I am going to give you the details on the Introduction to 2n4403. It is basically PNP(Positive-negative-Positive) bipolar junction transistor where N doped layer is sandwiched between the two P doped layers. It comes in plastic TO-92 compact casing. I'll try to give you brief details about this transistor so you don't need to go anywhere for finding the information regarding this transistor. Let's get started.
Introduction to 2n4403
2n4403 is a PNP bipolar junction transistor where conduction is carried out by the movement of holes and electrons but majority charge carriers w ...