Hello friends, I hope you all are fine and having fun with your lives. Today, I am going to share a very quick and basic tutorial in which I will show you How to use Arduino Serial Flush . I hope you guys are going to like it. We have seen How to use Arduino Serial Write? In that tutorial, we have sent some data over the Serial Port so you must recall that tutorial because we are going to use the same example today. Moreover, it's also good if you have a look at How to use Arduino Serial Monitor because that's also related. Moreover, I hope that's going to be my last lecture on Arduino Serial Port because I have covered it in full detail. Although I am going to summarize all the Arduino Serial Post Commands in a single Post. You should also have a look at How to do Arduino Serial communica ...
Hello friends, I hope you all are fine and having fun with your lives. In today's tutorial, I am going to show you How to use Arduino Serial Monitor . It's not gonna be a very big post but its really very essential if you wanna learn Arduino coding. Because Arduino Serial Monitor is a great debugging tool and it helps a lot in Arduino Projects. In the previous post we have seen How to use digitalRead in Arduino and if you recall that tutorial then you must remember that in it we have used some Serial printing. So that's what we are gonna cover in today's tutorial. Before going into the details, I must suggest you to first read these two posts because in those tutorials I have shown the serial communication which is essential for Serial Monitor Working. So, you guys must first read them and ...
Hello everyone, I hope you all are fine and having fun. Today's tutorial is the next episode in the series of basic Arduino tutorial for Beginners . In today's tutorial, we are gonna have a look at How to use digitalRead in Arduino . In the previous tutorial, we have seen How to use pinMode Arduino Command , which sets the Arduino Pin either as Input or Output. So, if you are using this pin as input then you have to read its status and that's where you need to use this digitalRead Arduino Command. Other than Serial Pins in Arduino UNO, we also have 12 digital Pins. Serial Pins are also digital Pins so in total we have 14 digital Pins in Arduino UNO starting from 0 to 13. I am gonna explain them in detail in today's tutorial and we will also have a look at How to use this digitalRead comman ...
Hello everyone, I hope you all are fine and having fun with your lives. Today, I am going to share the next tutorial in this series of basic Arduino tutorials and it's named How to use Arduino Serial Write . In this tutorial, I have given an overview of How to use the Arduino Serial Write Command. In the previous tutorial, we have seen How to use Arduino Serial Read? in which we have read the data coming from the serial port. While today we will have a look at how to send the data through a serial port in Arduino and for that, I am going to use the Arduino Serial Write command . It's also going to be a very simple and basic Arduino tutorial but if you are new to Arduino then you must read it completely as it will gonna help you out. I have also designed a Proteus Simulation and explained i ...
Hello friends, I hope you all are fine and having fun with your lives. Today, I am going to share a very basic and introductory tutorial named How to use Arduino Serial Read . I am sharing this tutorial because I am getting a lot of emails in which users normally ask about basic Arduino tutorials as they are very new to them. So, I thought of sharing this very basic Arduino tutorial in which we are going to have a look at how we can use the Arduino Serial Read command. I selected this tutorial as my first tutorial in this list of Arduino basic tutorials because learning to use Serial port is very necessary as it's one of the best troubleshooting tools for your code. I have also given a Proteus Simulation in which I have received the incoming data from the serial port and displayed it on LC ...
Hello everyone, I hope you all are fine and having fun with your lives. Today, I am going to share a very basic project named as Line Following Robot using Arduino. I have designed a three wheeler robot and have placed IR sensors beneath it to detect the black line and then I have made it move over this Black Line. This Line Following Robot is not doing any extra feature i.e. turning or rotating back. It will just simply move in the straight line. I have also posted a short video at the botton of this tutorials which will give you better idea of how this robot moves. You should first read this tutorial and design the basic robot and once you are successful in designing the basic Line Following Robot then you should have a look at my recent Project Line following Robotic Waiter in which I h ...
Hello friends, hope you all are fine and having fun with your lives. Today, I am going to share a new project named LPG Gas Leak Detector using Arduino in Proteus ISIS . Before reading this tutorial, you must first download the Gas Sensor Library for Proteus because we are gonna use that Library and will simulate the Gas Sensor in Proteus. In this library you will find eight sensors and all of them works exactly the same so that's why we are gonna use one of them. For LPG Gas Leak Detector Project I have used MQ-2 sensor which is used for detection of LPG gas. I have also used Arduino UNO board which you can simulate in Proteus using Arduino Library for Proteus . Moreover, I have also placed an LCD which will display either LPG gas Leak Detected or not. So, let's get started with LPG Gas L ...
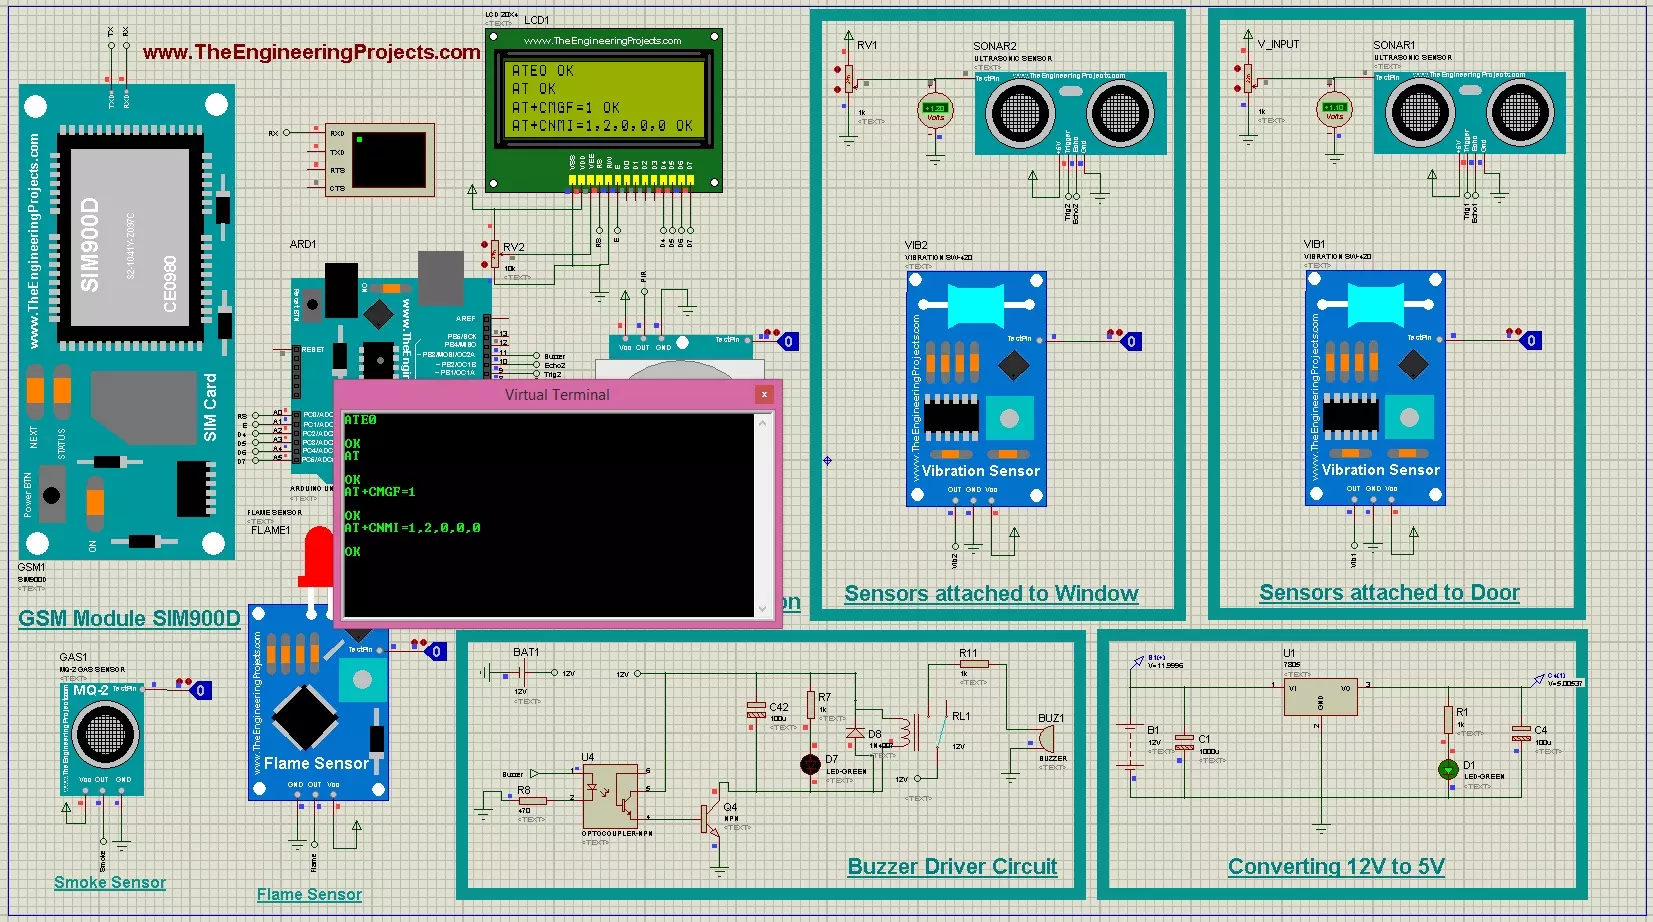
Hello friends, I hope you all are fine and having fun with your lives. Today, I am going to share a complete project named as GSM Based Home Security System. I have designed its complete working simulation in Proteus and have used different libraries which you can also download from our blog. In the previous post, I have posted Home Automation Project using XBee & Arduino and today we are gonna work on Home Security System. We have designed this simulation after a lot of efforts that's why we have placed a very small amount of $50 on it so that engineering students can download it and get knowledge from it. Moreover, as its a complex project so when you buy it then there's a chance that you can't run it by yourself so we also offer a free service. If you got into any trouble while running ...
Hello friends, I hope you all are fine and having fun with your lives. Today, I am going to share a new Home Automation Project using XBee & Arduino. Home Automation Project is a most commonly designed project by the engineering students. So, that's why I have thought to create a complete Home Automation Project so that engineering students can get benefit out of it. We all know about automation which is originated from automate or automatic. In automation the task is done automatically and you don't need to control it. In normal Home automation project, there are few sensors which are displayed wirelessly to user and there are few controls like user can ON or OFF Lights, Fans etc via remote or mobile App. In this Project, I have used Arduino UNO board and I have designed its complete work ...
Hello friends, I hope you all are fine and having fun with your lives. Today, I am going to share a new tutorial which is Interfacing of Flame Sensor with Arduino. I have recently posted a tutorial in which I have shared the Flame Sensor Library for Proteus . Now in this tutorial, I am gonna use that Flame Sensor Library and will interface this Flame Sensor with Arduino. So, if you haven't downloaded this file then I suggest you to download this Flame Sensor Library so that you can easily simulate this flame Sensor in Proteus. I am sharing interfacing of this Flame Sensor with Arduino today, but soon I will also post a tutorial on Interfacing of Flame Sensor with PIC Microcontroller. If you guys have any questions then ask in comments. I have also given the Simulation file and the Programm ...