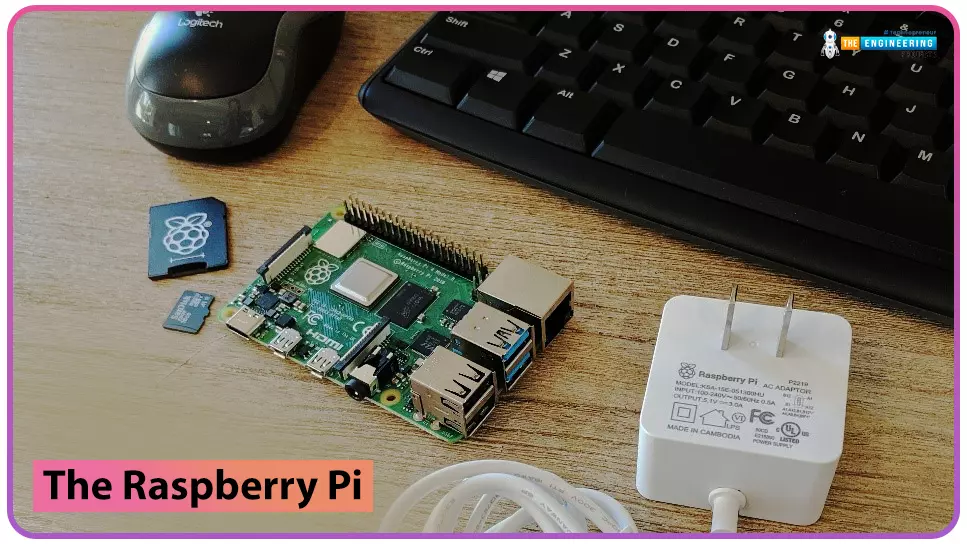
to our new beginner’s course on Raspberry Pi. This course is appropriate for anyone using either a traditional Raspberry Pi board or the new Raspberry Pi 400 board that includes an integrated keyboard and display. Learning how to code, building robots, and doing plenty of other strange and exciting things are all possible with this low-cost computer setup. The Raspberry Pi can do everything a computer can do, from surfing the web to viewing movies and music, and playing video games.
Raspberry Pi is much more than a modern computer. It`s created to educate young people on how to program in languages such as Scratch and Python, and it comes with all of the major programming languages pre-installed. The world is in desperate need of programmers now ...
Welcome to the next tutorial of our raspberry pi 4 tutorial. In the previous tutorial, we learnt how to interface a gas sensor with a pi 4. However, in this tutorial will cover how to automate your home with a Raspberry Pi and Bluetooth Low Energy. To automate a home means to mechanize its environment, including the appliances within it. To that end, we've designed an intelligent lamp whose functionality can be adjusted from afar via a companion mobile app.
Using your smartphone, you'll be able to manage a variety of household gadgets. The following code demonstrates using a mobile device as a remote controller for a Raspberry Pi's GPIO pins. (Or another BleuIO Dongle).
Instructions Requirements
The recently introduced Raspberry Pi 4 will serve ...
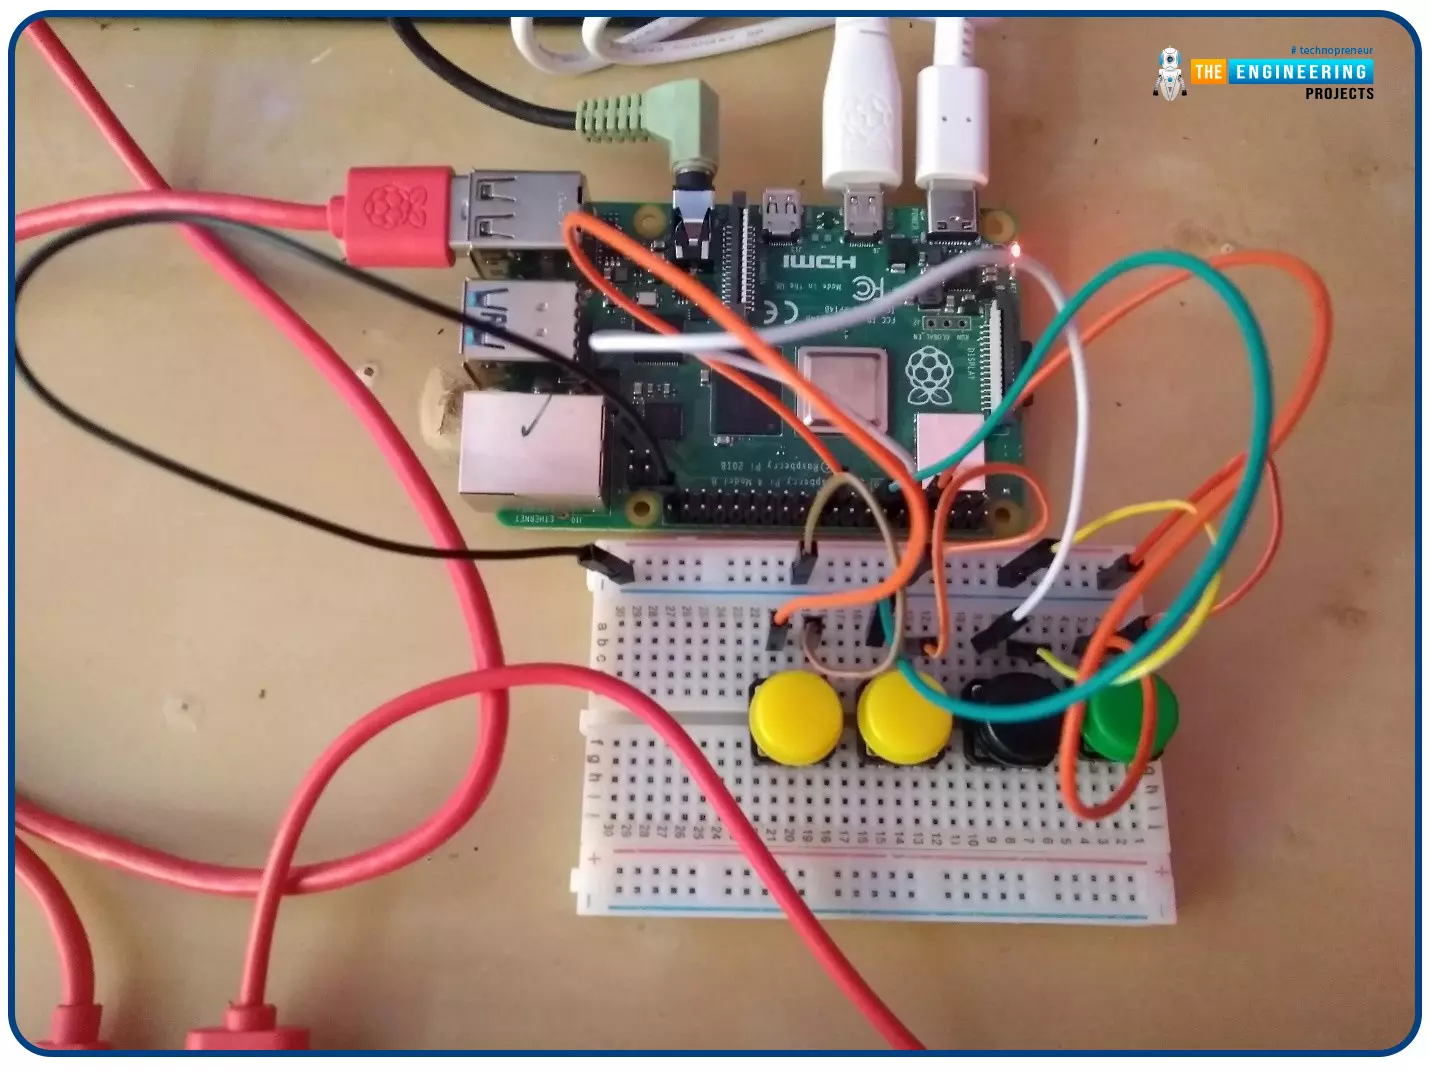
Welcome to the next tutorial of our Raspberry Pi programming course. In our previous tutorial, we learned how to create a timelapse video with still images and understand how phototimer and FFmpeg work. In this lesson, you'll make a button-controlled "music box" that plays different sounds depending on which buttons are pressed.
What you will learn
Connect button pushes to function calls using the Python gpiozero package and uses the Python dictionary data structure
Components
Raspberry Pi
Breadboard
Buttons
Jumper wires
Speaker
Set up your project
For this project, you'll need some audio samples. On Raspbian, there are many audio files; however, playing them with Python can be challenging. You can, however, transform the audio files ...
Hello friends, I hope all are fine. Today, we are going to share the 3rd chapter of Section-III in our Raspberry Pi Programming Course. In our previous lecture, we interfaced the Soil Moisture Sensor with Raspberry Pi 4. Today, we are going to Interface the Infrared(IR) sensor with RPi4. IR Sensor is typically employed for the presence/motion detection of objects in the immediate area. With their low power consumption, straightforward design, and user-friendly features, IR sensors are a popular choice for detection purposes. Infrared(IR) impulses are invisible to the naked eye and lie between the visible and microwave parts of the electromagnetic spectrum. So let's get started:
Components Required
To learn how an IR sensor detects the existence o ...
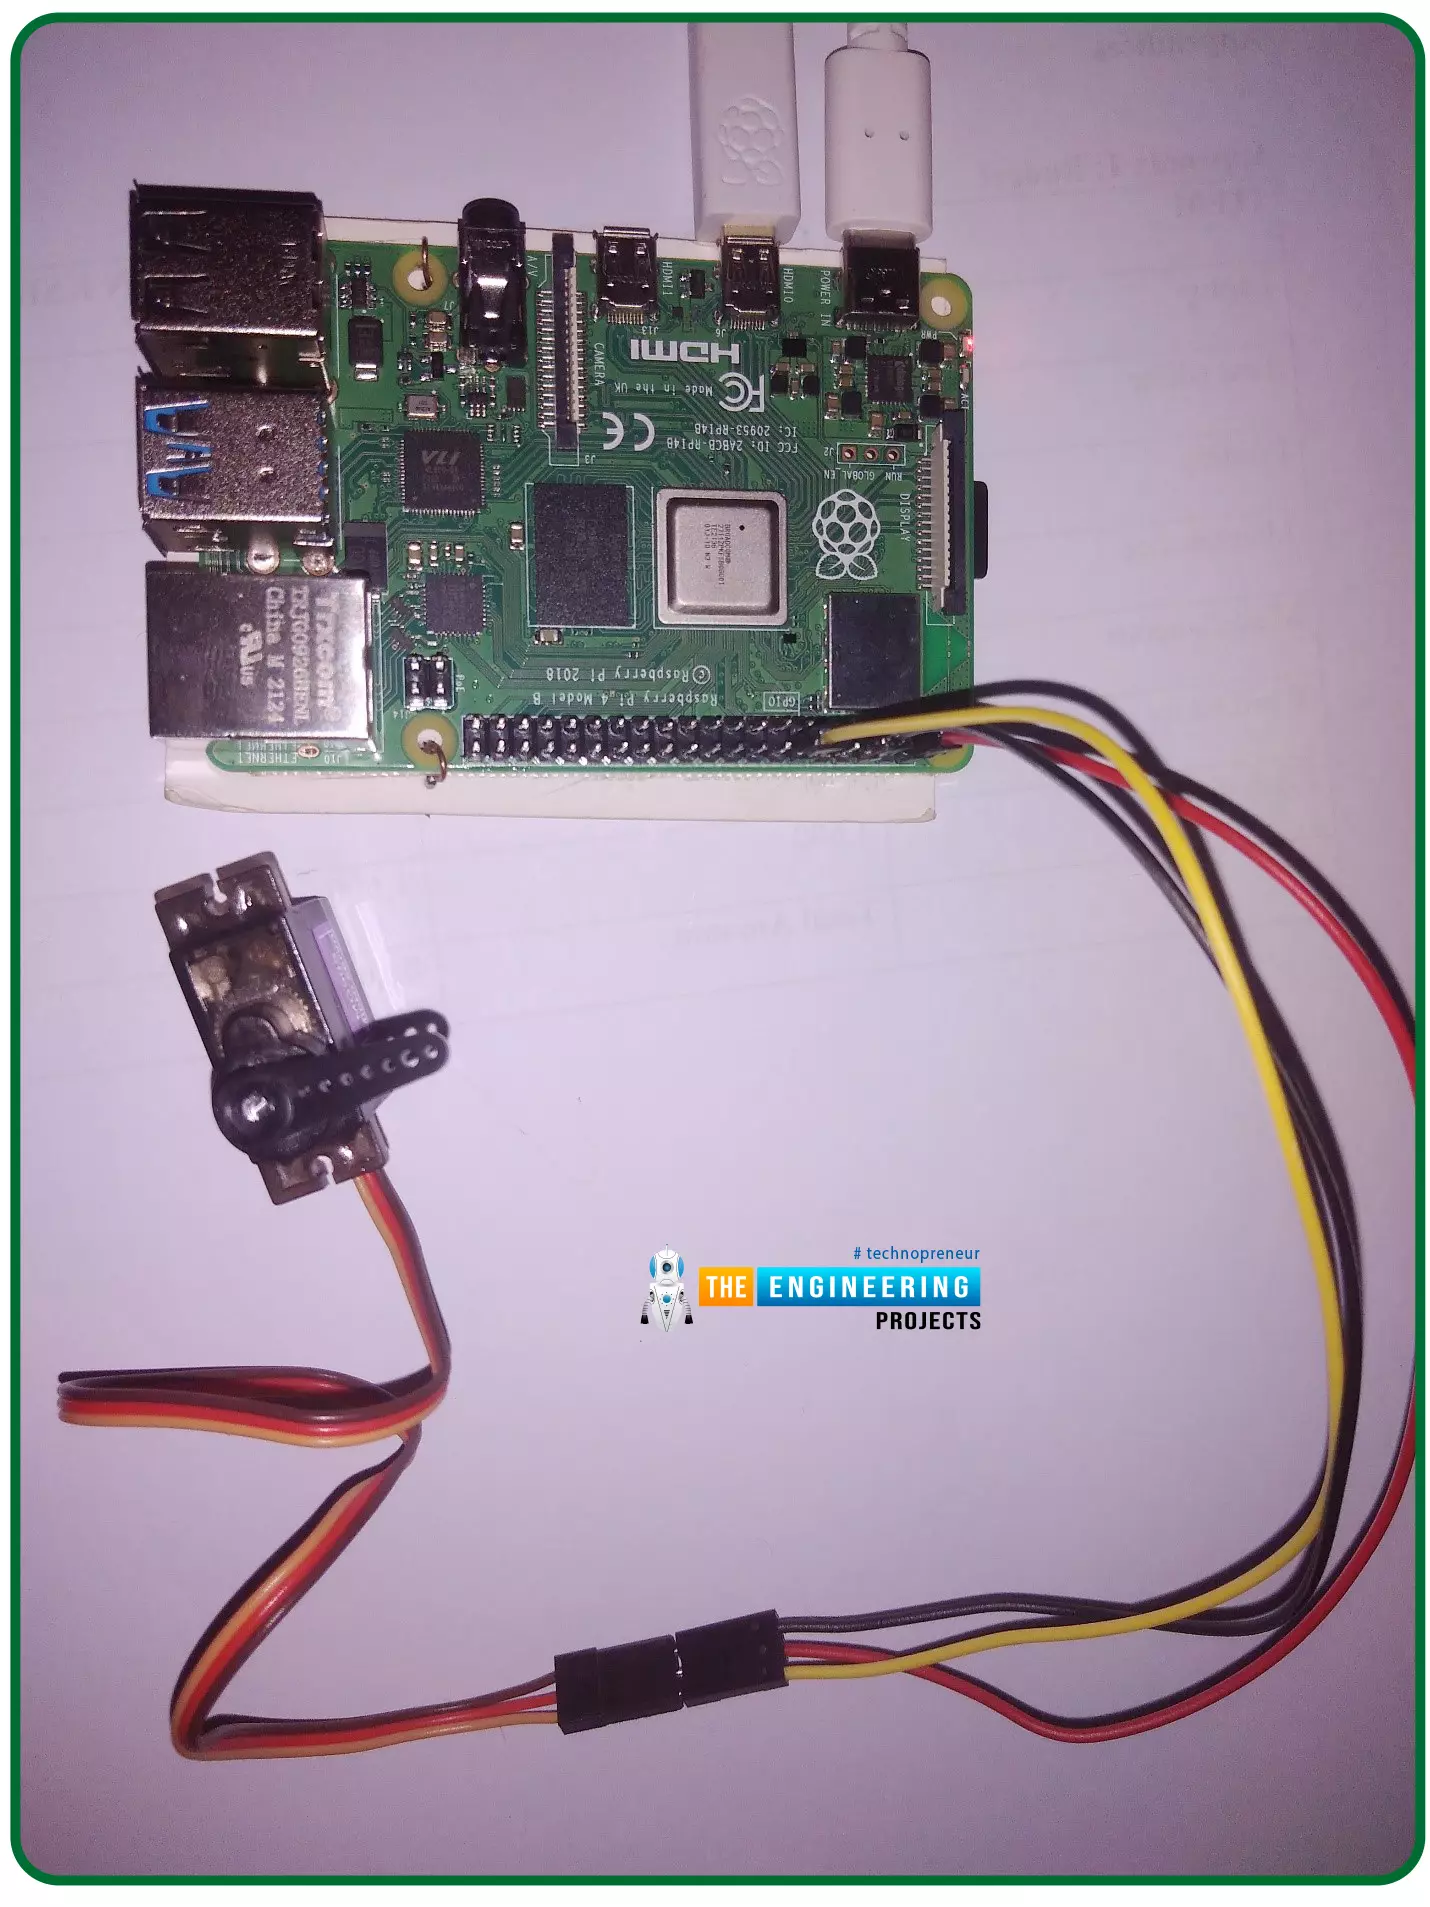
Hello friends, I hope you all are doing well. Welcome to the 11th tutorial of our Raspberry Pi programming course. In the previous chapter, we have seen how to regulate the speed of a Stepper motor with Raspberry Pi 4. Today, we'll work on the servo motor and will control it with RPi4. So, let's get started:
Components Required:We will need the following components to control Servo Motor with Raspberry Pi 4:
Raspberry Pi 4.
Servo Motor.
Male-to-female jumper wires.
What is a servo motor?
A Servo Motor is a simple DC motor with a position feedback Control System and a gearbox.A Servo Motor's primary advantage is its ability to maintain its shaft's angular position at any desired angle i.e. if we want to keep our shaft at 67 degre ...
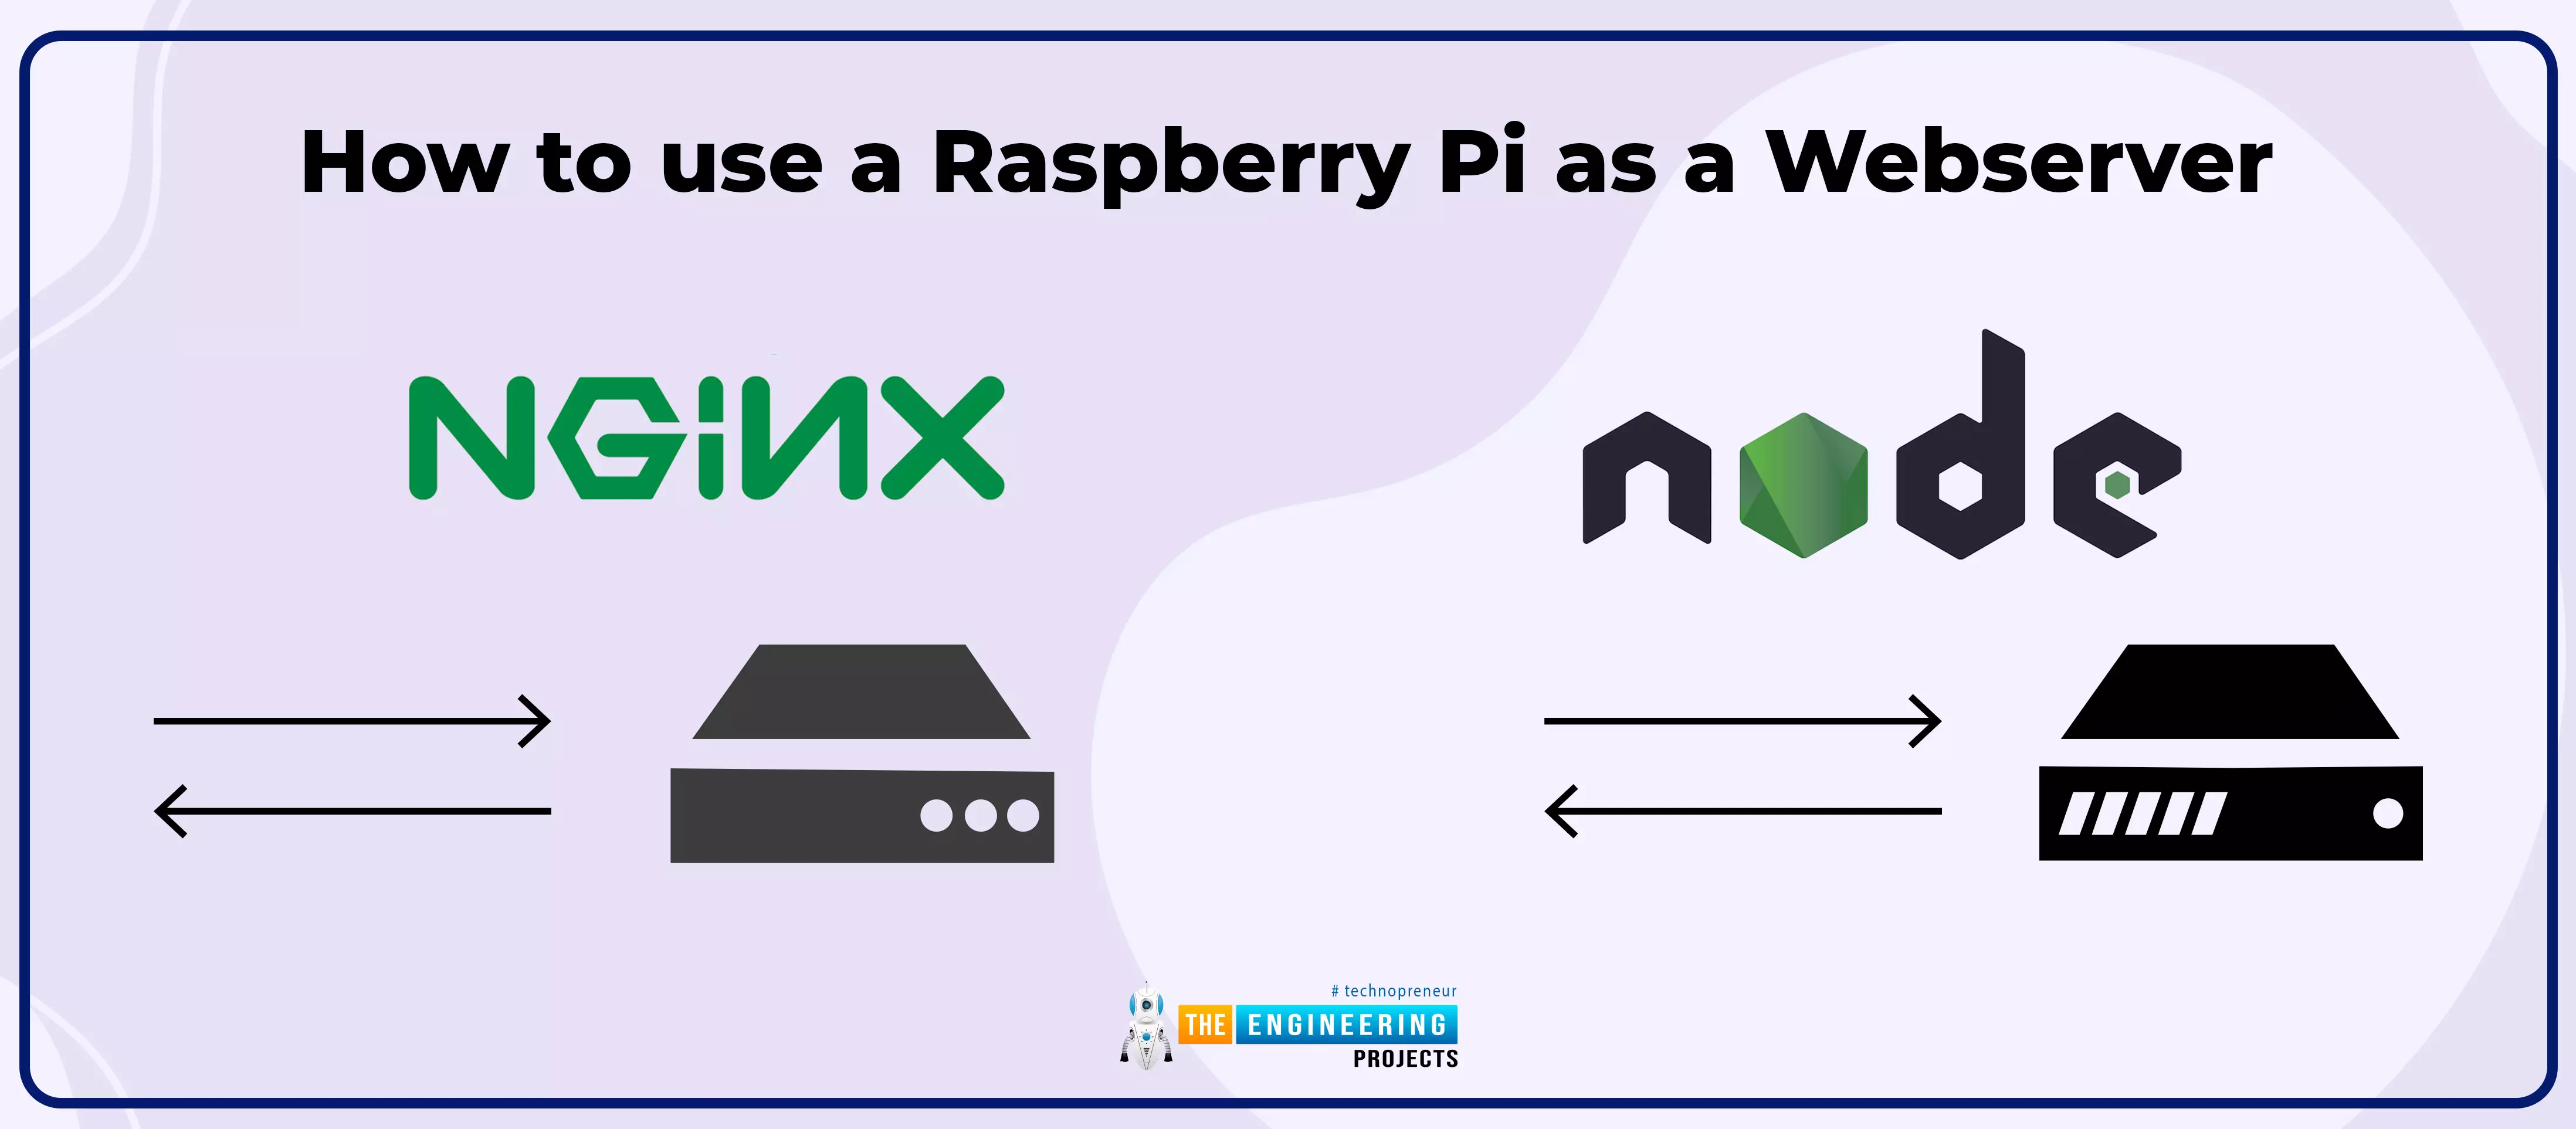
Hello friends, I hope you all are doing great. Today, we are going to share the 2nd tutorial of Section-VIII in the Raspberry Pi Programming Course. In the previous tutorial, we interfaced a Barcode Scanner with Raspberry Pi 4. In today's tutorial, we will discuss how to set up a web server in raspberry pi. So, let's get started:
Components Required
We are going to use the following components, in today's project:
Ethernet cable
MicroSD card
Keyboard
Mouse
HDMI cable
Monitor
Expand FileSystem
When configuring a Raspberry Pi, select the expand FileSystem option to ensure that all of the Micro SD storage is allocated for the operating system and modify the default Pi passwords to protect your server from attacker ...
Welcome to the next tutorial of our raspberry pi 4 programming course. The last guide covered connecting a Sharp infrared distance measurement sensor to a Raspberry Pi 4. Infrared (IR) sensors were demonstrated to be widely used for nearby object recognition and motion tracking. But in this session, we'll utilize Raspberry Pi 4 to create a radio-frequency (RF) remote control that can be used to operate the gadgets wirelessly. With the help of this RF remote control, we can Power On/Off the devices.
Components
Transmitter Side
RF Transmitter
HT12E IC
4 Push Buttons
750k resistor
9 Volt battery
Receiver Side
Raspberry Pi
16x2 LCD
10K POT
Breadboard
1K Resistor (Five)
33K resistor
HT12D IC
RF Receiver
LEDs (Five)
4 10K resistor
Jumper wires
RF Module
This ...
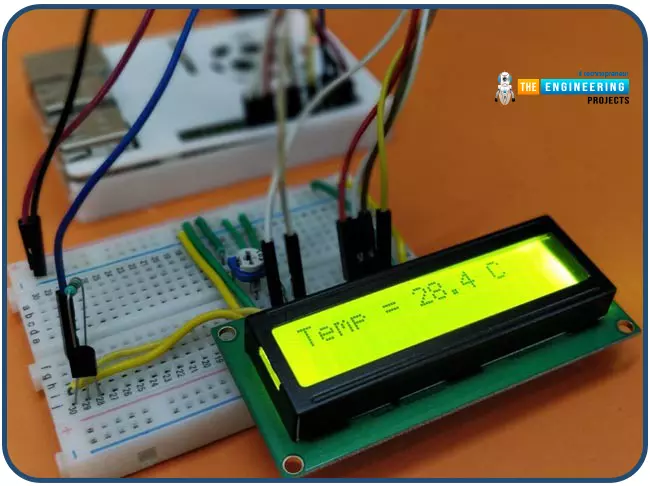
Hello friends, I hope you all are having fun. Today, we are going to share the 7th tutorial of Section-III in our Raspberry Pi Programming Course. In the last tutorial, we interfaced a DHT11 sensor with Raspberry Pi 4. Today, we are going to interface another temperature sensor i.e. DS18B20 with Raspberry Pi 4.
DS18B20 is a popular temperature sensor especially in severe/critical environments i.e. chemical plants, mines, industrial sites etc. because of its 1-wire operational technique and accurate readings up to 4 decimal digits.
Project Description
Today, we will interface a DS18B20 temperature sensor with Raspberry Pi 4 and will display the values on a 16x2 LCD.Let's have a look at the components required for this project:
Components ...
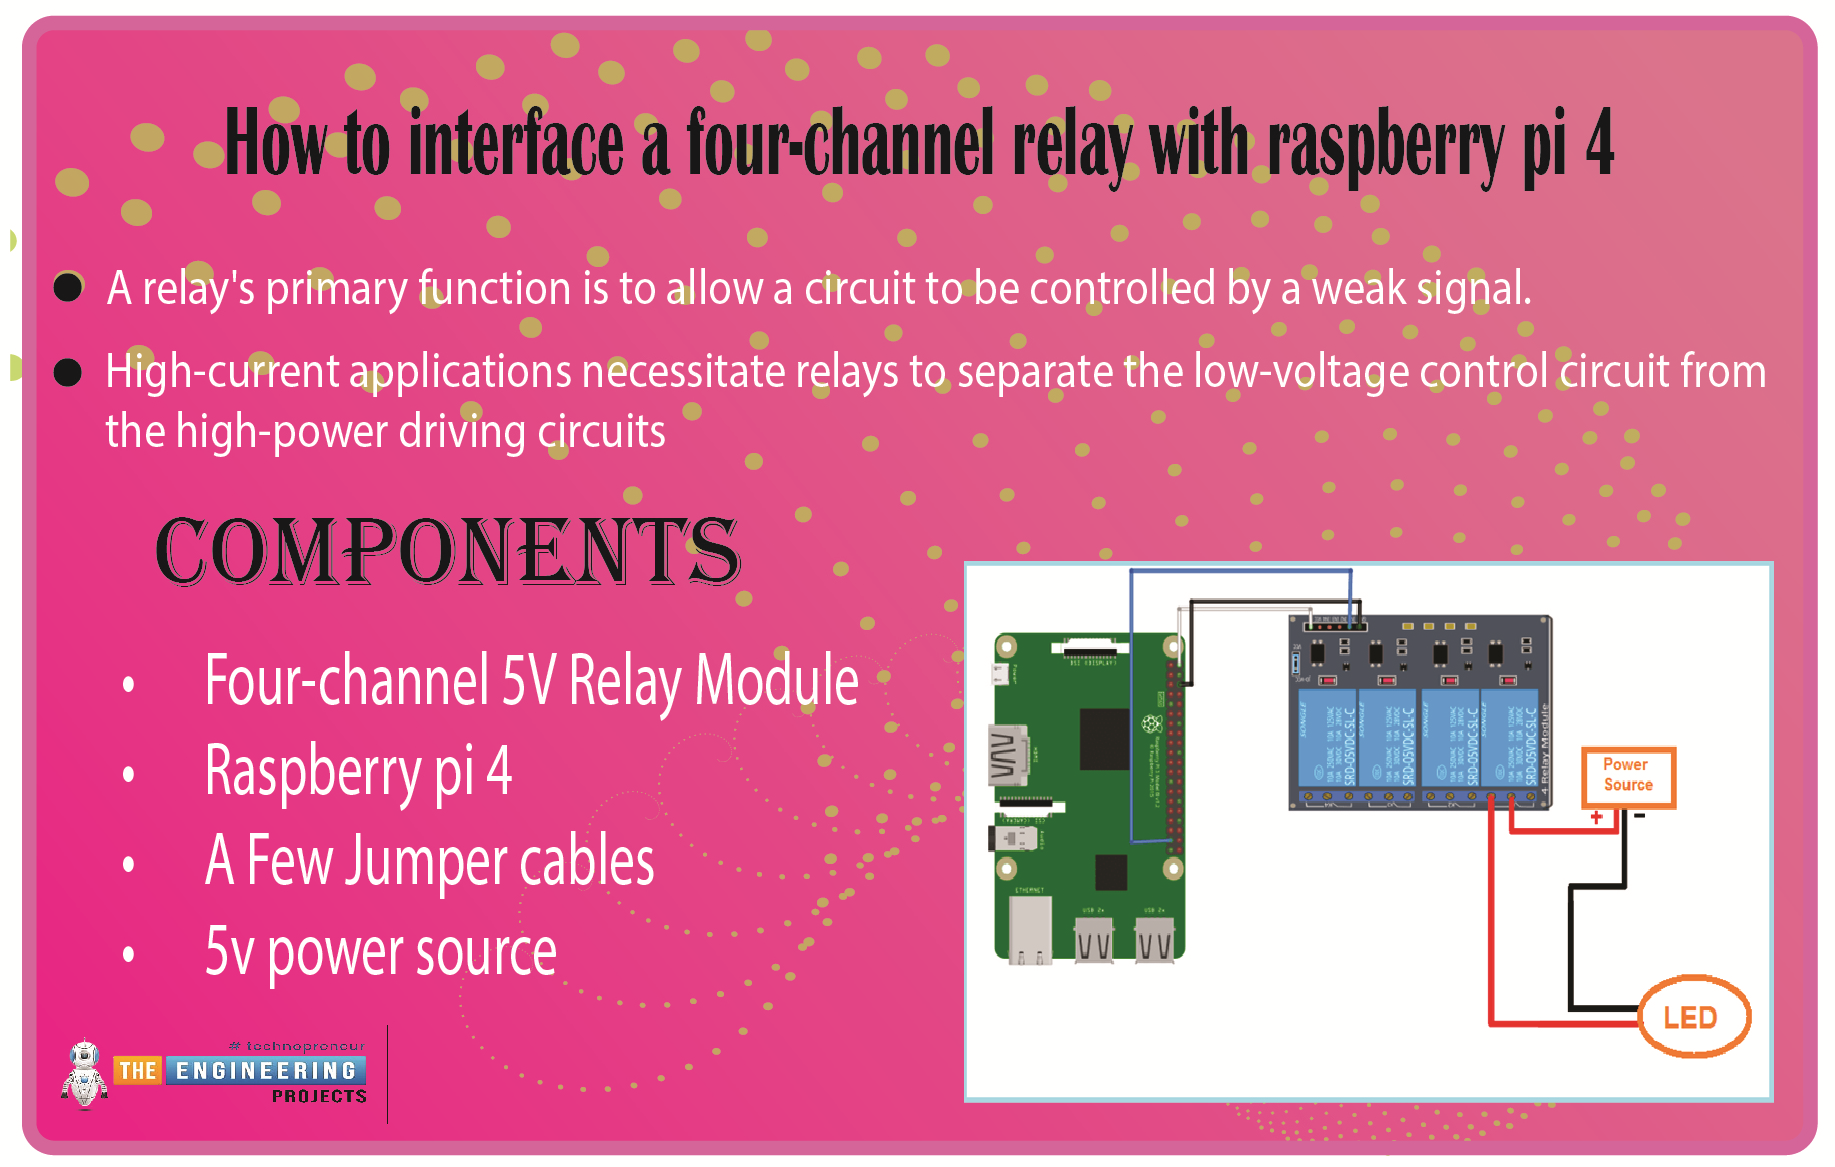
We learned in the previous tutorial how to connect a joystick to a Raspberry Pi 4 using an mcp3008 and an op-amp IC, the LM324A. For each of the interface methods we studied, we created a python script allowing us to interact with the circuit. This tutorial will show you how to connect a 4-channel relay module with a Raspberry Pi to carry out switching.
A relay's primary function is to allow a circuit to be controlled by a weak signal. High-current applications necessitate relays to separate the low-voltage control circuit from the high-power driving circuits. Because of this, understanding it is crucial for those interested in industrial or household automation.
If you've been tinkering with a raspberry pi for a while, consider the various ways ...
Introduction
Greetings, and welcome to the next section of our Raspberry Pi 4 tutorials. In the last section, we discovered how to set up and run our self-host bitwarden on our Raspberry Pi. We learned how to set up admin panels and perform a wide range of actions, such as limiting the creation of new accounts and users for security purposes. However, in this guide, we will discover how to configure a PS3 or PS4 joystick with our raspberry pi and set up and run Xbox cloud gaming on our Pi 4.
Components
Raspberry pi 4
SD card
Power supply
Ethernet cable or wifi
Xbox controller
Xbox game pass ultimate subscription
USB keyboard
USB mouse
HDMI cable
Through a service called Xbox Cloud Gaming, users may play a wide variety of games witho ...