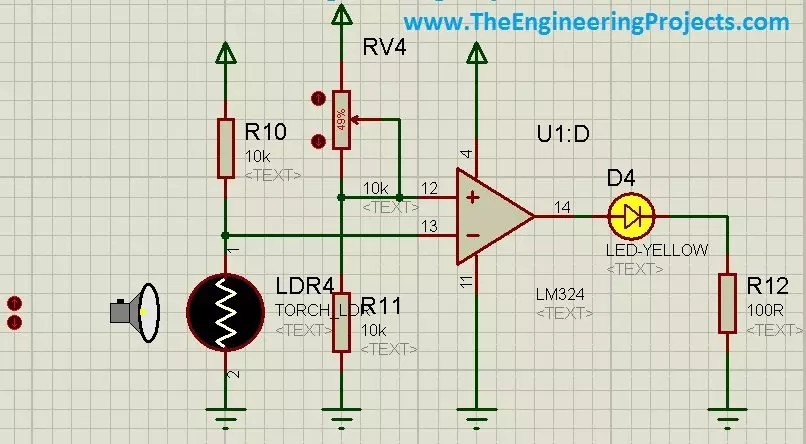
Hello friends! Today we will use an LDR sensor in Proteus to make a light-controlled LED circuit. We will begin with the photoresistor itself, convert its changing resistance into a voltage, and then compare that voltage with a reference to decide when the LED should illuminate. The original project demonstrates both a numeric light control and an animated torch control in Proteus. We will retain those illustrations and the project download while explaining what the circuit actually measures. A simulator control value is not automatically a measured voltage, and a photoresistor does not directly produce a calibrated lux reading. If you are new to the schematic editor, our Proteus ISIS and ARES tutorial collection covers the basic workflow. Here we will concentrate on the sensor, threshold ...
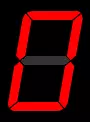
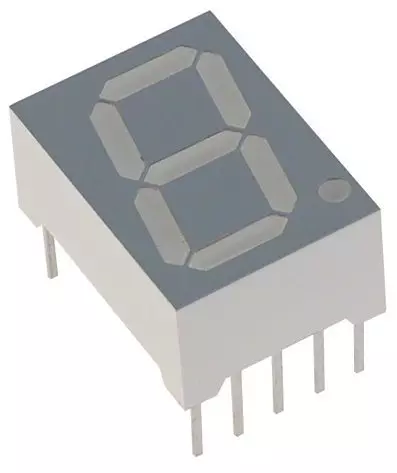
Hello friends! Today we will interface a seven-segment display with an Arduino Uno in Proteus. We will build a single-digit counter, load the Arduino program into the simulated board, and check that the display counts from zero to nine before returning to zero. This tutorial uses our Arduino Library for Seven Segment Display . That is a sketch library, while the Arduino Library for Proteus supplies a board model for the simulator. They belong to different applications and cannot replace one another. We will retain the original circuit images and downloadable project, but correct the counting logic and explain the electrical details that a simple simulation can hide. The objective is to understand how a requested digit becomes seven output signals, not merely to watch an animation. Figure: ...
Hello friends! Today I am sharing our Arduino library for a single seven-segment display. The original library was written for a small project that needed to show decimal digits without introducing a complicated display framework. Its interface is deliberately simple: assign seven Arduino pins, then pass the character you want to display. We will keep that straightforward approach while explaining the actual capabilities of the download. A library can choose which LEDs should light, but the display type, segment wiring and current-limiting resistors still determine whether the circuit works correctly. We will install the library, examine its two public operations and build a corrected counting example. For the complete simulator circuit, continue with Interfacing a Seven-Segment Display wi ...
Hello friends! Today we will send data from MATLAB to a serial port. We will begin with one character, then send a line of text entered by the user, and finally look at binary bytes, replies and connection cleanup. These are useful building blocks when a MATLAB calculation needs to communicate with an external instrument or microcontroller. The original tutorial used MATLAB's older serial object. That code remains useful for understanding historical projects, but modern MATLAB code normally uses serialport. We will explain both interfaces clearly so that you do not mix their connection and writing functions in one program. Before connecting any actuator, start with a receiving terminal, a suitable loopback arrangement or a device command whose effect you understand. Seeing a message in MAT ...
Hello friends! Today we will connect a DS18B20 temperature sensor to an Arduino Uno and display its reading in the Serial Monitor and on a 20 x 4 LCD. This is a useful first project when you want a digital temperature measurement without building an analog amplifier or calculating an ADC reference voltage. The original project used the Dallas 18B20 name and demonstrated the result on real hardware. We will retain those photographs and the demonstration video while making the wiring, library installation and measurement handling clearer. In particular, we need to distinguish a sensor's resolution from its accuracy and explain why its power connection matters. We will begin with one externally powered sensor on Arduino pin D2. Once that works reliably, the same data line can support several ...
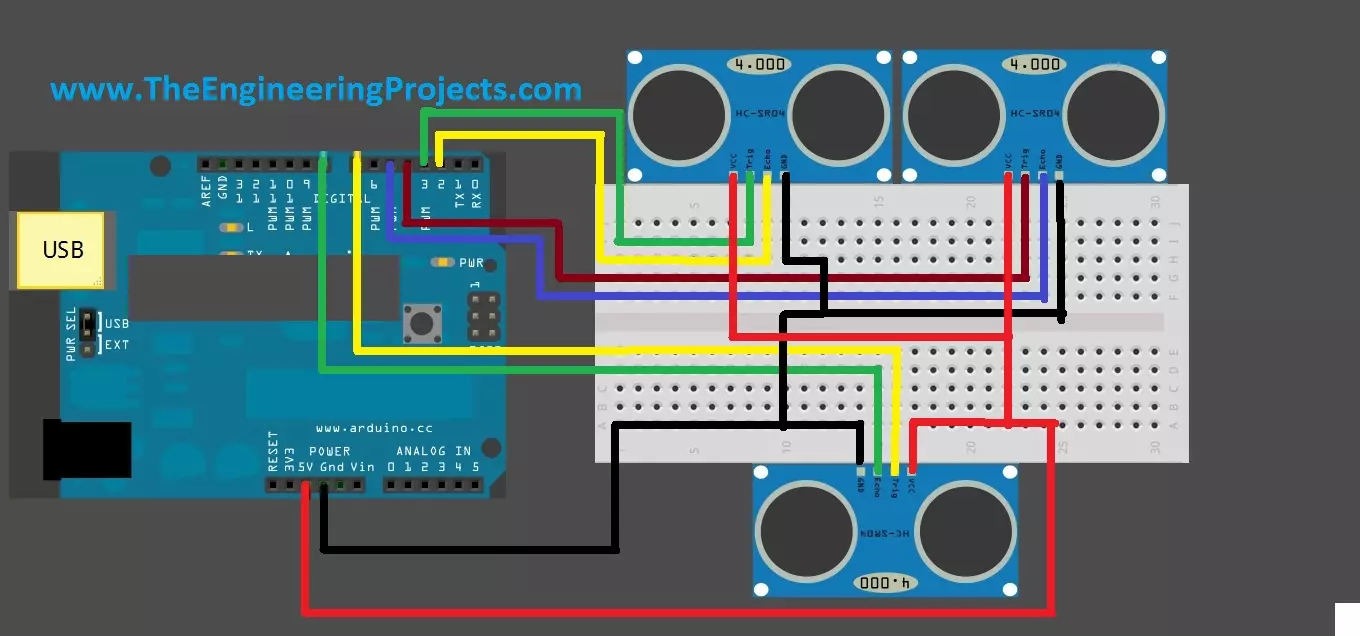
Hello friends! Today we will connect three HC-SR04 ultrasonic sensors to an Arduino Uno. A single forward-facing sensor is useful for a basic distance demonstration, but a robot may also need information from its left and right sides. The original project used this arrangement to discuss obstacle detection and movement between two walls. If you have not yet obtained stable readings from one module, begin with Interfacing an Ultrasonic Sensor with Arduino . Here we will build on that measurement function while addressing the main new issue: several sensors can hear one another. Adding more input pins does not automatically create independent acoustic measurements. We will preserve the original right, left and front pin assignments, trigger the sensors sequentially and report whether each re ...
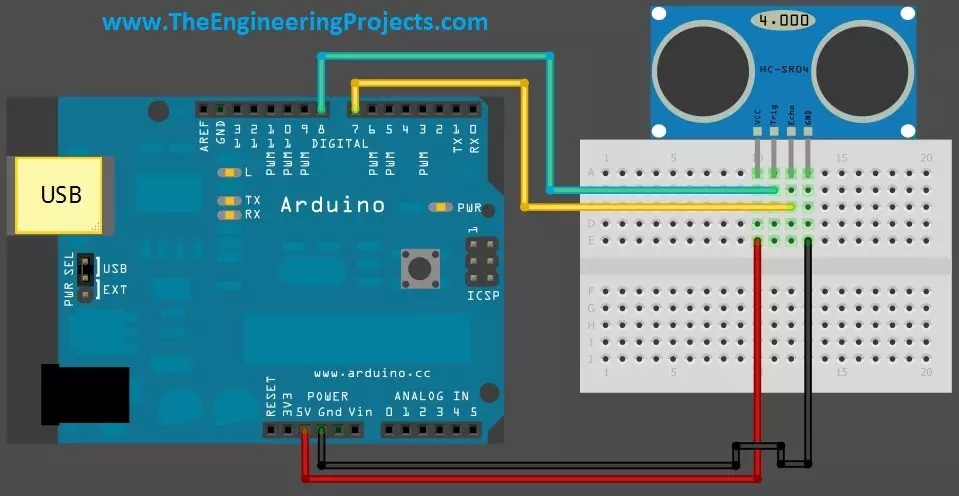
Hello friends! Today we will connect a real HC-SR04 ultrasonic sensor to an Arduino Uno and display distance on the Serial Monitor. Our earlier Proteus library tutorial introduced the simulated sensor, and the simulation examples explored different input conditions. This article moves to the four-pin physical module and the practical details of a measurement. Libraries HC-SR04 Simulation Libraries Latest library: Ultrasonic Sensor Library for Proteus V2.0 (October 2026): HC-SR04 with real TRIG and ECHO timing, Simple and Advance devices, test tools and an Arduino demo Other distance and motion sensors: JSN-SR04T · Sharp IR · TF-Luna LiDAR · VL53L0X · PIR HC-SR501 · RCWL-0516 · IR Obstacle FC-51 Helping Tools Serial Monitor Advance : a serial terminal window for the UART of your board Seria ...
Hello friends! Today we will receive SMS messages with a SIM900 modem and an Arduino. In the earlier SMS sending tutorial , Arduino initiated a command and supplied message text. Receiving is different because a message can arrive at any time, including while the program is handling another modem response. Libraries SIM900 Simulation Libraries Latest library: SIM900A Library for Proteus V1.1 (October 2026) Other GSM modules: SIM800L · SIM800C · SIM808 Helping Tools Serial Monitor Advance : a serial terminal window for the UART of your board Serial Monitor Expert : the serial monitor with extra debugging tools LCD Library for Proteus V3.0 : 16x2, 20x4 and I2C LCDs to show your readings We will begin by checking the serial connection, configure text-mode notifications and inspect the sender ...
Hello friends! In the Ultrasonic Sensor Library for Proteus tutorial, we installed the model and printed distance readings with an Arduino Uno. Now we will use that same interface in three practical simulations: selecting test distances with buttons, producing a proximity indication, and stepping through test conditions with a switch. Libraries Libraries used in this tutorial Ultrasonic Sensor Library for Proteus: V1.0 (2015, used in this tutorial) · latest version: V2.0 (October 2026) Helping Tools Serial Monitor Advance : a serial terminal window for the UART of your board Serial Monitor Expert : the serial monitor with extra debugging tools LCD Library for Proteus V3.0 : 16x2, 20x4 and I2C LCDs to show your readings The central idea is simple. Our legacy sensor model has an additional a ...
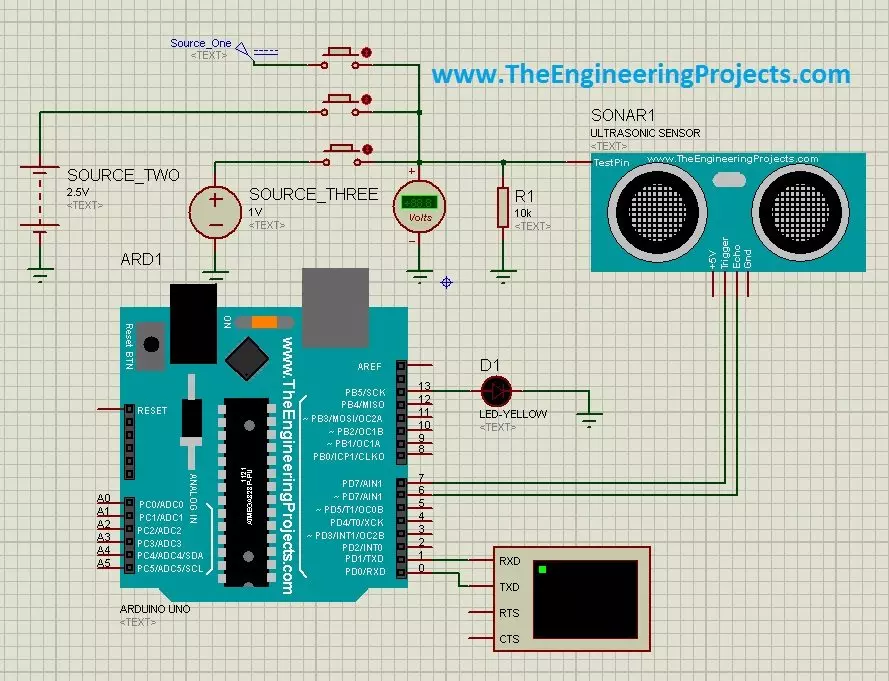
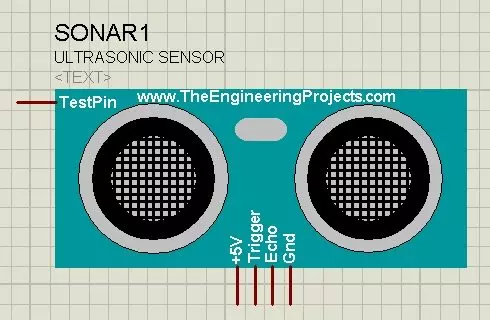
Hello friends! Today I will show you how to install our Ultrasonic Sensor Library for Proteus and use it with an Arduino Uno. We will begin with the library files, place the sensor on a schematic, connect its simulation input and then read the distance through the Virtual Terminal. This is the original HC-SR04-style library introduced in this tutorial. Updates Ultrasonic Sensor Library for Proteus Latest version: Ultrasonic Sensor Library for Proteus V2.0 (October 2026): HC-SR04 with real TRIG and ECHO timing, Simple and Advance devices, test tools and an Arduino demo Earlier versions: V1.0 (2015, this tutorial) Other distance and motion sensors: JSN-SR04T · Sharp IR · TF-Luna LiDAR · VL53L0X · PIR HC-SR501 · RCWL-0516 · IR Obstacle FC-51 Helping Tools Serial Monitor Advance : a serial ter ...