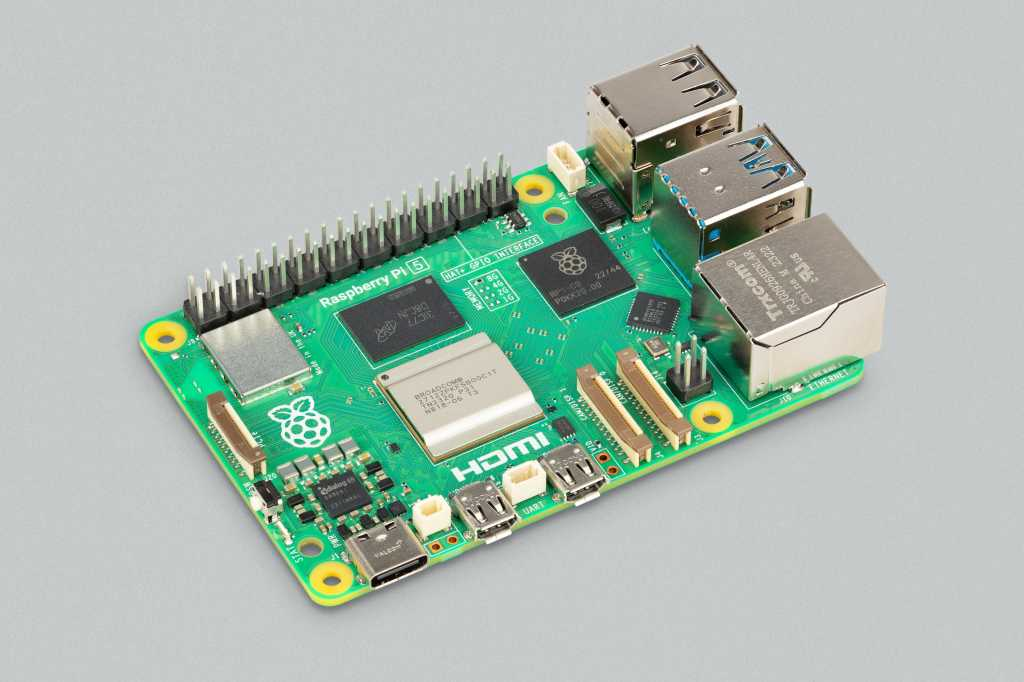
Hello everyone, I hope you all are doing great. In today's lecture, we will discuss one of the most advanced Embedded Microprocessors i.e. Raspberry Pi 5. At the time of this writing, Raspberry Pi 5 is the latest board designed in the Raspberry Pi series. Raspberry Pi 5 is designed by a UK-based charity foundation named Raspberry Pi Foundation. Initially, these boards were designed for students and hobbyists but because of their compact design and advanced features, they became popular among embedded engineers, especially for IoT Systems. Raspberry Pi boards can be used for simple tasks i.e. word processing, web browsing etc., and in the complex fields of robotics, multimedia
centers, home automation, etc.
In today's lecture, we will first dis ...
Introduction
Welcome to the following tutorial in our raspberry pi four programming tutorial. In the previous tutorial, we learned how to build a raspberry pi four website monitoring tool. We say how beautiful soap is applied in browser automation tasks such as tracking website activities. But in this guide will discover how to utilize our Raspberry Pi 4 as a wifi repeater. If you want a lag-free wireless network, a wifi Wireless Adapter is exactly what you need. You may want to set up a wifi repeater if your signal is weak in certain rooms of your home or if you have entirely lost service in one or more rooms that are too small to accommodate your current network setup. If you want to increase the range of the wifi connection without breaking the bank or wasting a lot of energy, consider ...
Welcome to the second chapter of our beginner's course on the Raspberry Pi. In the previous tutorial, we learned about the components of this little computer. We also considered its uses, as well as the most important advantages and disadvantages. Let's get started with setting up our little computer to run the Raspbian operating system in this lesson.
How to Install Raspbian using an imager
The next step is to make sure you have your board and SD card. The Raspberry Pi has an operating system because it is a full computer. For those who prefer a GUI desktop experience, a headless mode is still an option. Most people use Raspbian, a Debian-based operating system tailored specifically for the Raspberry Pi. However, there are other options. An exce ...
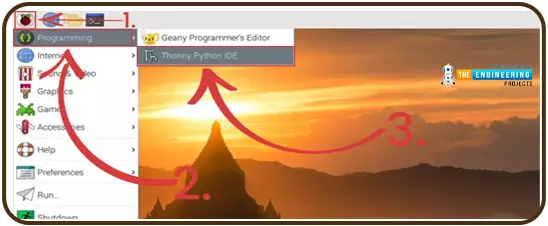
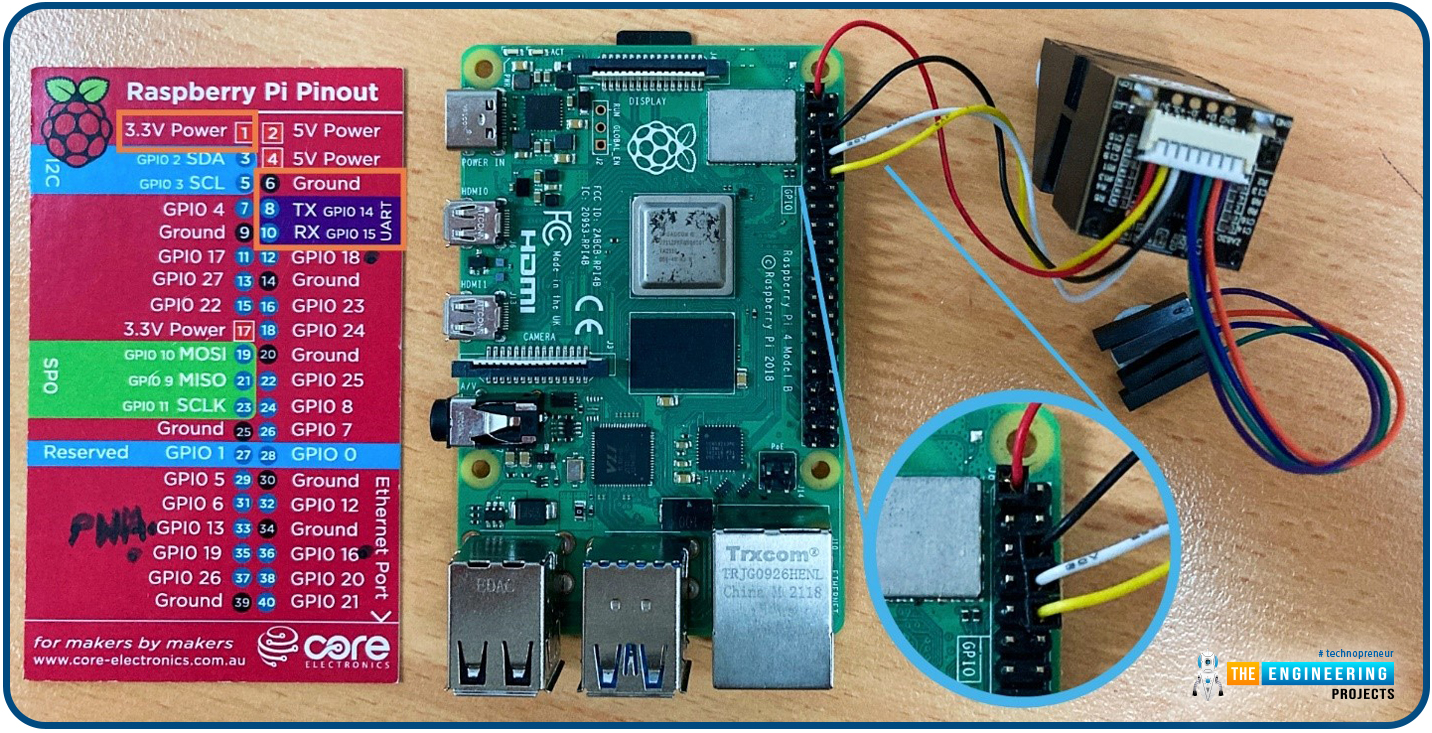
Hello friends, I hope you all are going great. Today, I am going to share the 10th tutorial of Section-III in our Raspberry Pi Programming Course. In our previous tutorial, we interfaced a Gas Sensor MQ-2 with Raspberry Pi 4. Today, we will be interfacing a Fingerprint Sensor with Raspberry Pi today.
After appearing only in science fiction films until recently, fingerprint sensors are often employed to confirm an individual's identity in various contexts. Today, fingerprint-based systems are used for everything from checking in at the office to verifying an employee's identity at the bank, withdrawing cash from an ATM, and proving one's identity at a government agency. For identifying purposes, fingerprint-detecting technology has been used for so ...
Welcome to the next tutorial of our Raspberry Pi programming course. Our previous tutorial taught us how to use a raspberry pi as a DNS server. We also looked at the benefit of this DNS server. This tutorial will teach us to set up Raspberry pi as a VPN server.
This is an excellent method for increasing your network security and getting access to your local area network from the world wide web, but setting up your VPN server might be a challenge. Pi VPN uses a guided install to turn your Raspberry into a low-cost, high-performance VPN server.
What is Pi VPN?
It is an OpenVPN server optimized for all Raspberry platforms above pi 2. It allows you to access your home network over the internet safely and securely. Smart devices and your network can ...
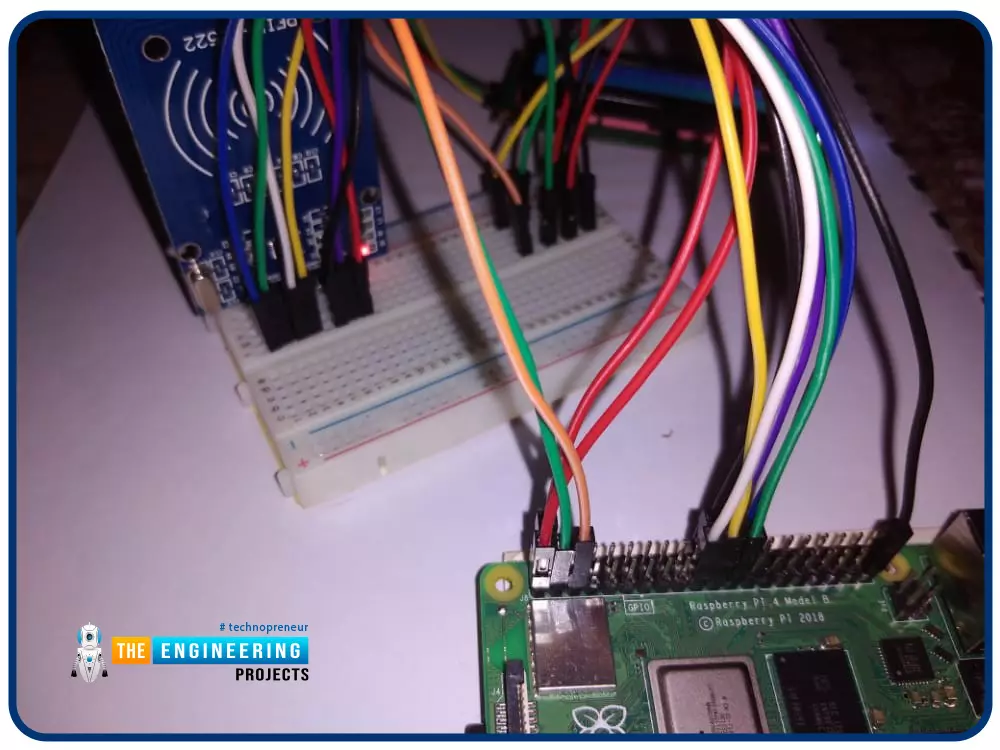
Greetings! This is the complete project of our Raspberry Pi 4 tutorials. In our previous tutorial, we learned to set up our raspberry pi as a virtual private network server. In this tutorial, we will design a smart attendance system using an RFID card reader, which we will use to sign in students in attendance in a class.
First, we will design a database for our website, then we will design the RFID circuit for scanning the student cards and displaying present students on the webpage, and finally, we will design the website that we will use to display the attendees of a class.
Components
RFID card kit
Breadboard
Jumper wires
Raspberry pi 4
I2C LCD screen
Design a database in MySQL server
Additionally, the Database server offers a DBMS ...
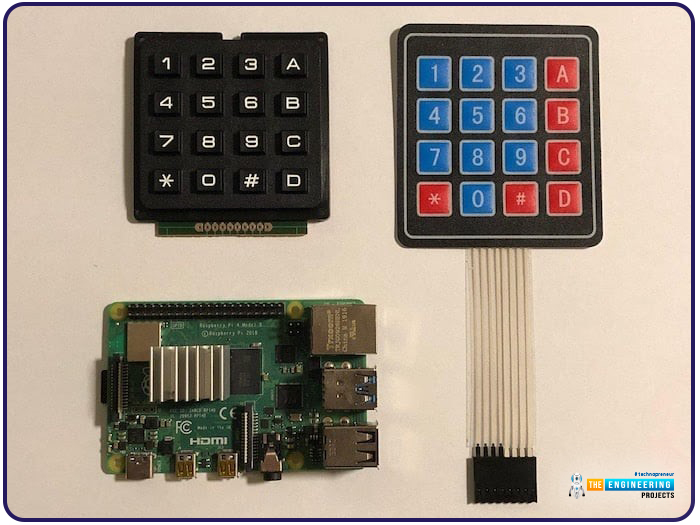
Hello friends, I hope you all are doing well. Welcome to the next tutorial of our Raspberry Pi 4 programming course. In the previous lecture, we interfaced LCD 16x2 with Raspberry Pi 4. Today, we will interface a keypad 4x4 to Raspberry Pi 4. In embedded projects, a keypad is used to get user input i.e. calculator, ATM keypad etc. Different types of Keypads are available i.e. 4x4, 4x3 etc.
So, let's get started:
Components Required
We will need the following components in our today's project:Raspberry Pi 4Keypad 4x4BreadboardConnecting Wires
Keypad 4x4
A keypad is a collection of push buttons, arranged in a matrix form.Keypad 4x3 means the keypad has 4 rows and 3 columns and 12 buttons in total. A 4 by 4 keypad membrane has 8 pins in t ...
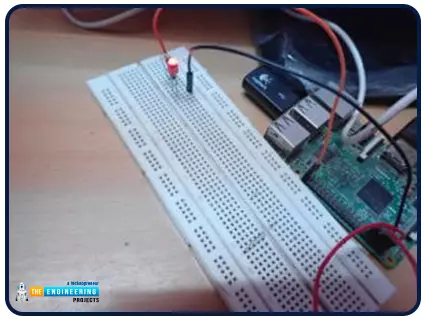
Hello friends, I hope you all are doing great. It's the 8th tutorial in our Raspberry Pi programming course. In the previous lectures, we interfaced LCD 16x2 and Keypad 4x4 with Raspberry Pi 4. In this chapter, we are not going to interface any external module with Pi, instead, we'll create a PWM signal in the raspberry pi using Python. Let's get started:
Components RequiredWe are going to use the below components in today's PWM project:
Raspberry Pi 4.
LED.
A resistor of 330 ohms.
Breadboard.
Jumper wires.Before going forward, let's first understand what is PWM:
What is PWM?
In PWM(Pulse Width Modulation), we simply turn on and off our power supply at regular intervals and thus ...
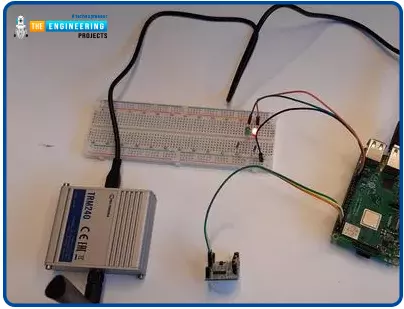
Hello friends, I hope you all are doing well. Today, I am going to share the 4th chapter of Section-III in our Raspberry Pi programming course. In the previous lecture, we studied the Interfacing of IR sensor with Raspberry Pi 4. In this guide, you'll learn how to interface a PIR sensor with Raspberry Pi to create a motion detector. A passive infrared (PIR) sensor is a straightforward yet effective tool for motion detection.
As a bonus, a piezo speaker will play an audio clip whenever motion is detected. GPIO pins are required for both of these accessories. This tutorial is a great starting point for those who have never worked with electronic components and circuits.
These sensors are used in traditional, old-generation security
systems. In con ...
Hello friends, I hope you all are doing great. Today, I am going to start a new tutorial series on Raspberry Pi 4. It's our first lecture today, so I will explain the basics of Raspberry Pi boards. In this tutorial series, I will teach you each and everything about Raspberry Pi and its programming. I have designed this guide for beginners, so we will start from the very basics and will slowly move toward complex concepts. Python programming language is used in Raspberry Pi boards, so we will study Python as well. So, we will learn both programming and hardware circuit designing in this tutorial series. Let's first have a look at What is Raspberry Pi?
What is Raspberry Pi?
Raspberry Pi is a series of Single Board Computer, developed by the Raspberry Pi Foundation in England, to teach co ...