Hello everyone! I hope you all will be absolutely fine and having fun. Today, I am going to share my knowledge with all of you guys about DC Current Sensor ACS712 Arduino Interfacing. First of all, I would like to tell you about importance of current sensing/measuring. Sensing the amount of current passing through any circuit can be useful in a lot of applications. For example, in low power consuming equipment, current sensing will be helpful to understand the system's impact on its battery life. The current sensing can also be used to make the decisions regarding safety in over current protection circuits.
Simply, we can say that sensing and controlling the flow of the current through the circuits is now a fundamental requirement e.g. over curr ...
Hello geeks, welcome to our new project. In this project, we are going to make a very useful and interesting electronics tool that we as engineers or tinkers need in everyday life. We use the capacitor in most of our projects for various purposes such as filters or power supplies. Most of the time, we do not have a provision to measure the capacitor value in our digital multimeter. So, this time we came up with the solution. Hence, we will make our own capacitance measurement tool using Arduino.
Rather than investing in new electronic equipment, we will use an Arduino board and some basic components to measure the capacitance. To make this project, we should have some working knowledge about the capacitor. Here, we will not discuss the in-depth wo ...
Hey Guys! Hope you are getting along with life pretty well. Welcome you onboard. Today, I'll unlock the details on the Introduction to Arduino Micro. It is a Micro board, based on the ATmega32U4 microcontroller and comes with built-in USB, making it easily compatible with the computer.
Arduino Micro, as the name suggests, is the smallest board in the Arduino Community. It is comparable to its counterparts like Arduino Nano and Arduino Promini.
In this tutorial, I'll discuss each and everything related to Micro board including its main features, pinout, pin description, the software used and applications. Let's dive in and explore everything you need to know about this tiny board.
Introduction to Arduino Micro
Arduino Micro is the smallest boa ...
Security systems are widely suggested for homes as well as other locations. Everybody wants to take necessary steps to prevent infiltration at home, thus this security is necessary. Intruders nowadays may take advantage of almost any illegal activity and wreak havoc on a property's security. The security of one's home is a critical concern that everyone faces in the current day.
While there are certain devices on the market that may considerably help protect your house, some of them are excessively costly and need constant maintenance. Many devices regarding smart home security systems are available in the market but these are not user friendly according to the budget, the device we designed provides the user with a better interface with the help ...
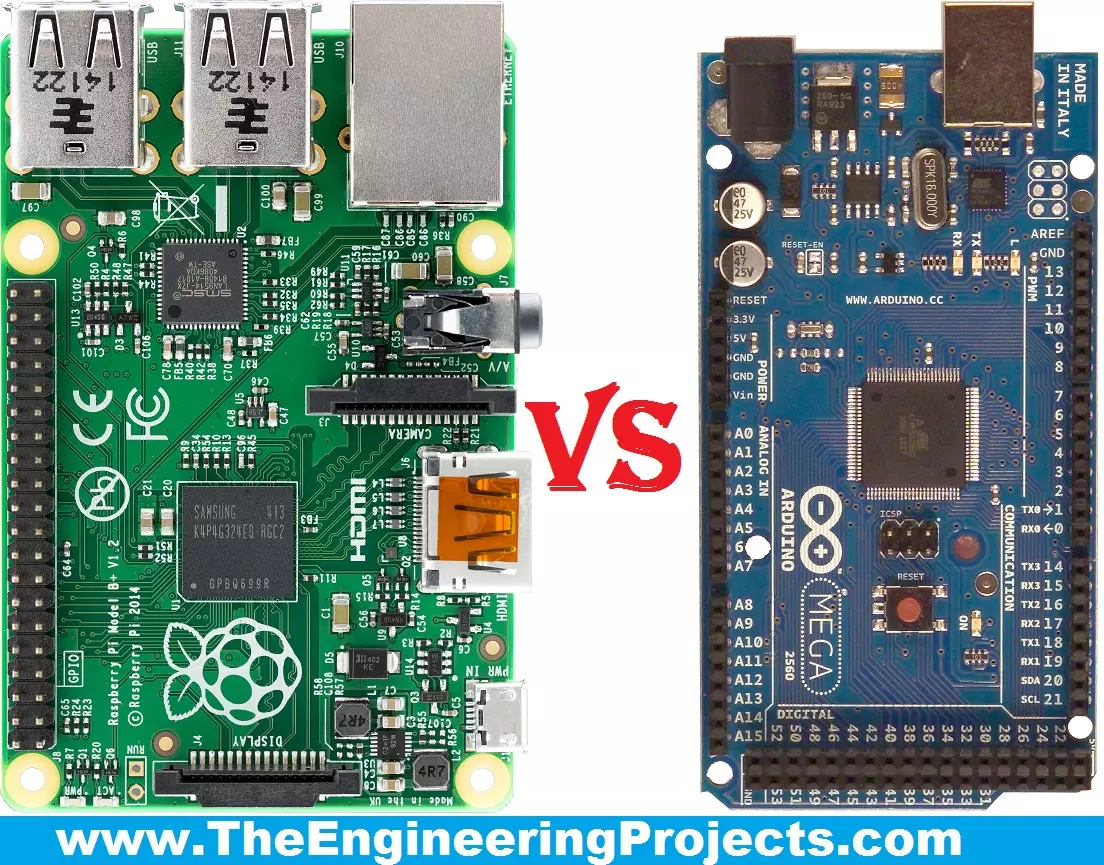
Hello friends, I hope you all are fine and enjoying your lives. Today, I am going to share a comparison titled Arduino Vs Raspberry Pi. Actually, I have been receiving a lot of emails and comments from new engineering students that "we are new in embedded and we want to start our project so please tell us which one is better Arduino or Raspberry Pi?" So, I thought to write a post on Arduino Vs Raspberry Pi and in this post, I am going to make a detailed comparison between the two and will let you know, which one you should use in your project and why?
So, I hope that you are all aware of or at least have heard about these two boards, which are Arduino and Raspberry Pi. If you haven't heard yet then you must have a look at Arduino Official Site and ...
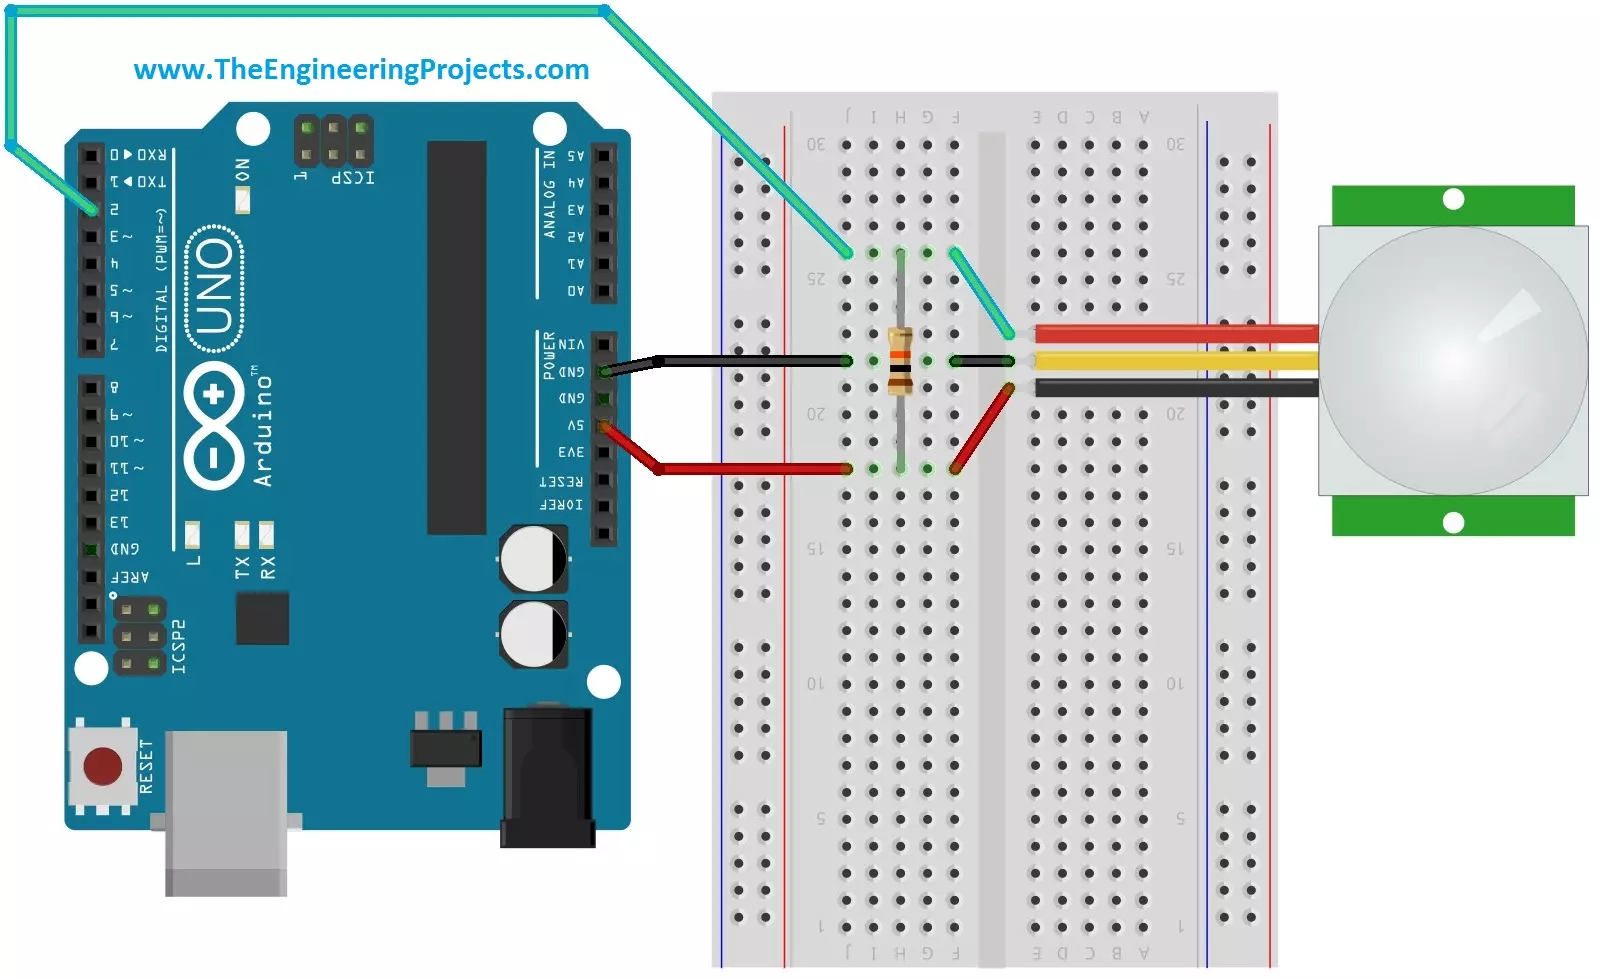
Hello friends, i hope you all are fine and enjoying. Today i am going to share a new project tutorial which is Interfacing PIR sensor with Arduino. First of all lets, have a little introduction about the basics and working of the PIR sensor. PIR sensors are in fact a Passive Infrared Sensor. PIR sensors are actually electronic sensors and they are used for motion detection. They are also used to detect the Infrared waves emitting from a particular object. You should also have a look at PIR Sensor Library for Proteus, using this library now you can easily simulate your PIR Sensor in Proteus software.
PIR sensors are widely used in motion detection projects now a days. Since my today's tutorial is about interfacing of PIR sensor with Arduino micro c ...
Hey Fellas! Hope you are doing fine. Microcontrollers play an important role in the development of embedded systems. They are used where automation is an integral part of the system. Today, I am going to unlock the details on the Introduction to Atmega16.
It is a 40-pin low power 8-bit microcontroller which is developed using CMOS technology and based on AVR architecture. This is the most commonly used AVR microcontroller which belongs to Atmel Mega family.
You must have a look at microcontroller called Atmega328 that also belongs to the mega family.
Other microcontrollers that are readily available and fall under AVR category are Atmega 8 and Atmega 32. All these controllers perform similar tasks, however, they are only different in terms of ...
Hello friends, I hope you all are doing great. In today's tutorial, I am going to do an Arduino 74HC165 Interfacing and we will have a look at How to increase Input Pins of Arduino. 74HC165 is a shift register and works on the principal of Parallel In Serial Out. In my previous tutorial Arduino 74HC595 Interfacing: Increase Output Pins, we have seen How to increase the output pins of Arduino and today we are gonna do exact the opposite and we will increase the input pins.
74HC165 will take 8 parallel inputs from different sensors or buttons etc and will send them to serial OUT Pin, which will be connected to Arduino. So, if you are working on a project where you want to get data of 15 or 20 digital sensors then you can use this shift register and ...
Hello friends, hope you all are fine and having fun with your lives. Today's post is about interfacing of RFID module RC522 with Arduino. RC522 is very simple yet effective module. It is an RFID module and is used for scanning RFID cards. Its a new technology and is expanding day by day. Now-a-days it is extensively used in offices where employees are issued an RFID card and their attendance is marked when they touch their card to rfid reader. We have seen it in many movies that when someone places ones card over some machine then door opens or closes. In short, its a new emerging technology which is quite useful.
I recently get a chance to work on a project in which I have to use RFID reader to scan cards. In this project I have used it for for s ...
Hello friends, today's post as the name suggests is about how to send SMS with Arduino UNO and SIM900D using AT Commands. There are different types of SIM900D modules available in the market, so it doesn't matter which module you are using. All SIM900D modules work at AT commands basically so today I am going to show you how to send an SMS via AT commands without using any Arduino library. You should first read the AT commands manual which will give you an idea about AT commands. AT commands are special sets of commands which are used for communicating with SIM900 module. Using these AT commands we let our GSM work for us. Like if you want to send SMS then there's a specific AT command for sending the SMS similarly if you want to change the PIN co ...