


Project Files of LilyGO T-Deck Library for Proteus: ESP32 TFT LCD, Keyboard, LoRa
 Libraries
 Code
 Projects
 Simulation
lilygo-t-deck-tep-v1-0-7f9d487f87544340813065d953814b06.zip
LilyGO T-Deck Library for Proteus V1.0
LilyGO T-Deck Library for Proteus V1.0 comes as a ZIP archive of 237 files (3.1 MB, 7.0 MB unpacked) holding Proteus library files, simulation model DLLs, a Proteus simulation, an Arduino sketch, an Arduino library, compiled HEX firmware and source code.
- LIBProteus library
- DLLProteus model
- DSNProteus simulation
- INOArduino sketch
- LIBArduino library
- HEXHEX firmware
- SRCSource code
Description
LilyGO-T-Deck-Library-for-Proteus-v1.0.zip with the LilyGO T-Deck in Proteus (your ESP32-S3 sketch with the real GPIO numbers, the 2.8 inch display, the GT911 touch, the keyboard, the trackball, LoRa between boards, the panel and a serial monitor; TEPTDECK.LIB, TEPNET.DLL and the TEP Boards for Proteus add-on 1.53.0), the LoRa messenger demo with its sketch and a README.

File Structure
 File Structure
8.5 KB1.1 KB7.7 KB11 KB8.5 KB1.5 KB1.7 KB1.9 KB5.7 KB4.9 KB1.1 KB5.8 KB9.6 KB7.2 KB2.5 KB2.1 KB1.9 KB2.1 KB4.4 KB1.1 KB3 KB3 KB1.8 KB2.5 KB3.5 KB149 B2.7 KB2 KB6.4 KB3.2 KB1.3 KB963 B8.6 KB5.9 KB6 KB11.3 KB1.6 KB1.3 KB14.7 KB4.3 KB6.1 KB20.1 KB8.2 KB2 KB4.5 KB311 B12.8 KB6.7 KB6.1 KB2.2 KB3.4 KB5.9 KB1.5 KB1.6 KB16.6 KB9.7 KB6.9 KB2.1 KB533 B3.6 KB3.8 KB504 B8.3 KB10.9 KB522 B918 B1.4 KB1.8 KB1 KB1.3 KB1.4 KB1.8 KB1.4 KB5.7 KB502 B463 B5 KB6.5 KB3.4 KB3.4 KB500 B1.6 KB368 B406 B466 B404 B444 B460 B477 B739 B448 B1.3 KB350 B5.7 KB4 KB562 B1.5 KB2 KB550 B7.2 KB4.1 KB371 B4.5 KB3.5 KB492 B390 B478 B2.2 KB1.9 KB498 B1.2 KB1.2 KB487 B5.1 KB4.6 KB371 B1.5 KB1.2 KB478 B6.2 KB3 KB1.5 KB1.7 KB469 B294 B358 B1.3 KB2.5 KB13.2 KB3.8 KB659 B510 B4.4 KB1.9 KB5.8 KB11 KB835 B518 B9.2 KB4.9 KB439 B4.2 KB1.5 KB9.3 KB7.1 KB4.7 KB2.4 KB388 B5.1 KB893 B667 B1.3 KB5.5 KB2.3 KB1.8 KB468 B882 B530 B791 B487 B894 B2 KB730 B646 B2.6 KB977 B702 B20.6 KB1.8 KB11.8 KB3.2 KB596 B406 B6.3 KB5.7 KB9.3 KB7.7 KB7.7 KB5.8 KB5.9 KB6.4 KB6.4 KB5.3 KB5.6 KB5.7 KB7.9 KB7.7 KB6.5 KB6.3 KB6.2 KB10.3 KB8.5 KB6.6 KB7.6 KB6.7 KB6.1 KB6.7 KB8.3 KB6.2 KB7.2 KB5.9 KB5.6 KB5.7 KB6.7 KB5.9 KB6 KB6.1 KB6.3 KB6 KB6.2 KB6 KB5.8 KB7 KB6.5 KB6.6 KB6.5 KB7.5 KB7.7 KB7.1 KB5.8 KB5.9 KB5.9 KB6.9 KB5.5 KB5.5 KB7.1 KB26.4 KB25.9 KB1.3 KB8.5 KB32.9 KB58.7 KB2.8 MB18 KB166.4 KB2.8 MB12.1 KBGallery12 images from the tutorialOpen the tutorial
 Gallery12 images from the tutorial
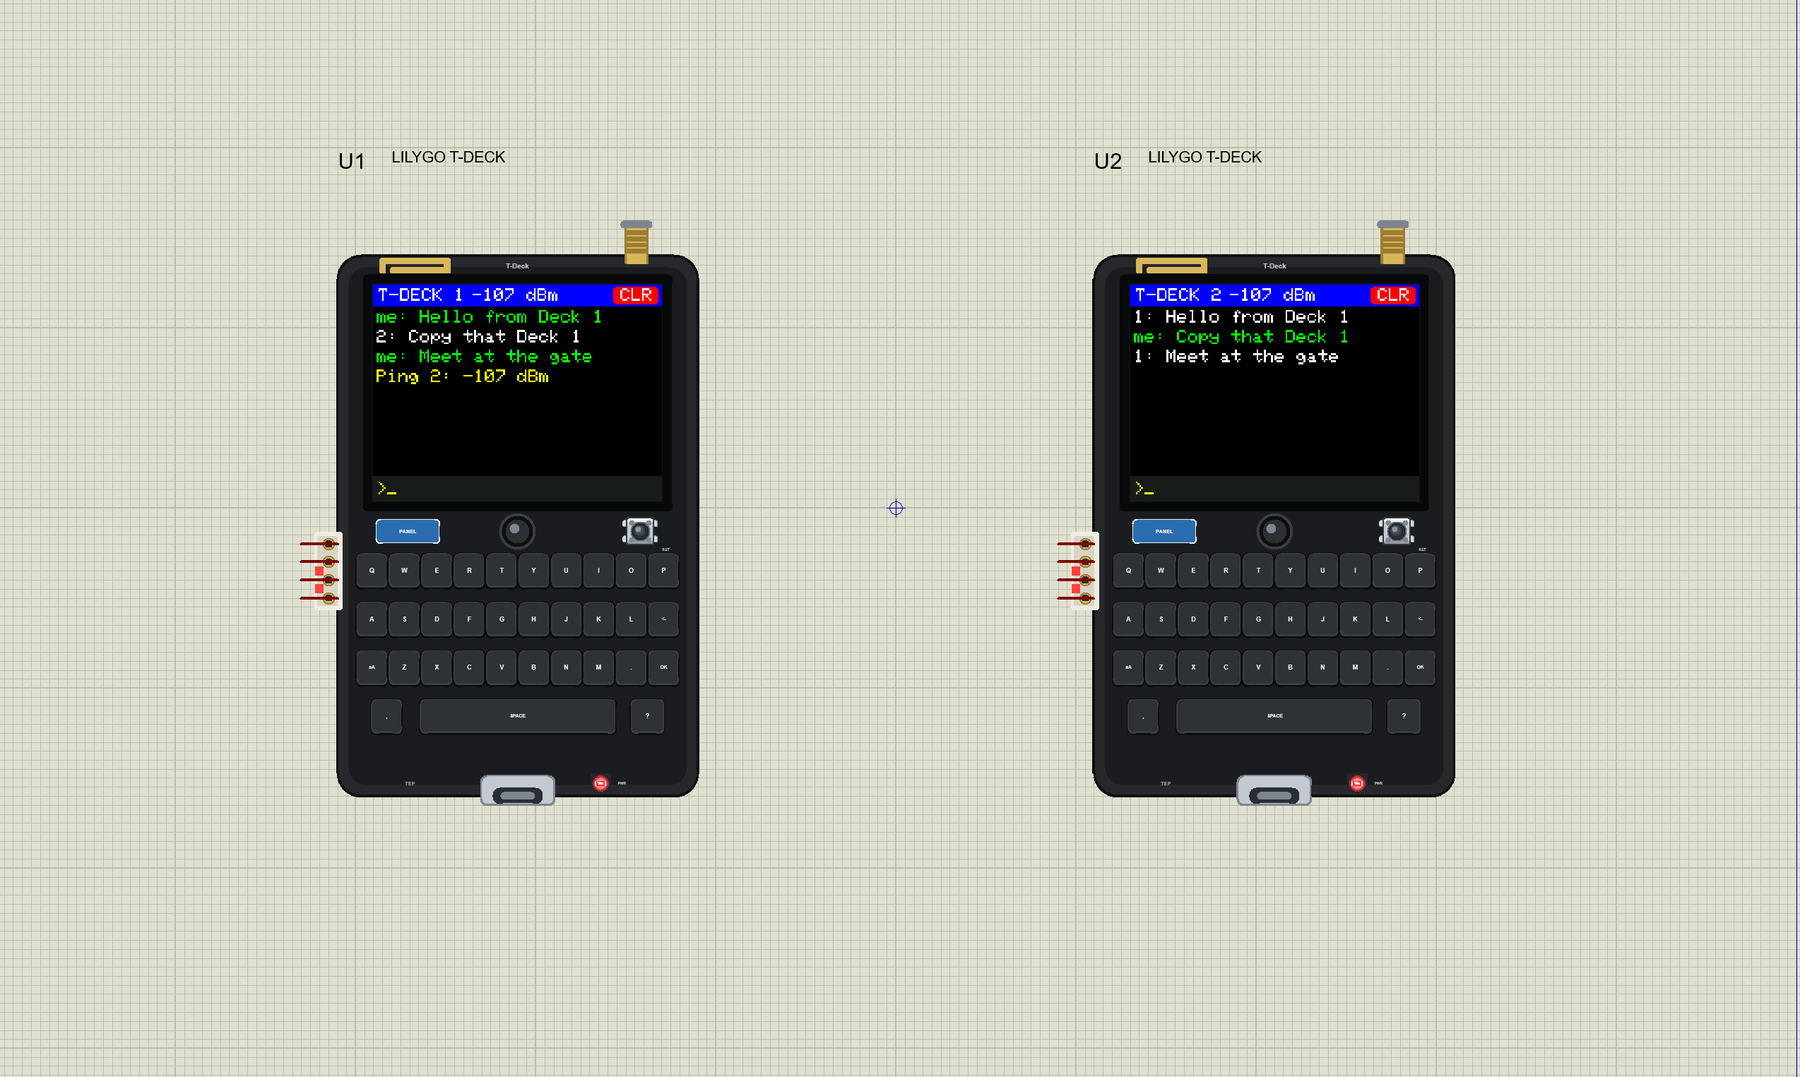
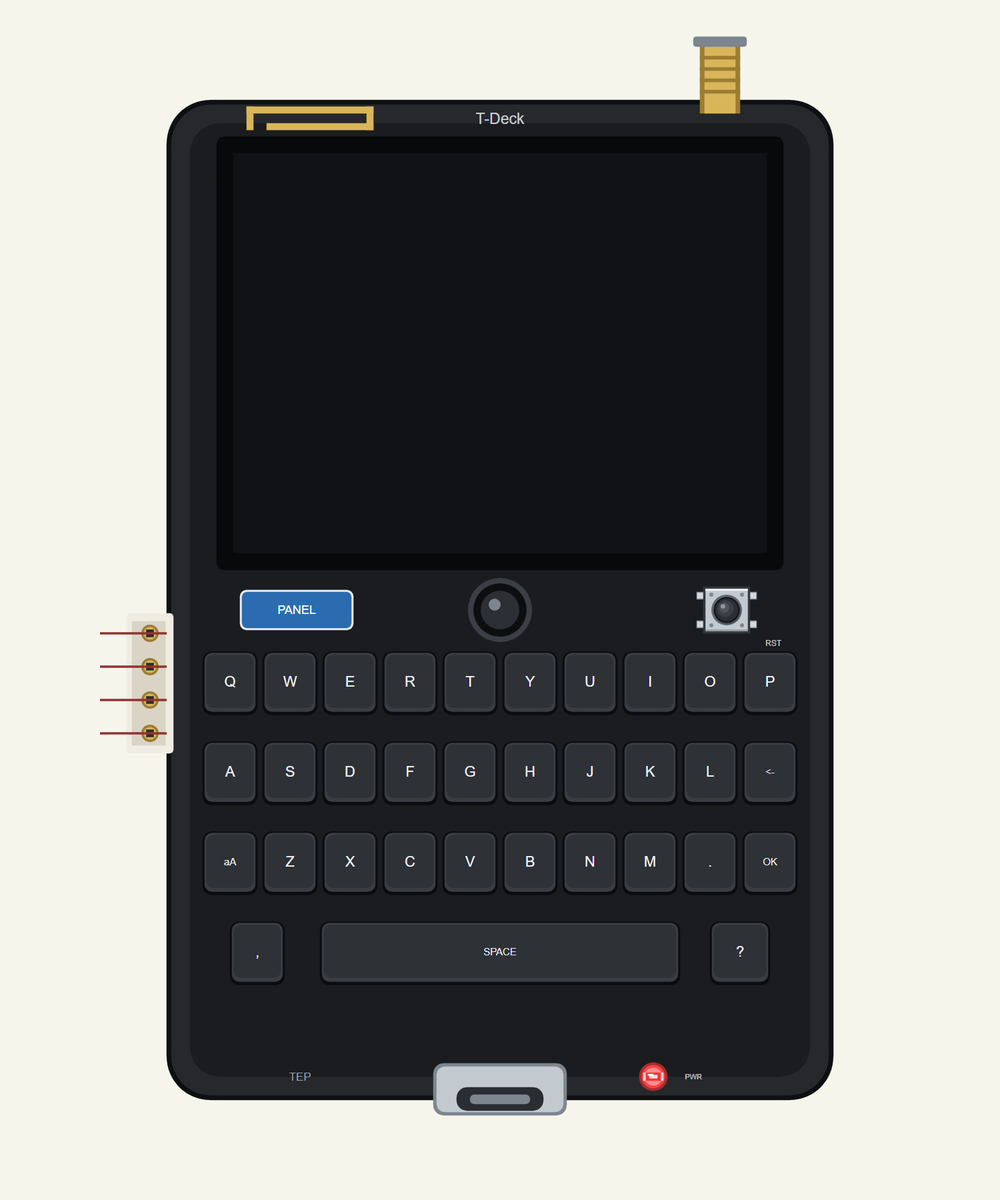
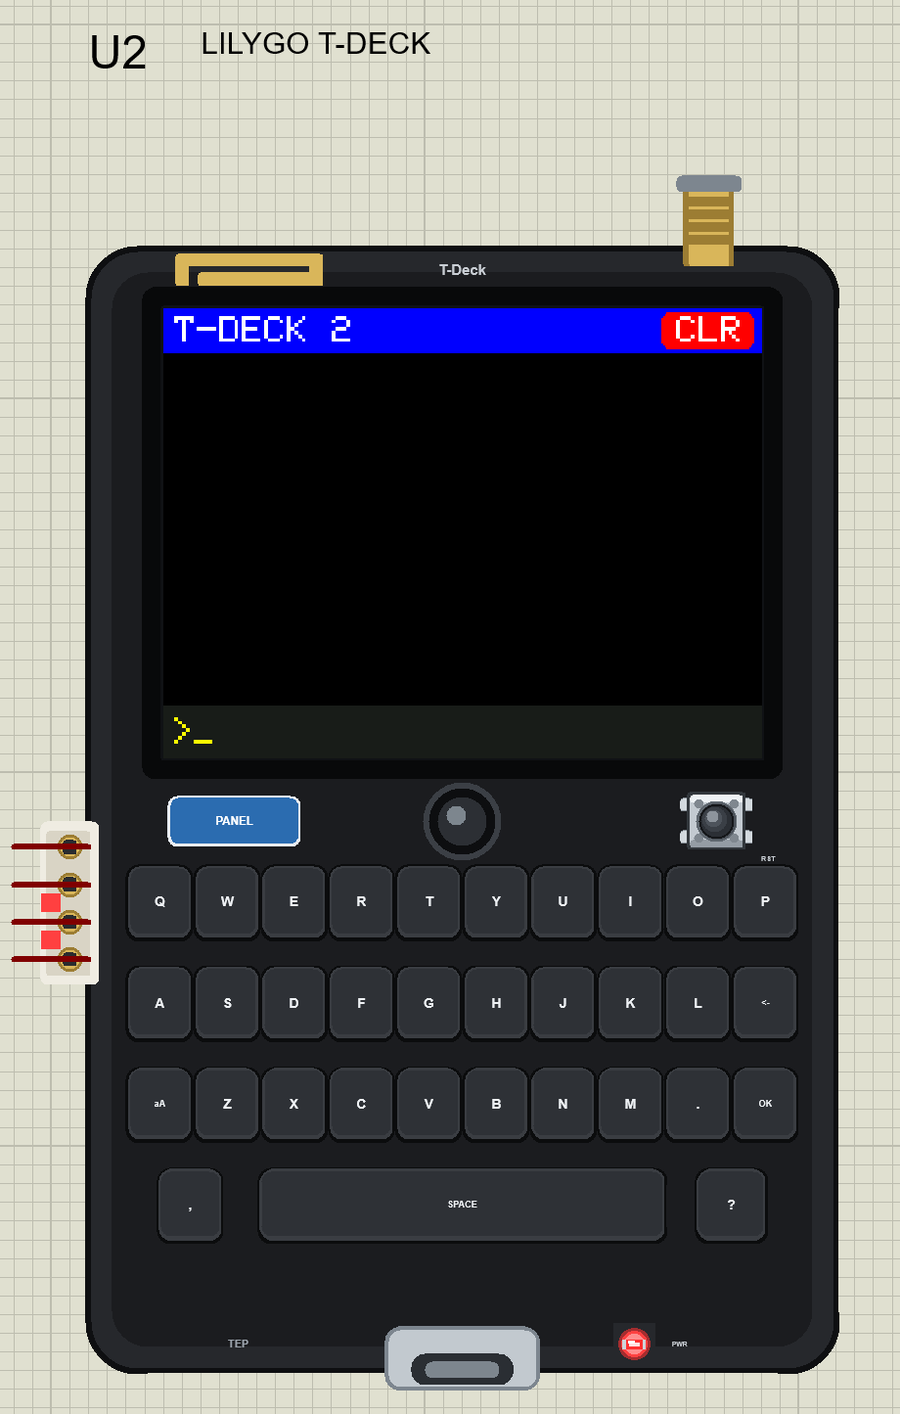
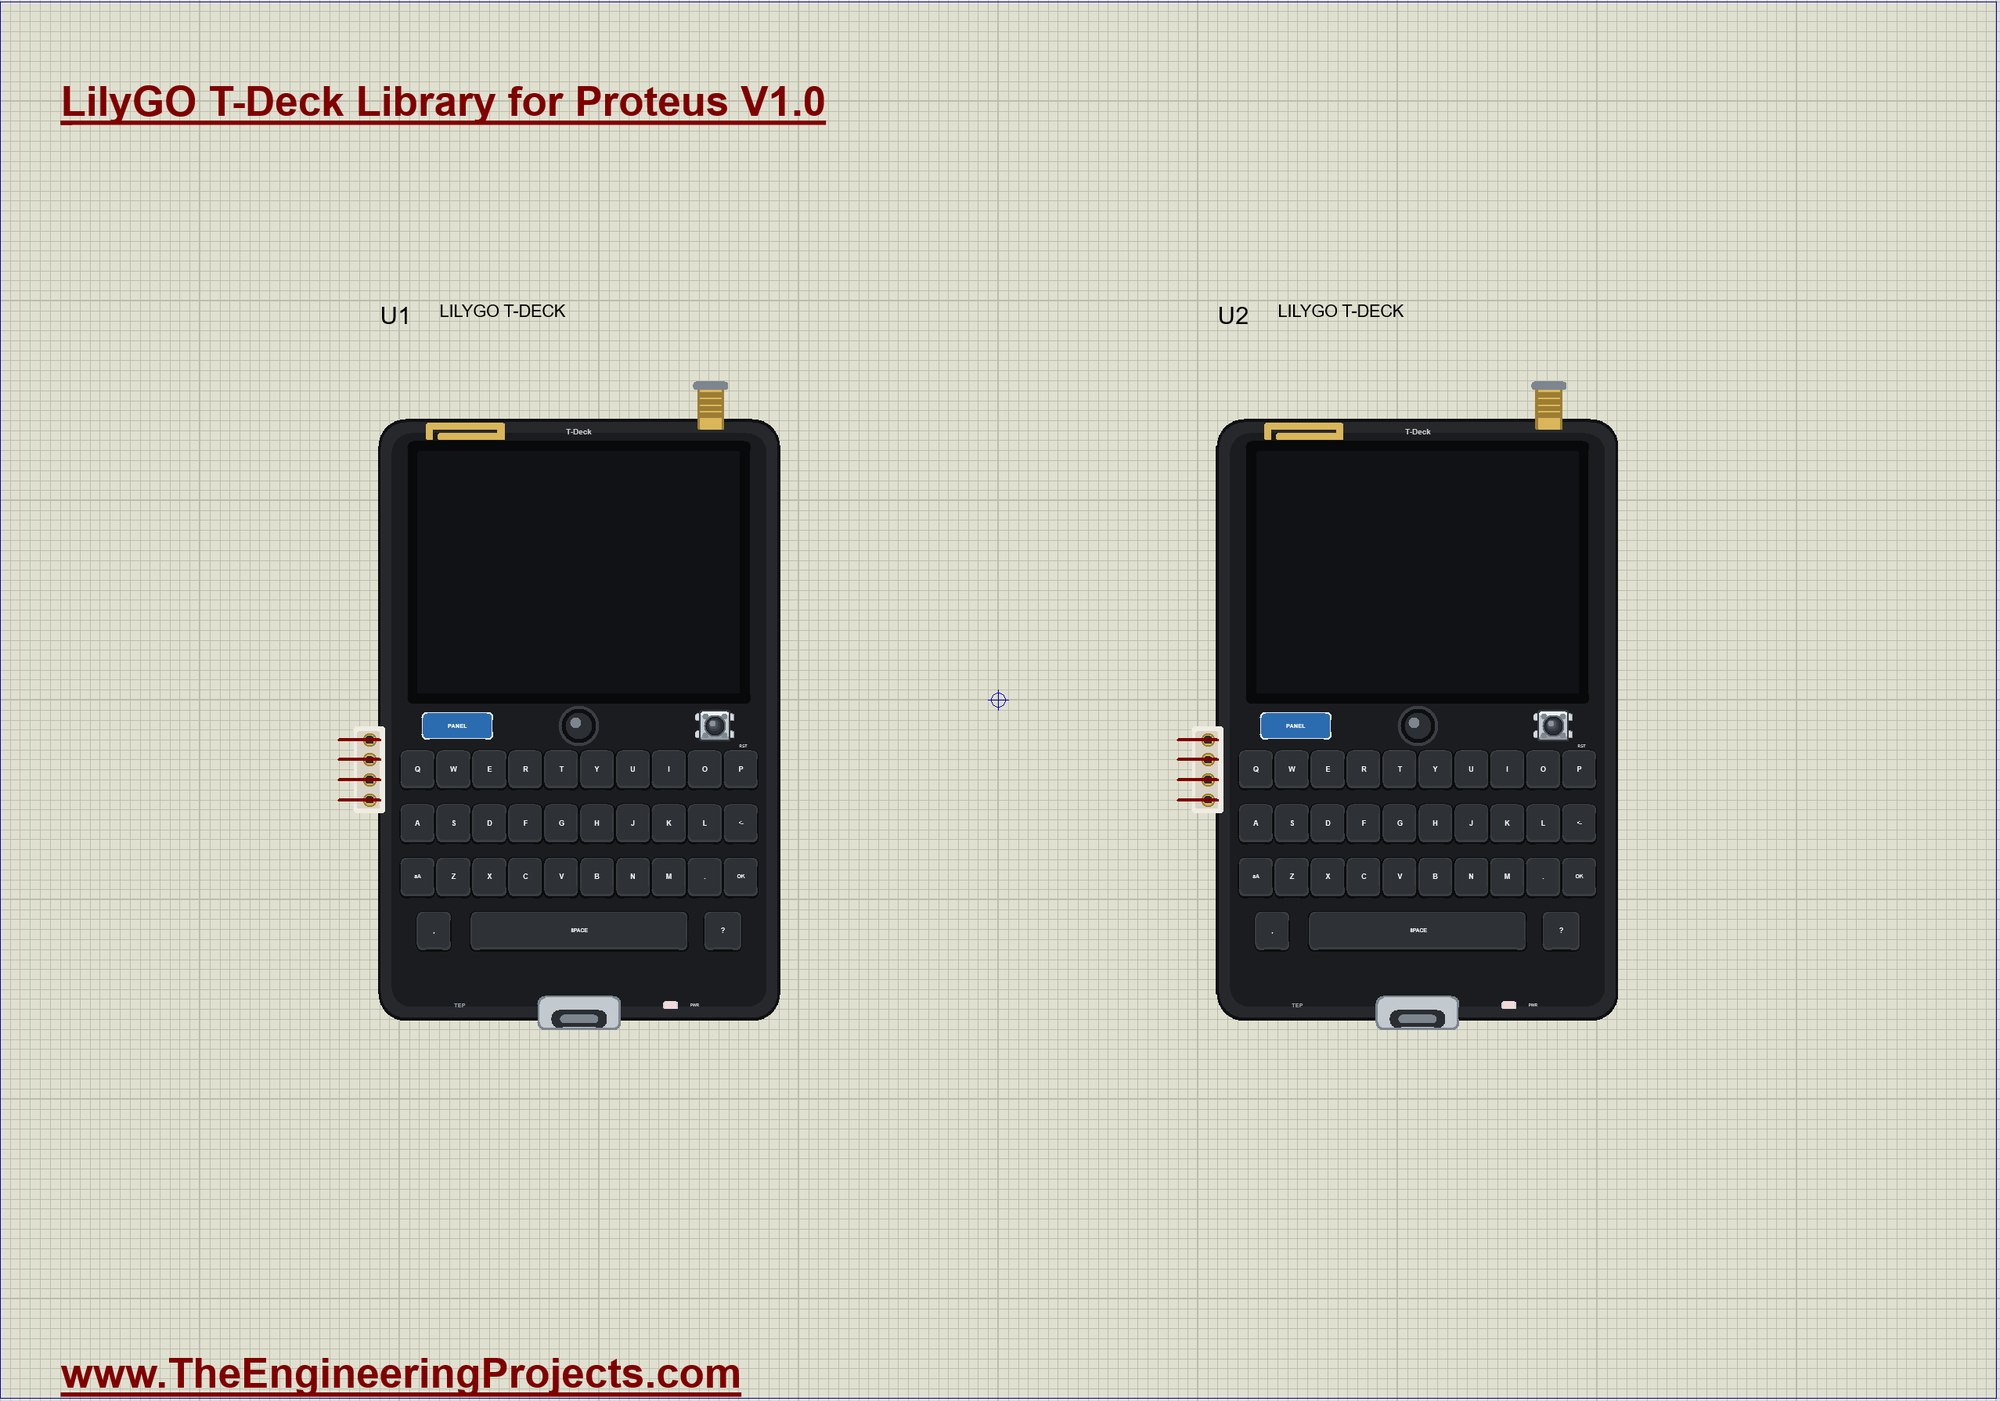
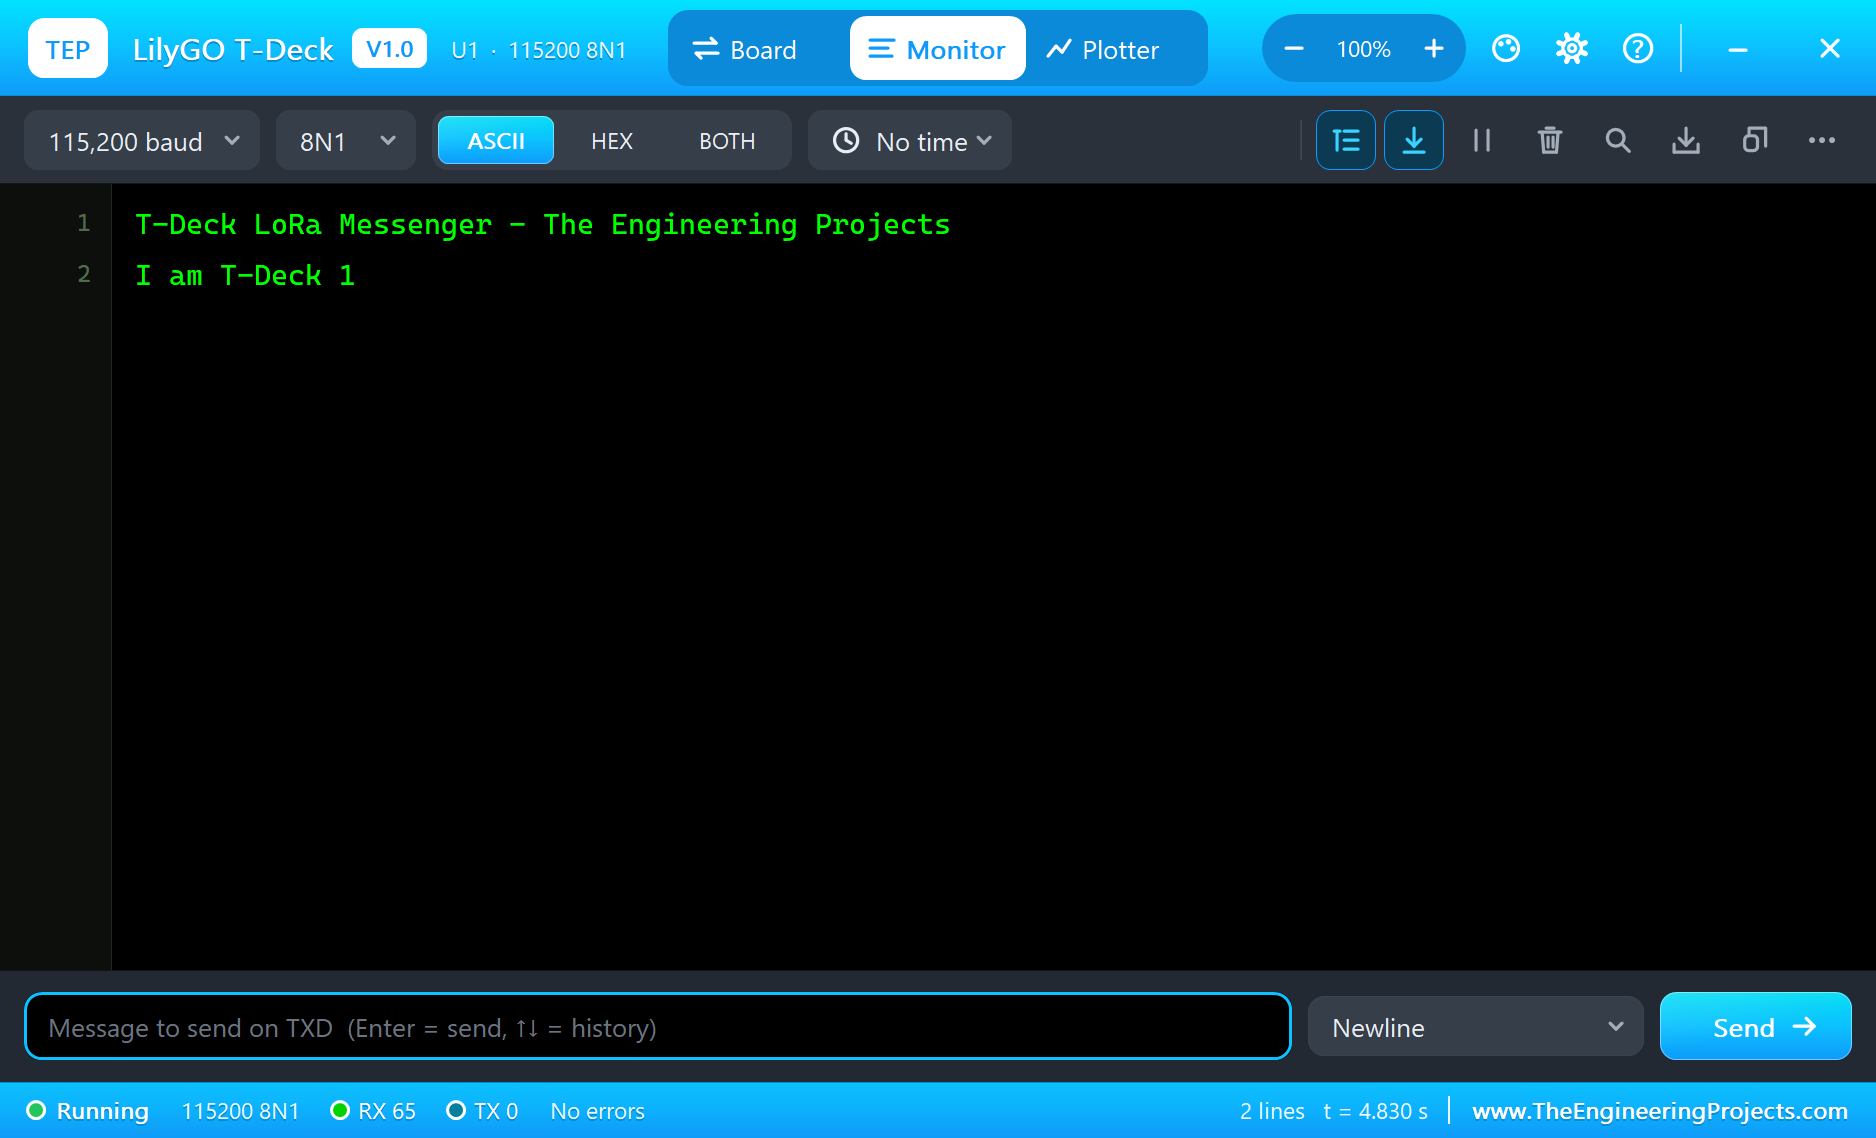
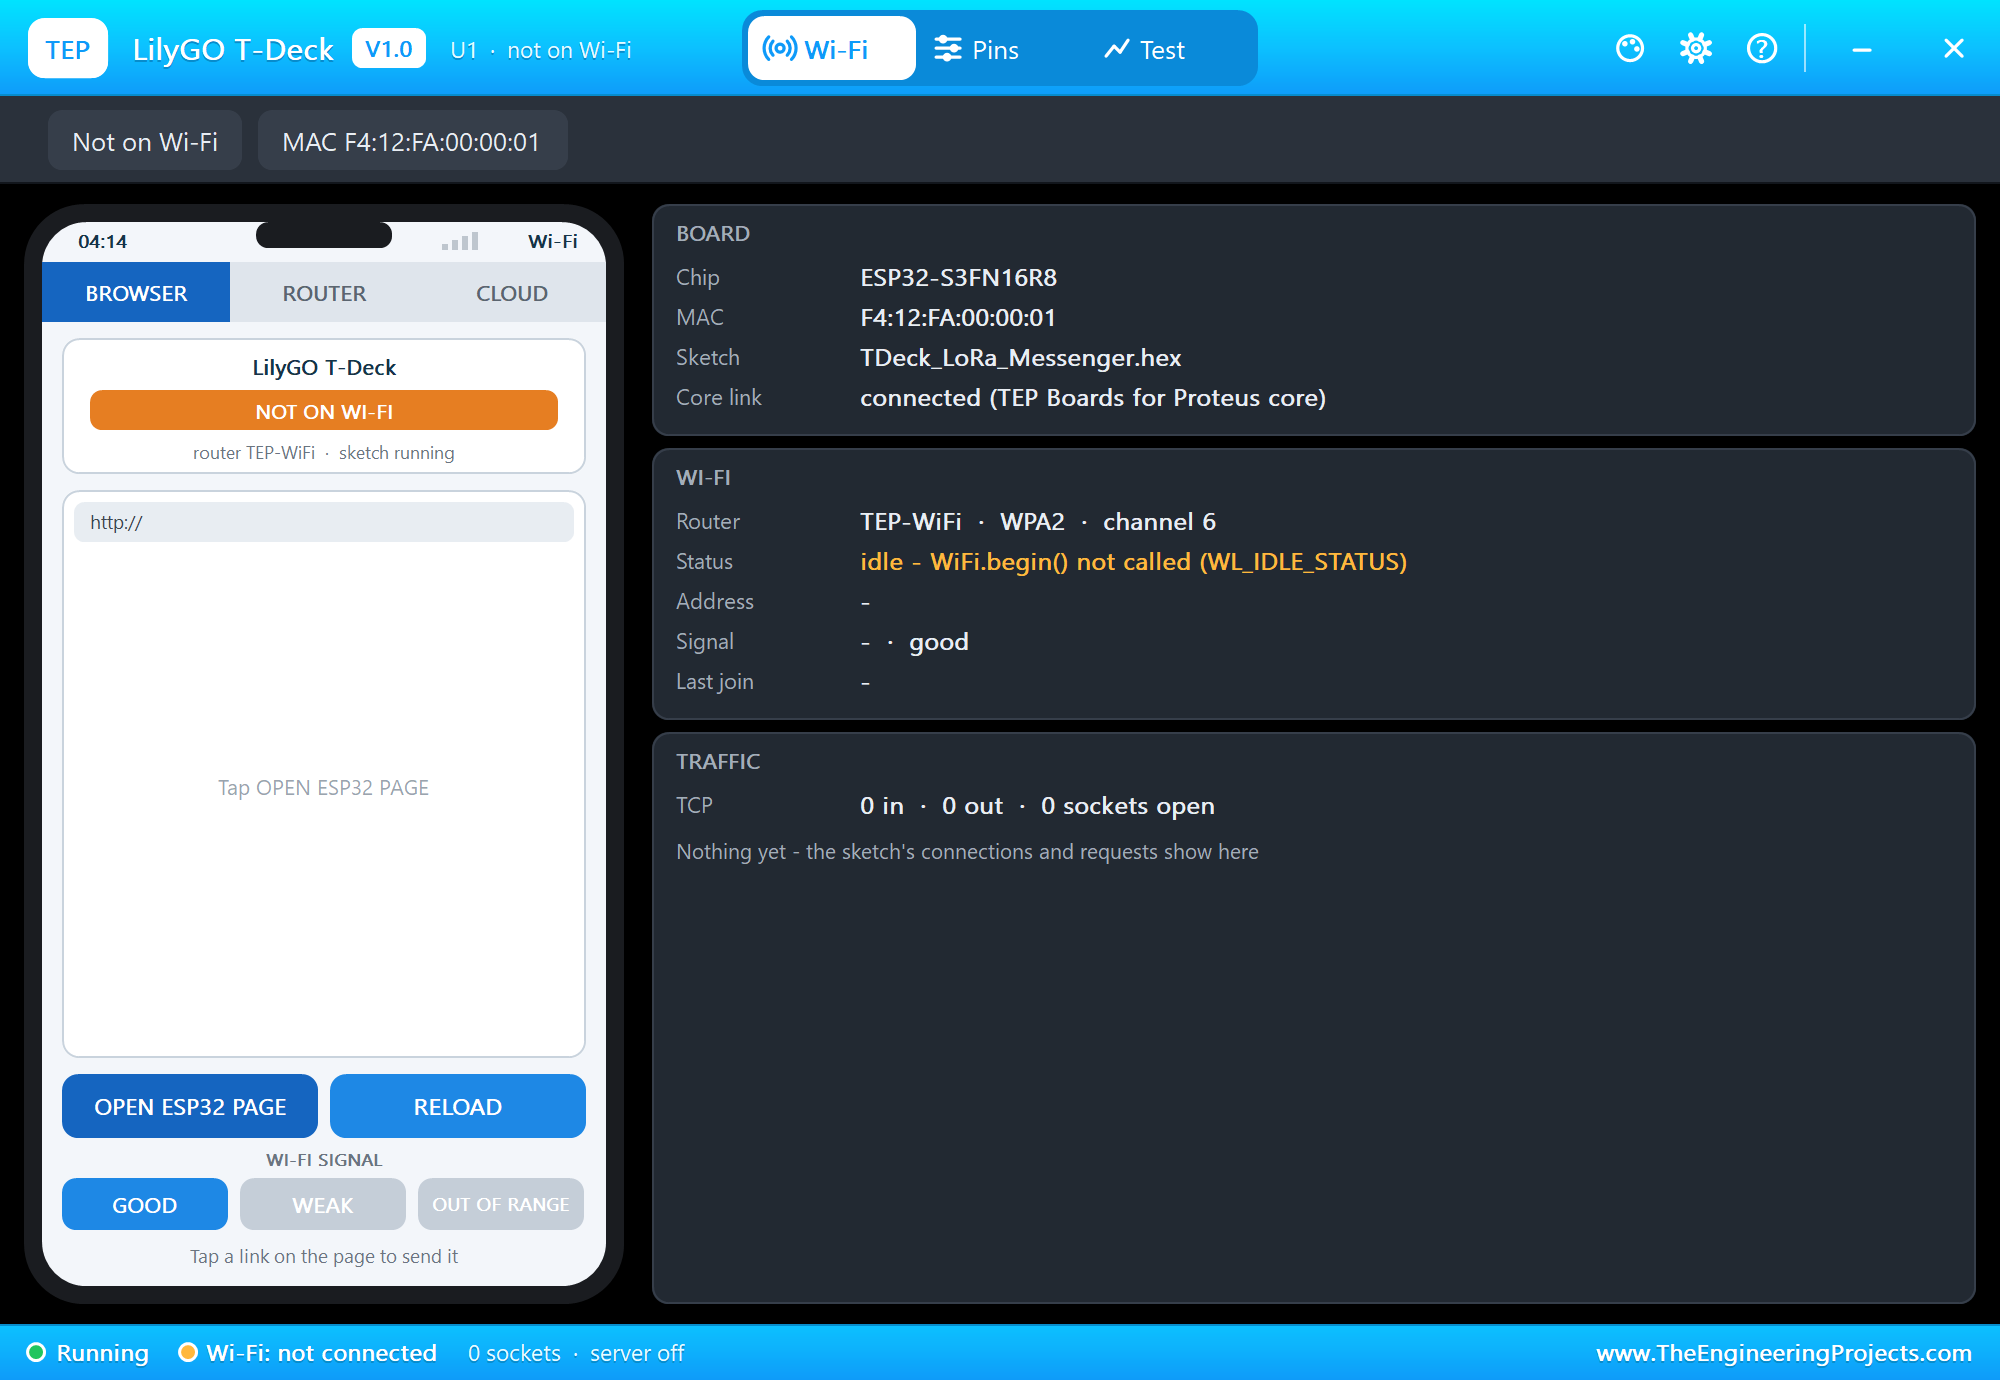
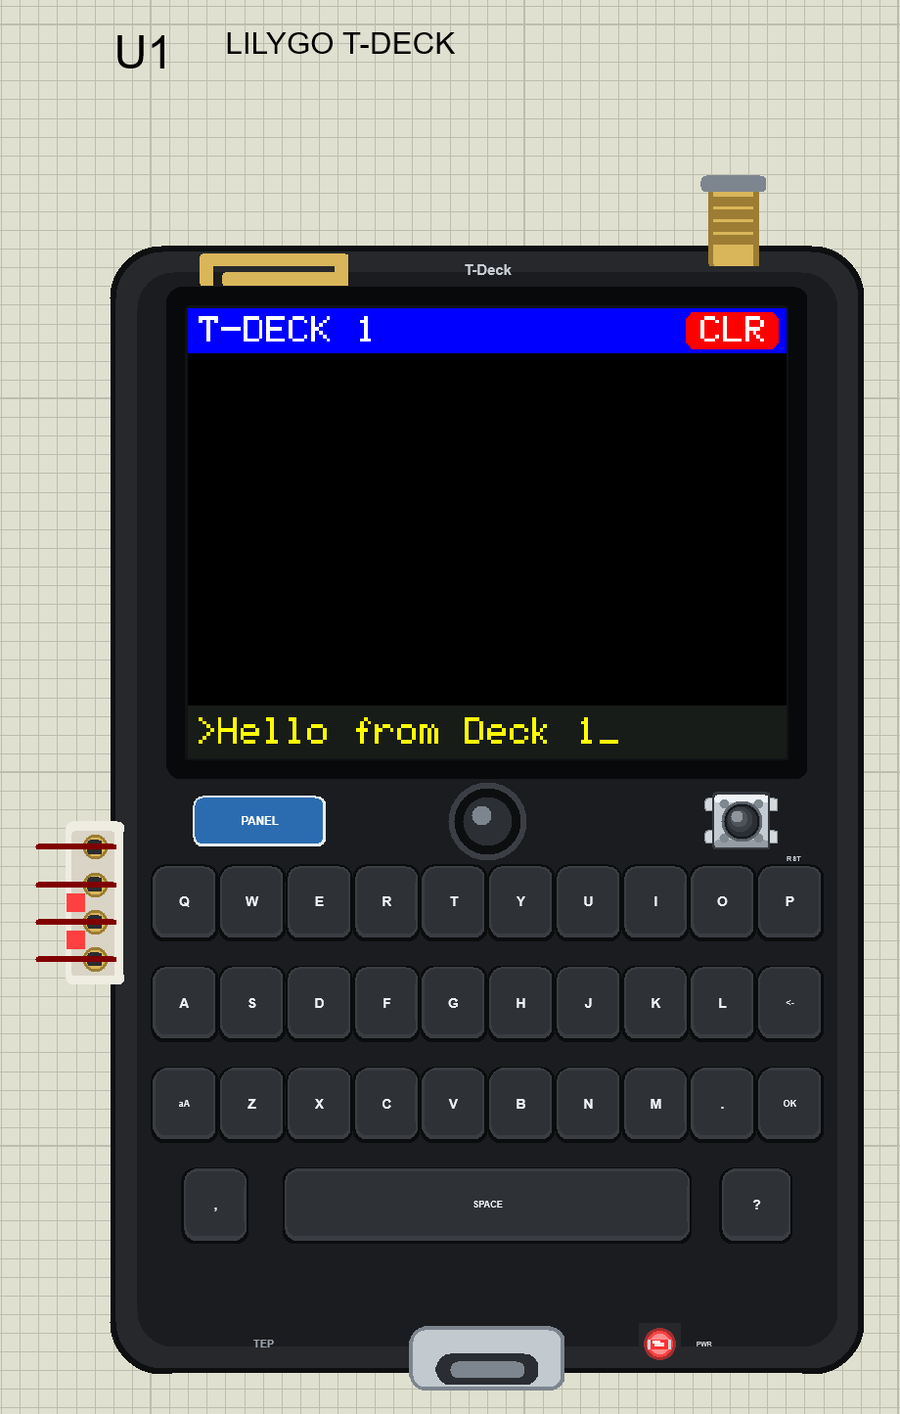
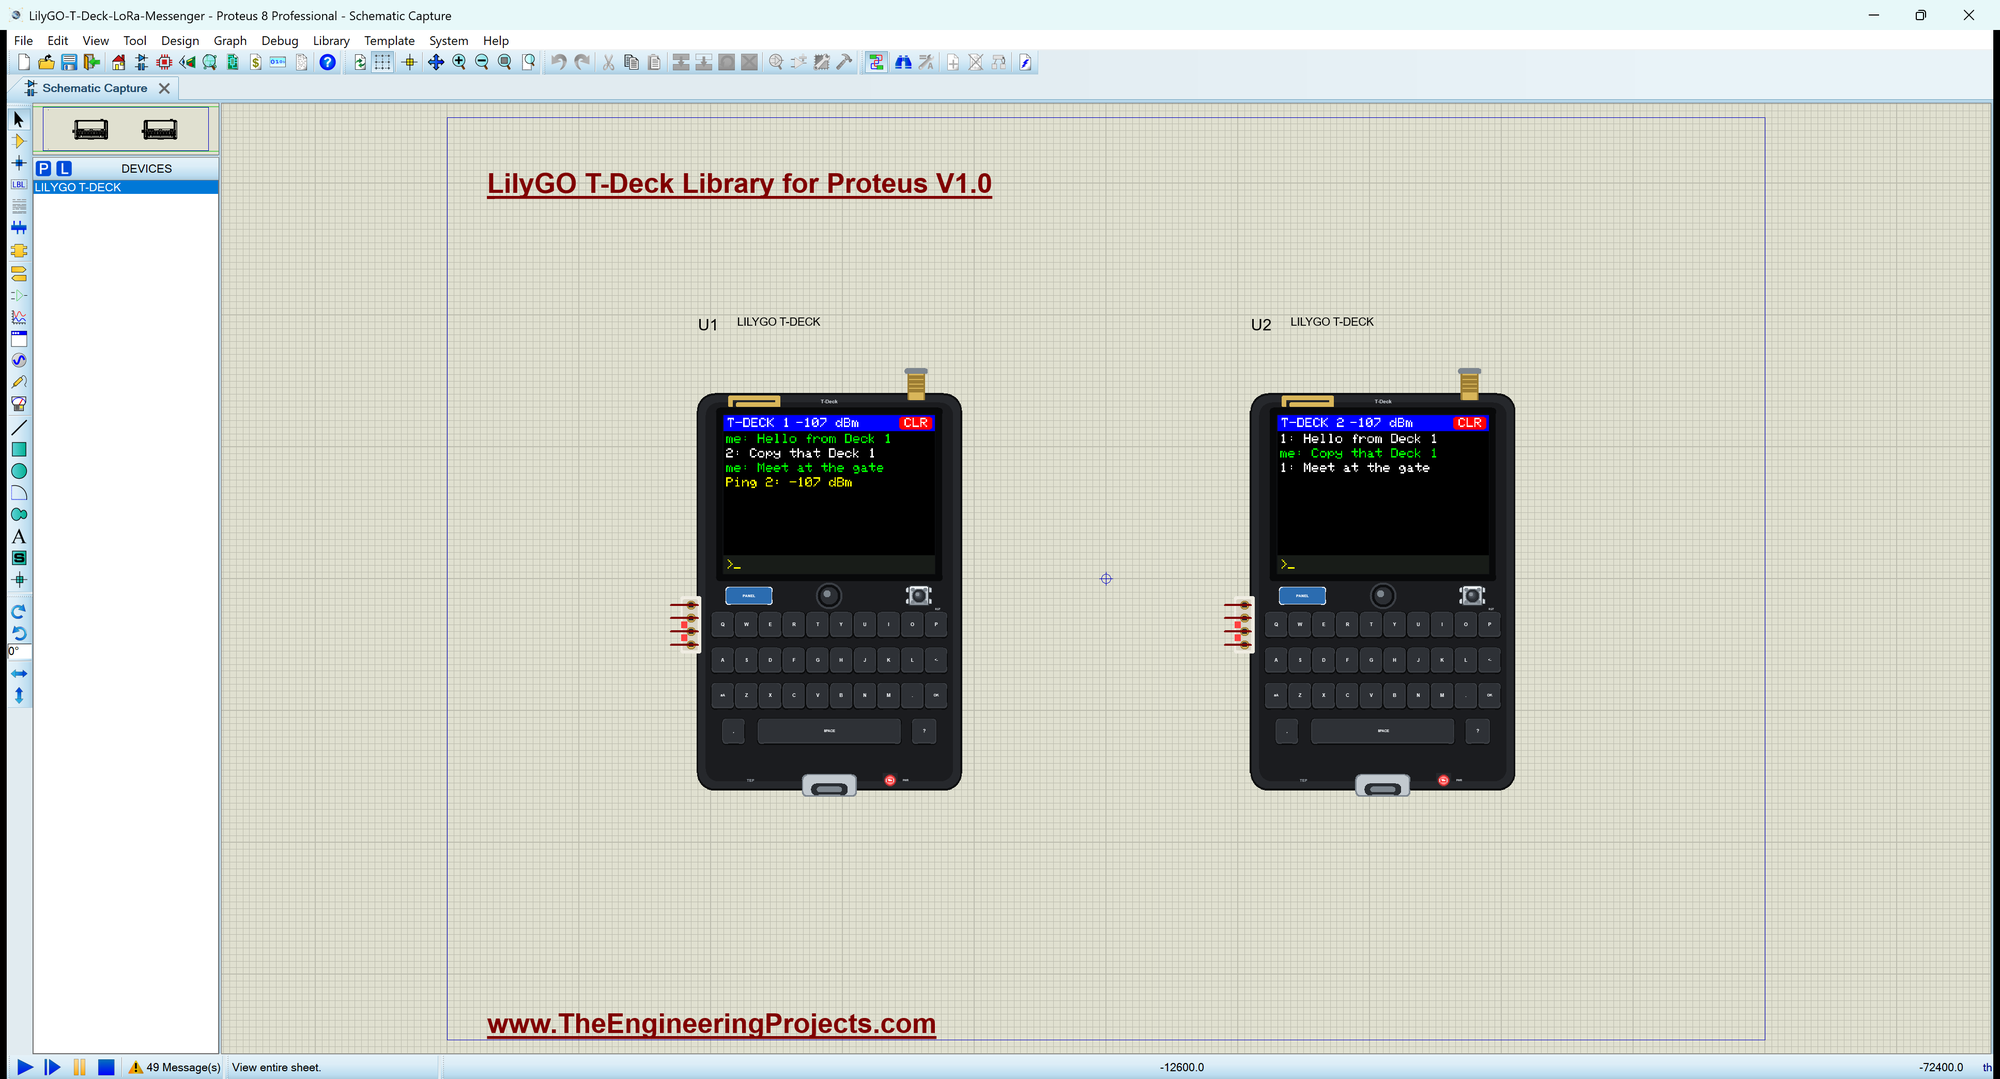
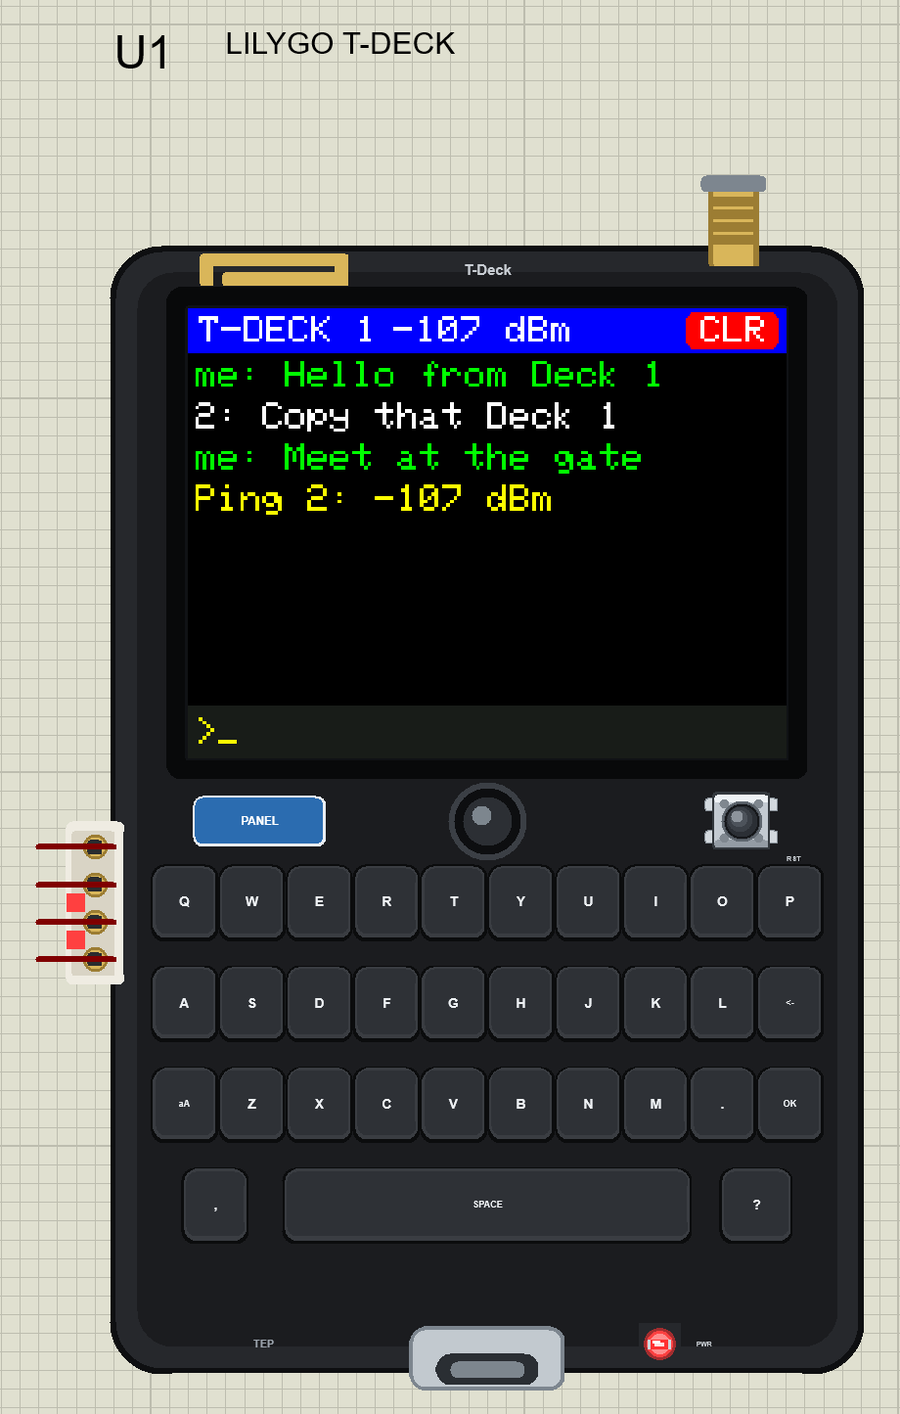
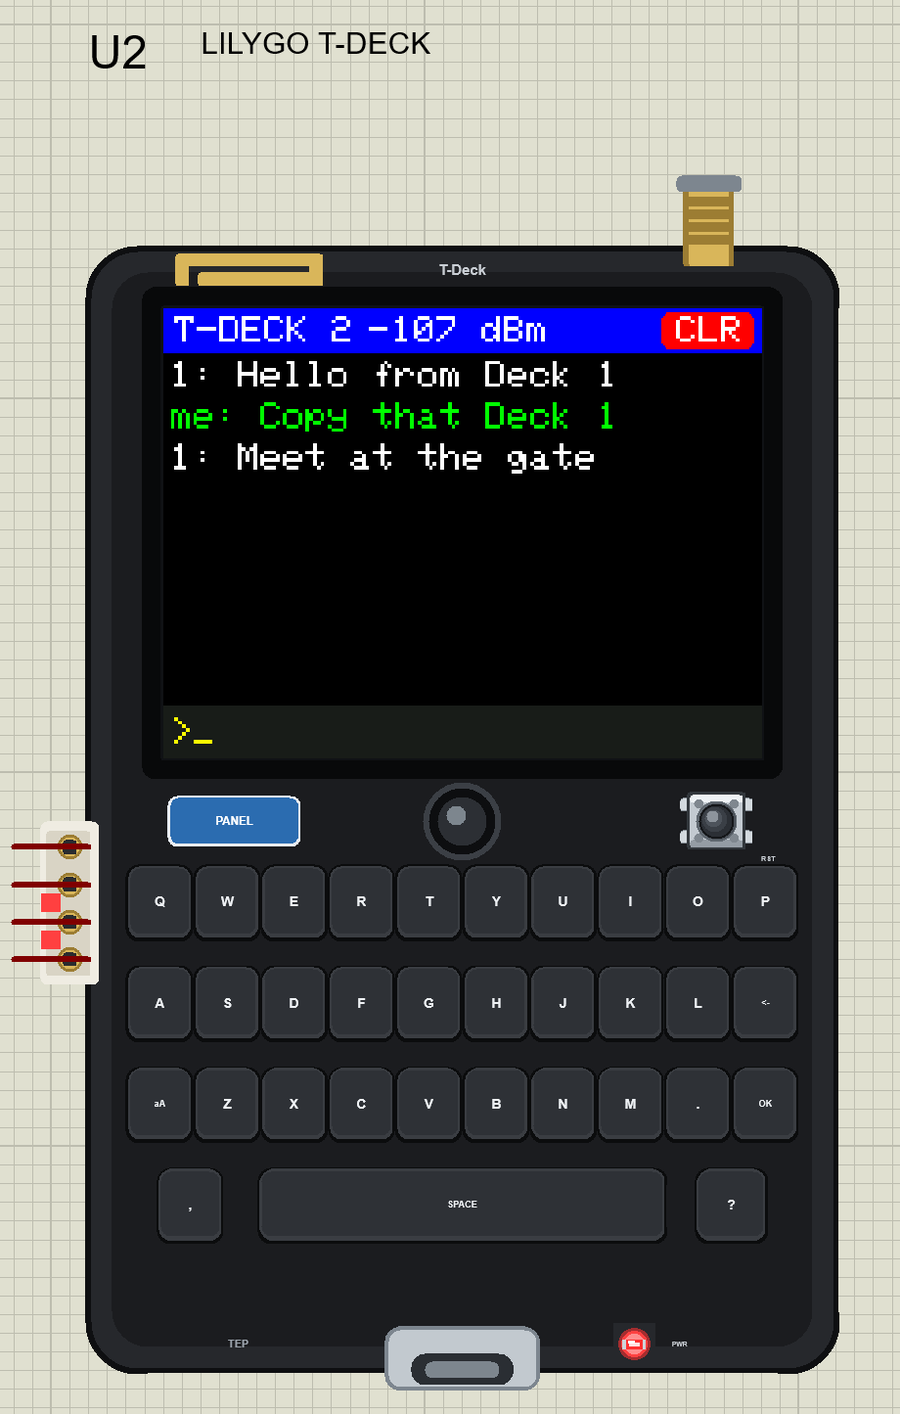
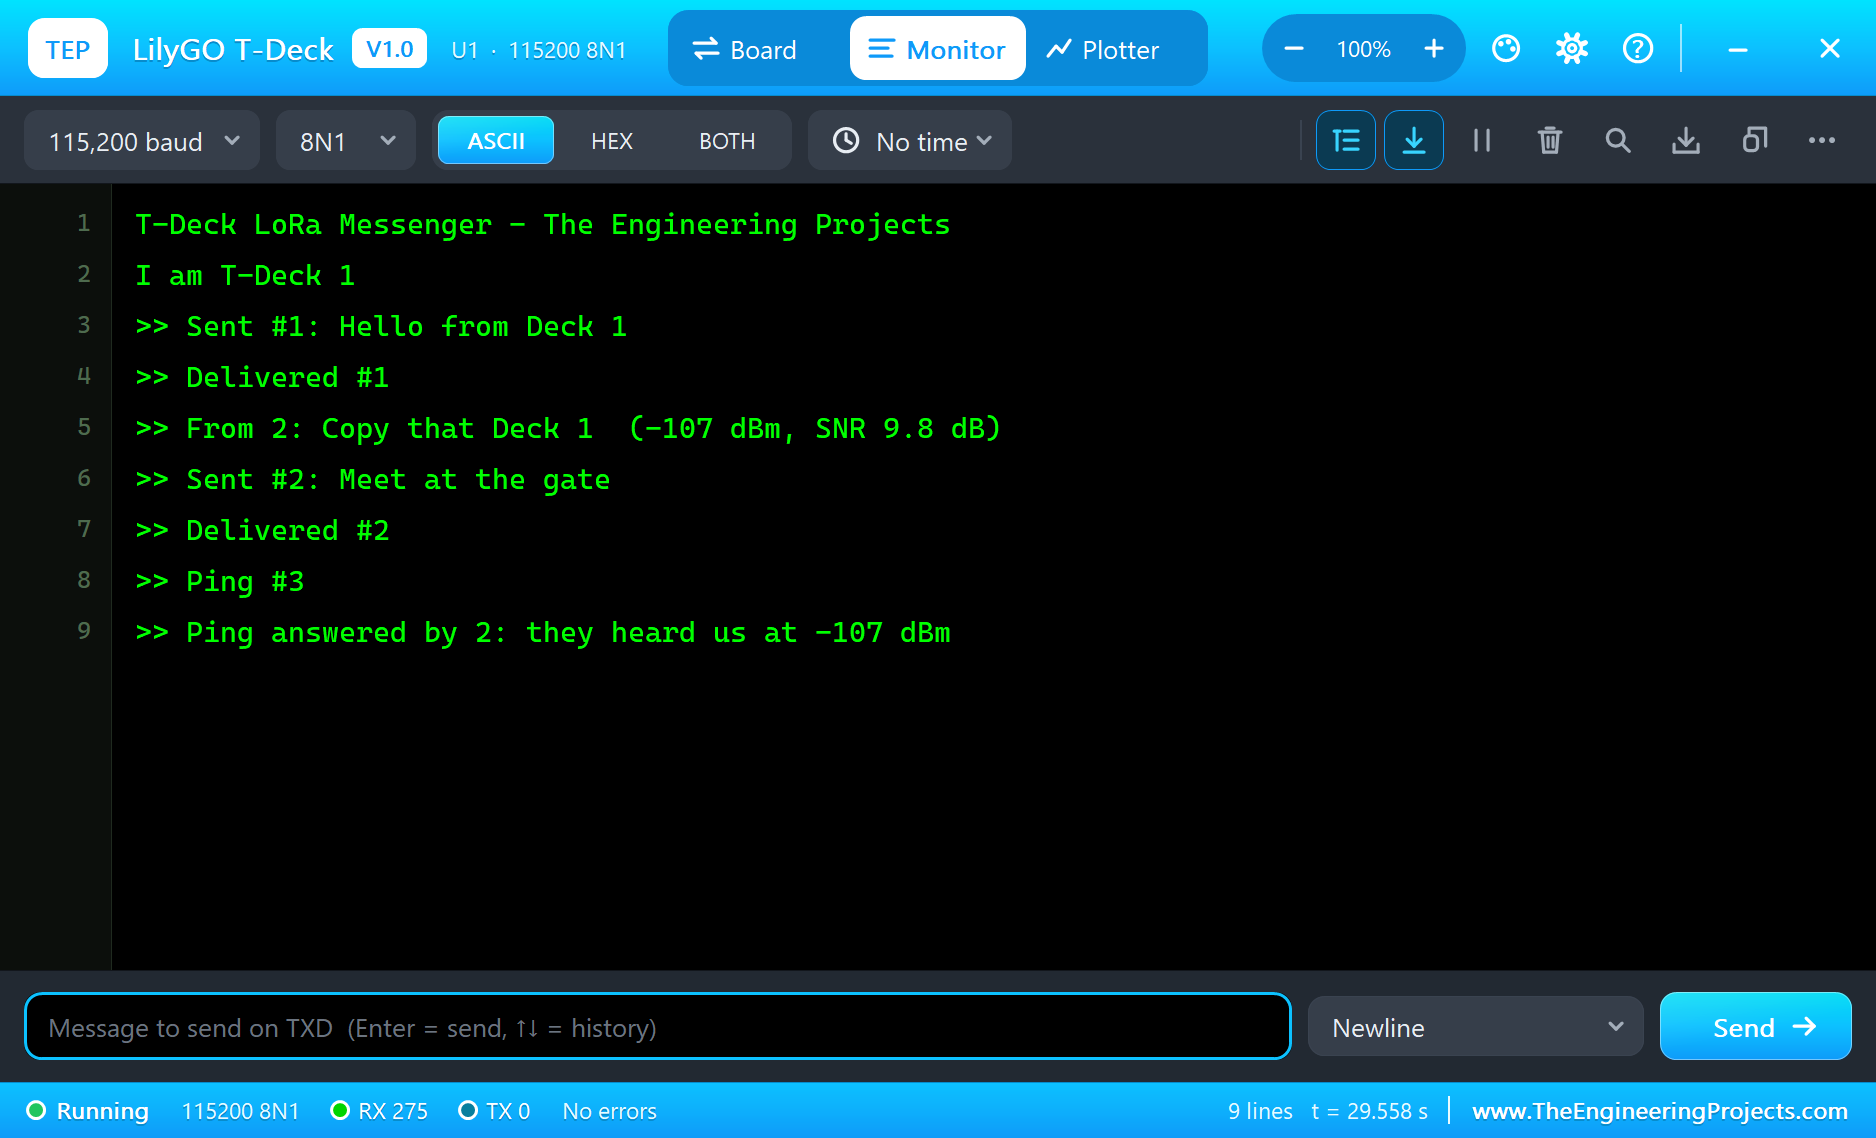
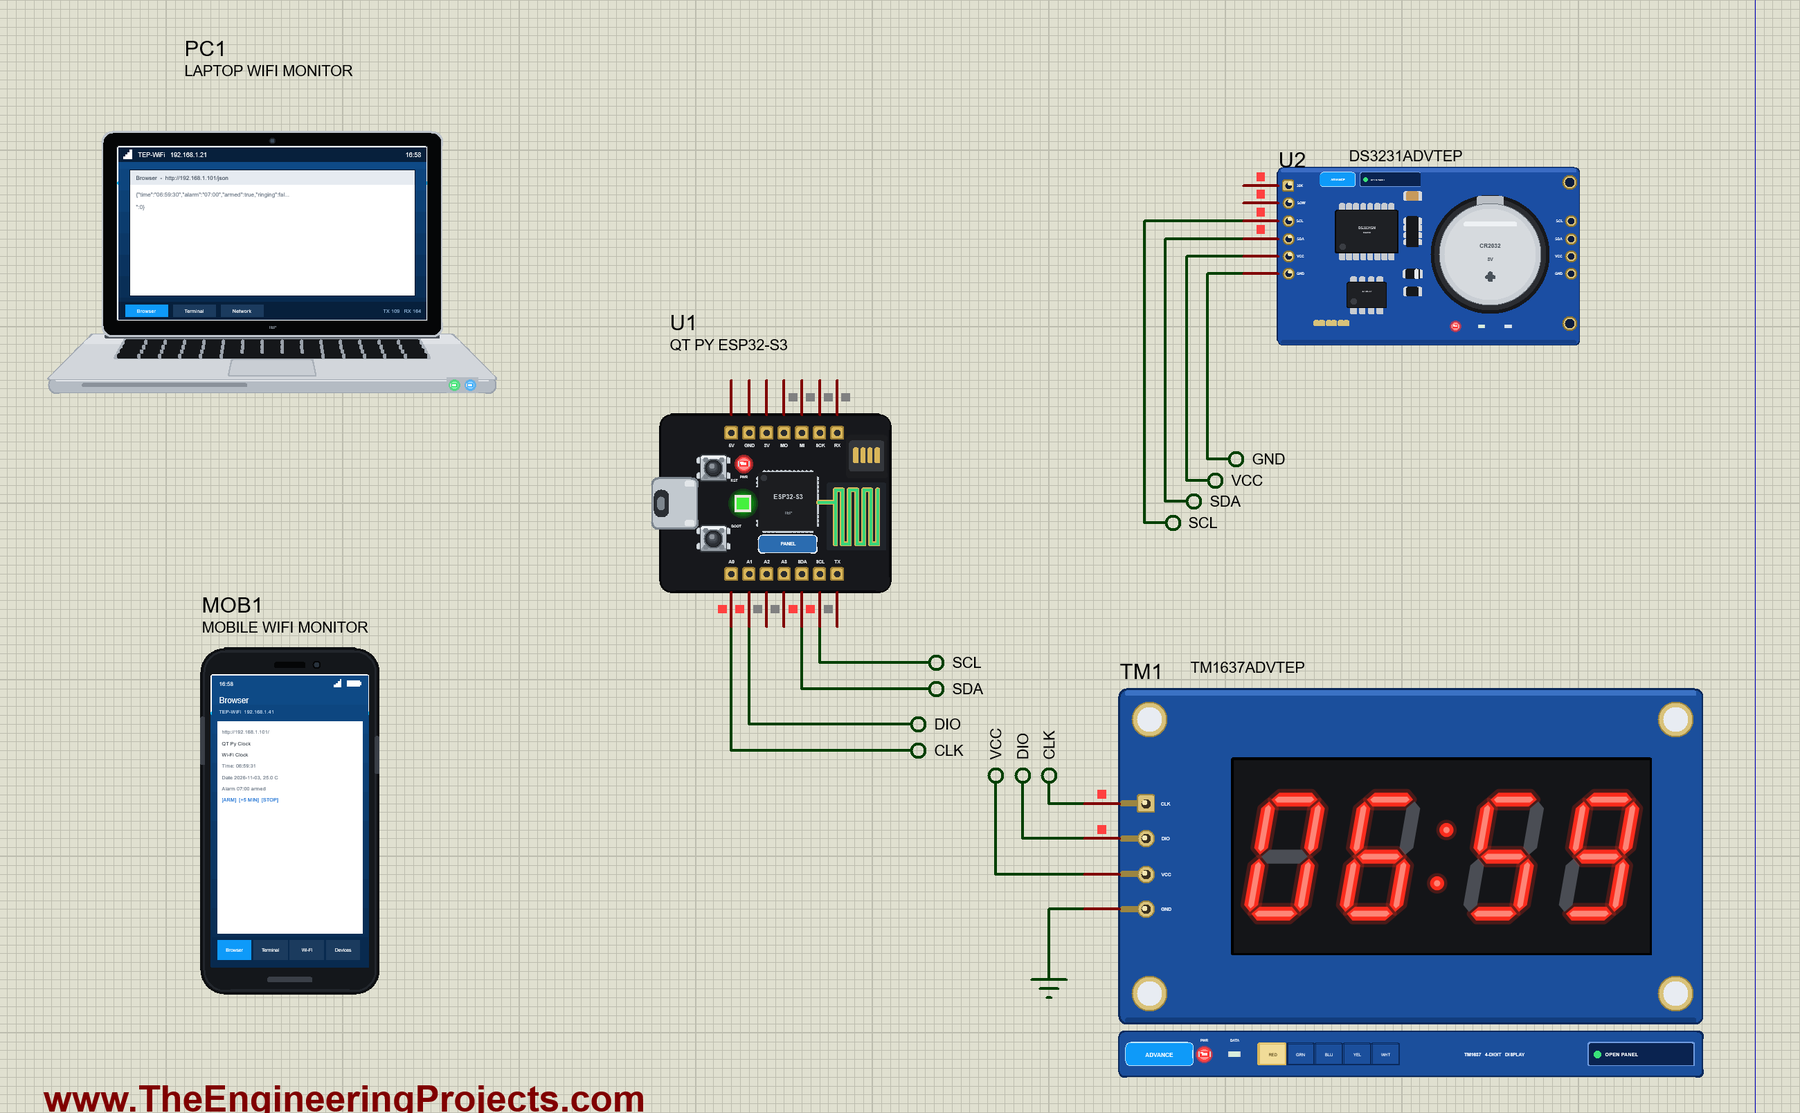
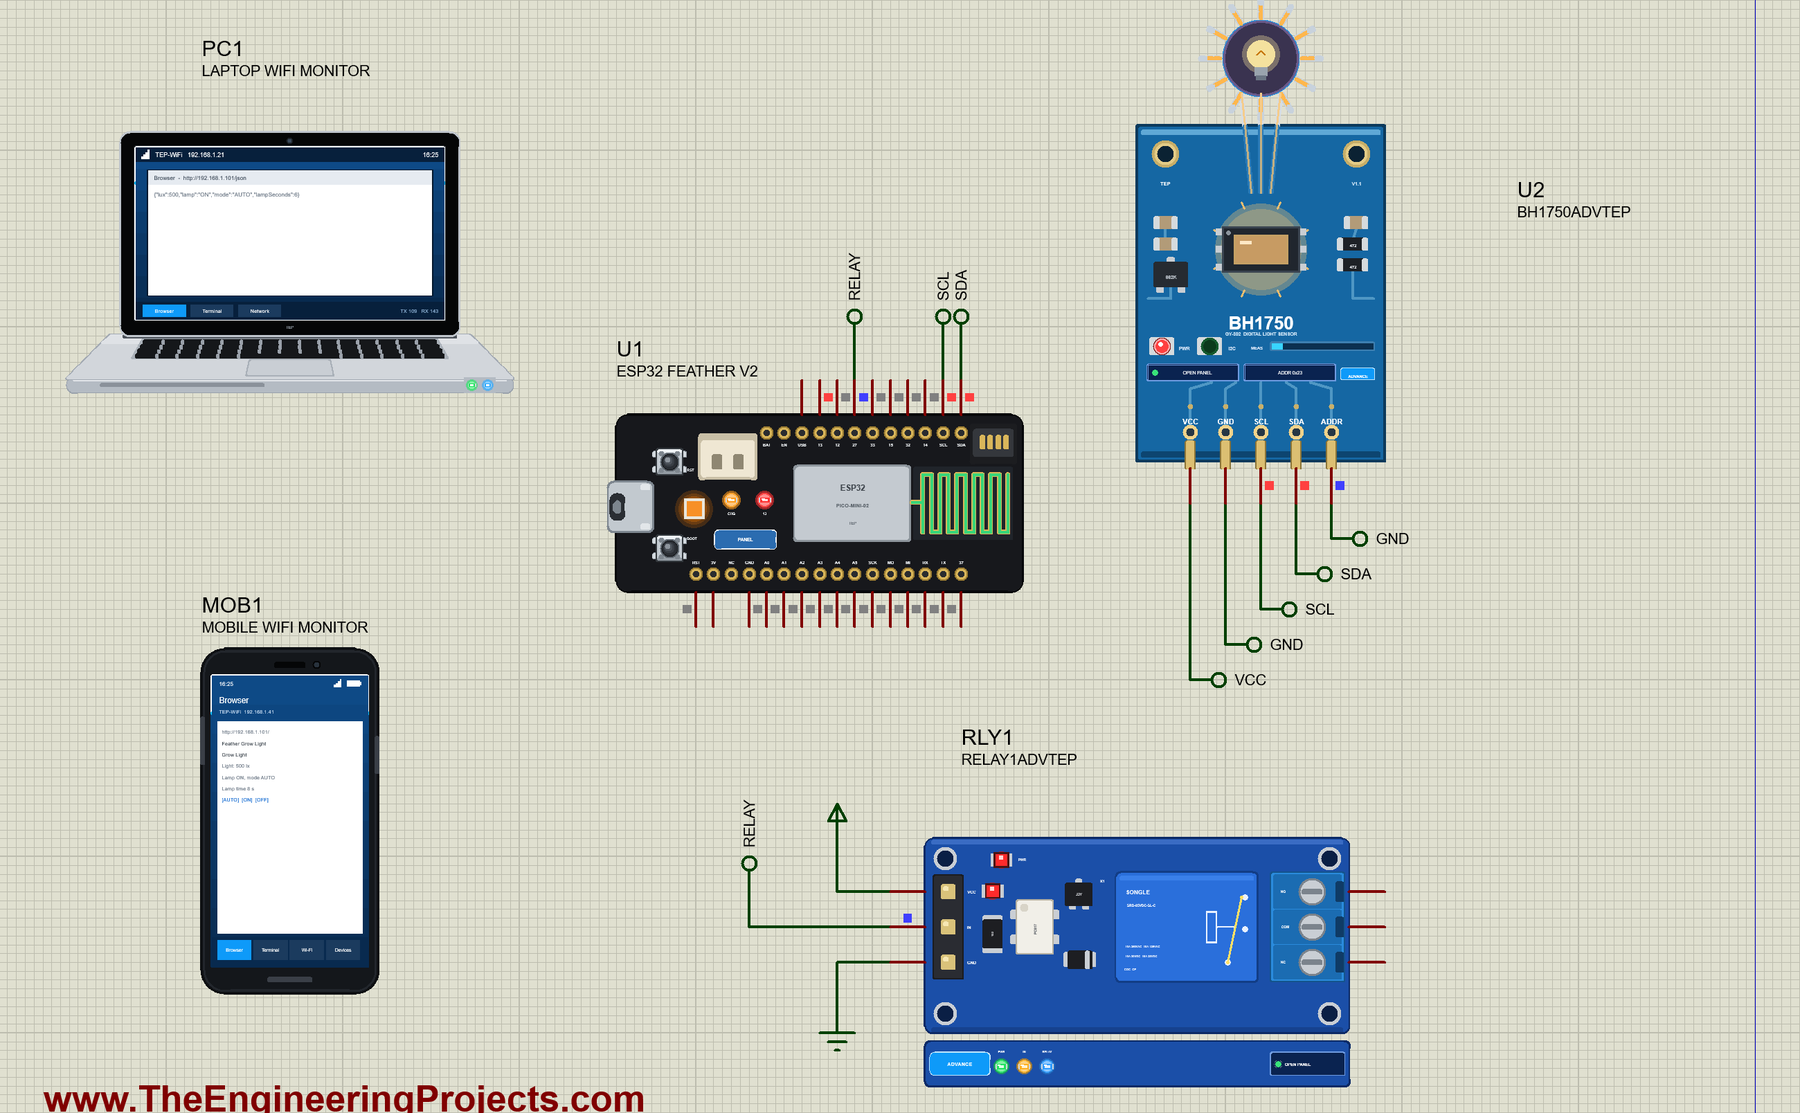
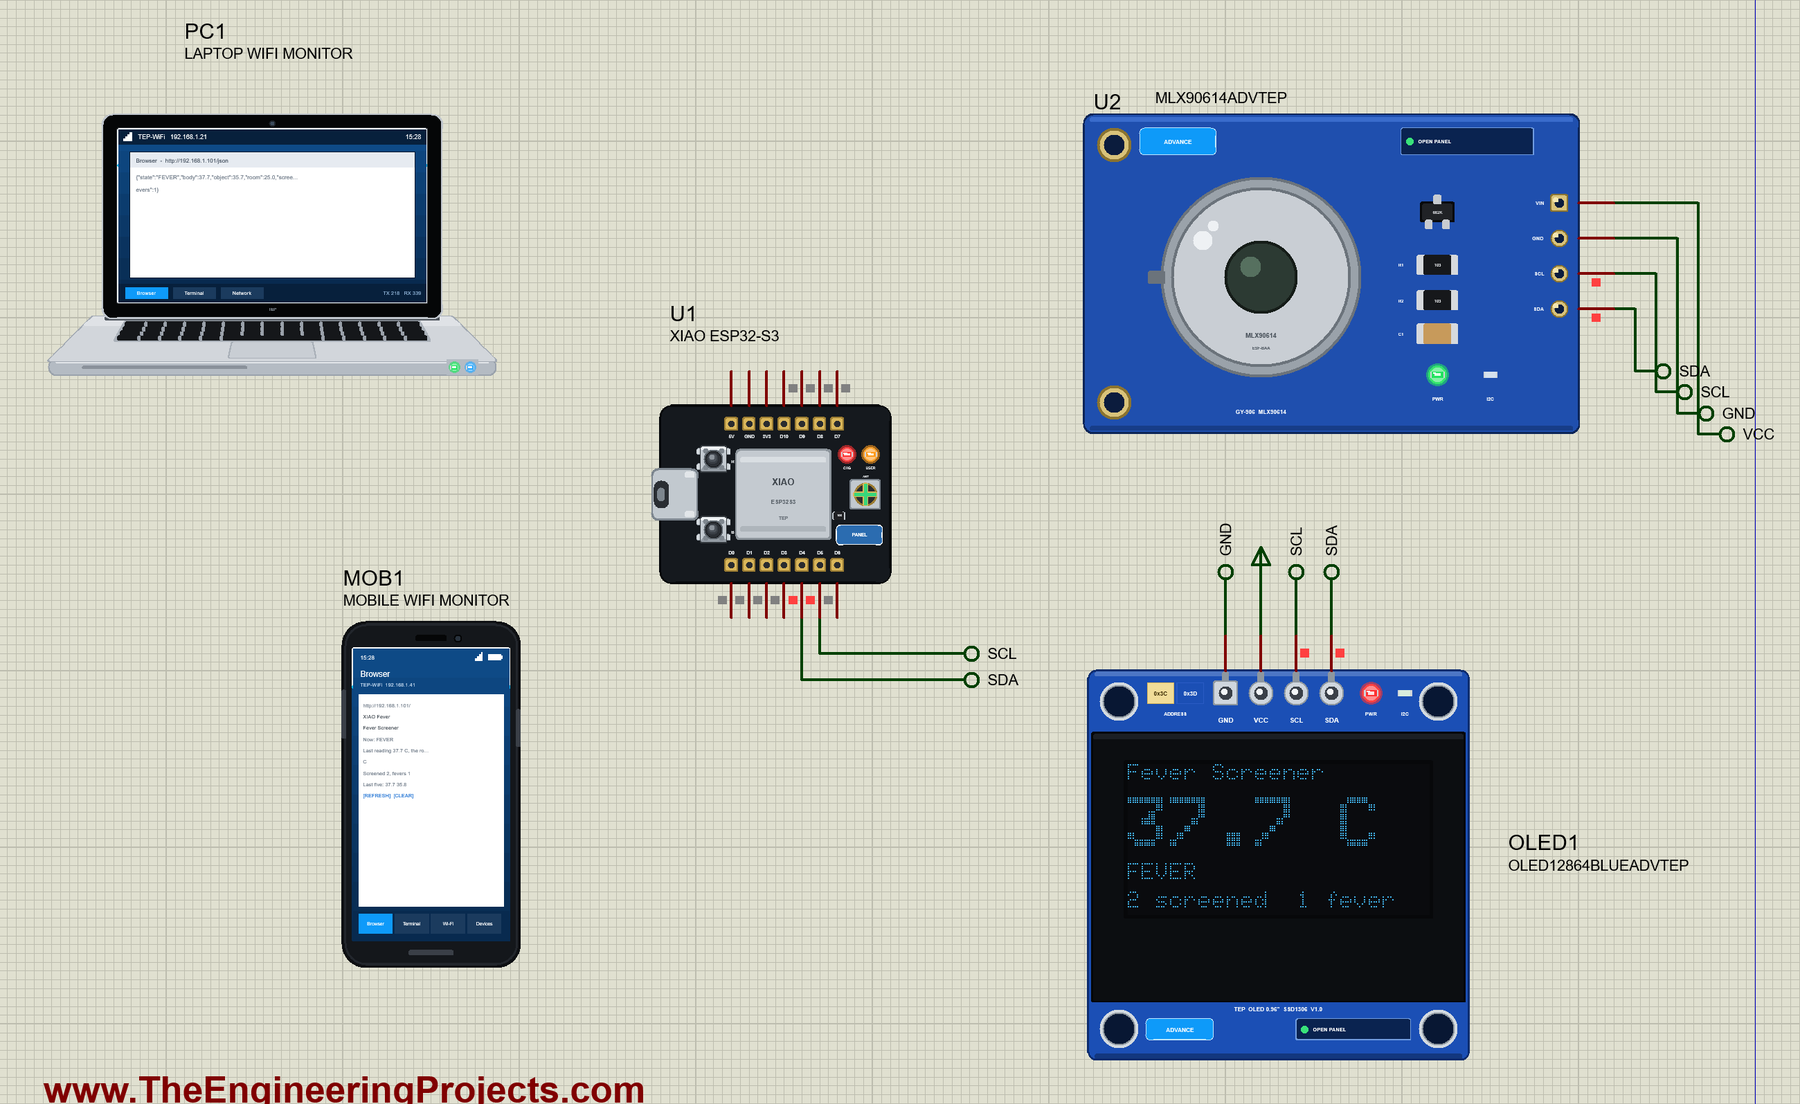
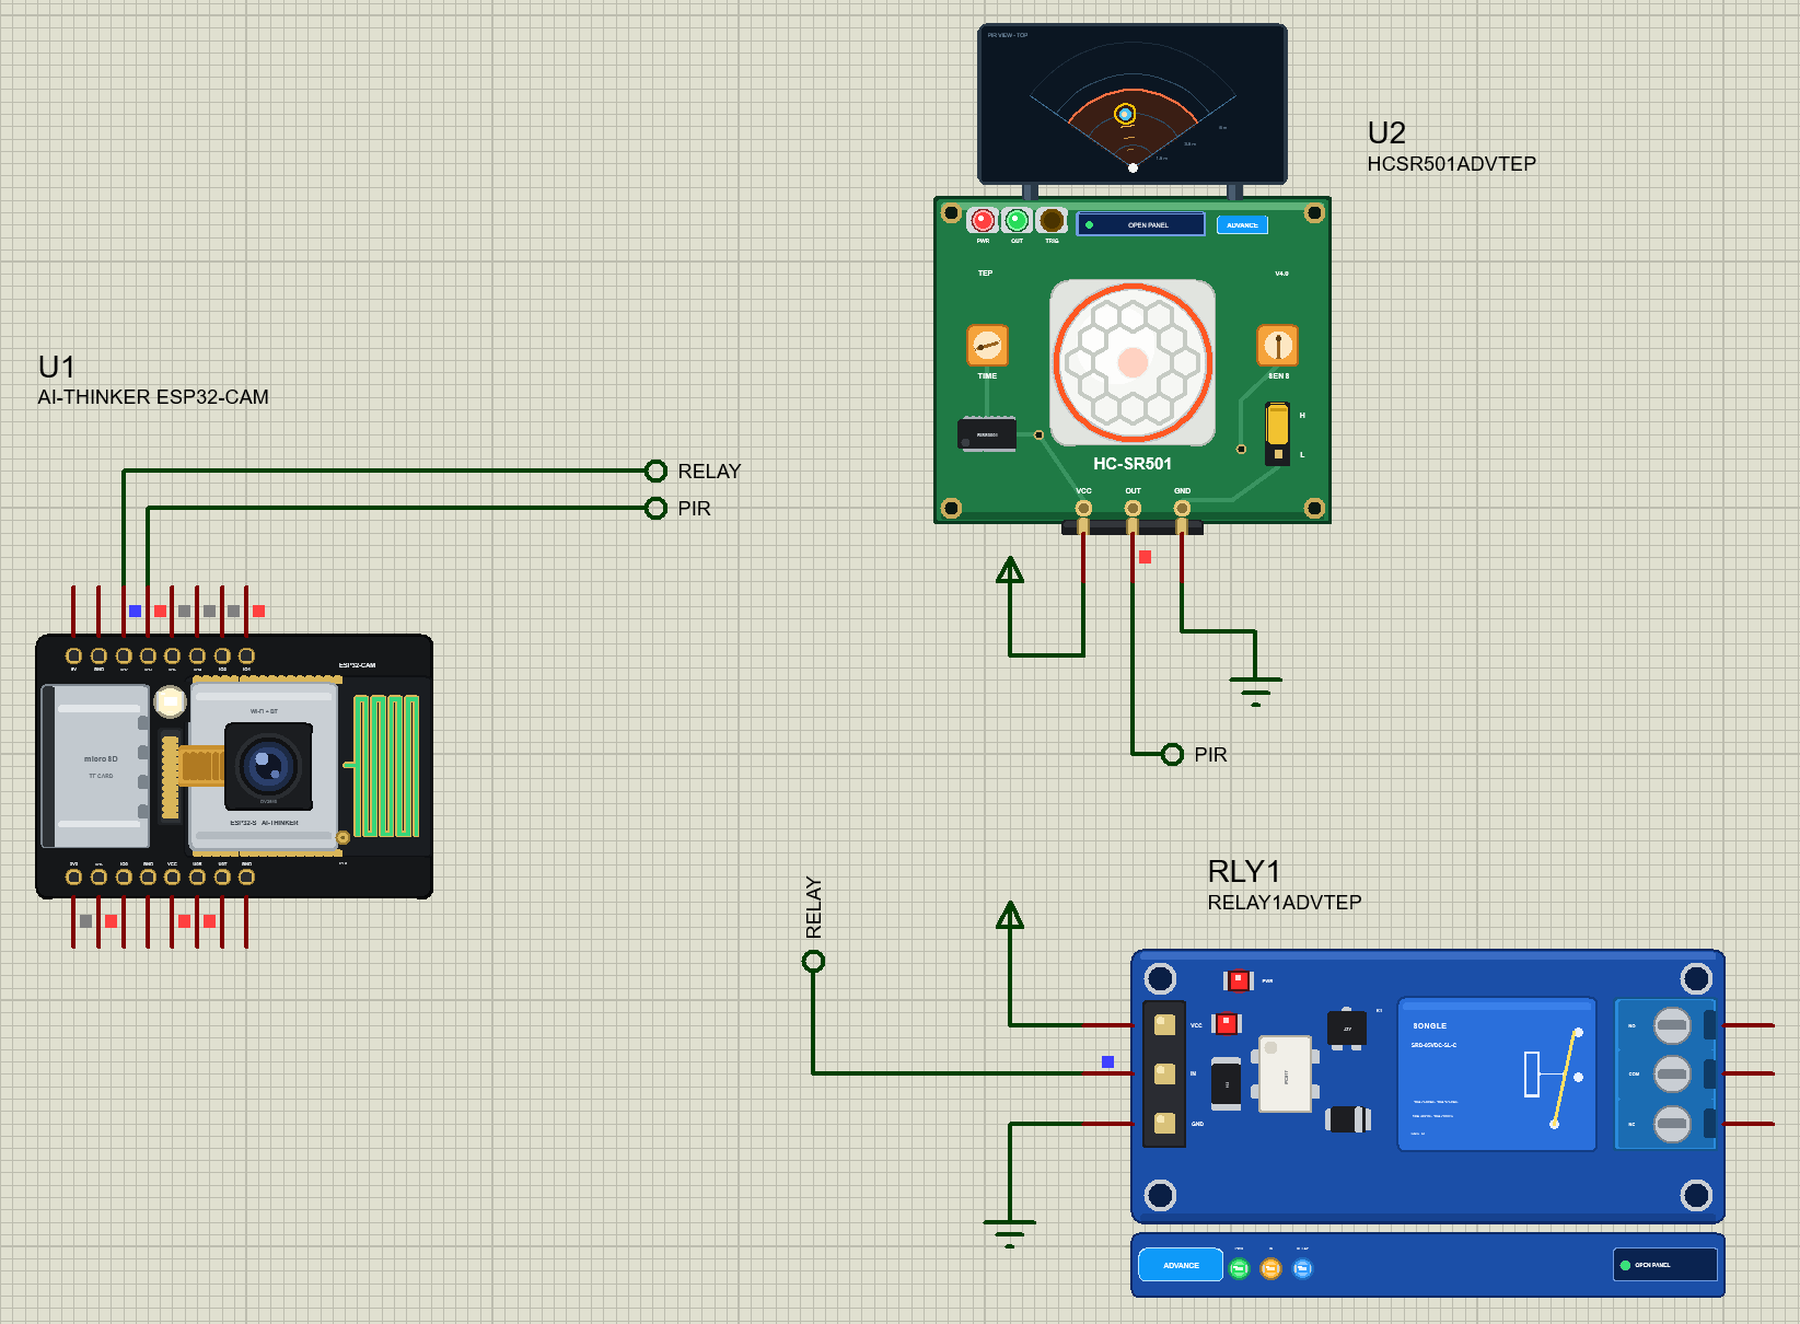
The circuit, the board and the results as they appear in LilyGO T-Deck Library for Proteus: ESP32 TFT LCD, Keyboard, LoRa. Open an image for its full size.
README
 README
LILYGO T-DECK LIBRARY FOR PROTEUS - V1.0 (YOUR ESP32-S3 SKETCH ON THE HANDHELD WITH KEYBOARD, TOUCH AND LORA)
Designed by The Engineering Projects
www.TheEngineeringProjects.com

IMPORTANT LINKS
Article (read it first - pictures, step by step, every feature explained):
  https://www.theengineeringprojects.com/2026/11/lilygo-t-deck-library-for-proteus.html
Report a bug or suggest a feature (our forum):
  https://www.theengineeringprojects.com/forum/category/lilygo-t-deck-proteus-library
The other LoRa boards (they share one air with the T-Deck):
  https://www.theengineeringprojects.com/2026/11/lilygo-t-beam-supreme-library-for-proteus.html
  https://www.theengineeringprojects.com/2026/10/heltec-wifi-lora-32-v3-library-for-proteus.html
Support us (the libraries are free):
  https://www.theengineeringprojects.com/donate

FILE STRUCTURE
LilyGO-T-Deck-TEP-v1.0/
|-- Proteus Library Files/
|   |-- TEPTDECK.LIB                                     58.7 KB   the LilyGO T-Deck, to LIBRARY
|-- Proteus Model Files/
|   |-- TEPNET.DLL                                       2.85 MB   the board + monitors + network, to MODELS
|-- Arduino Code/
|   |-- TDeck_LoRa_Messenger/TDeck_LoRa_Messenger.ino     8.5 KB   the demo sketch
|   |-- TEP Boards for Proteus/hardware/                 1.00 MB   the Arduino IDE add-on 1.53.0 (230 files)
|-- Proteus Simulation/
|   |-- LilyGO-T-Deck-LoRa-Messenger.pdsprj              18.0 KB   the demo: a LoRa messenger
|   |-- TDeck_LoRa_Messenger.hex                        166.4 KB   the demo sketch (U1)
|   |-- TEPNET.DLL                                       2.85 MB   copy of the model
|-- README.txt                                          ~12.4 KB   this file
Total: 6.96 MB (unzipped). The source code of the models is not included.

WHAT IS IT?
Proteus 8 has no ESP32 processor model, so this is NOT a real ESP32 chip. Our team has put a lot of effort into
building this board
ourselves: it is LilyGO's T-Deck - the black handheld with an ESP32-S3FN16R8, a 2.8" 320 x 240 ST7789 display, a GT911
capacitive touch
screen, a QWERTY keyboard, a trackball and an SX1262 LoRa radio - that runs YOUR ESP32 Arduino sketch in Proteus:
  * You write a normal sketch (the GPIO numbers of the product, analogRead 0-4095, analogWrite, ledcWrite,
    attachInterrupt, tone,
    Wire, SPI, Serial, WiFi, WebServer, HTTPClient ...) and compile it in the Arduino IDE with our board package "TEP
    Boards for
    Proteus" 1.53.0 (in Arduino Code - see INSTALLATION).
  * The display is ON the part: Adafruit_ST7789 tft(&SPI, BOARD_TFT_CS, BOARD_TFT_DC, -1) with tft.init(240, 320) and
    tft.setRotation(1).
  * The keyboard works: click a key with the mouse, and Wire.requestFrom(KEYBOARD_ADDR, 1) reads the character.
  * The touch is real: click the glass, and the GT911 at 0x5D gives the place. The trackball's click is GPIO 0.
  * The SX1262 is ON the board: new Module(RADIO_CS_PIN, RADIO_DIO1_PIN, RADIO_RST_PIN, RADIO_BUSY_PIN) with RadioLib
    talks to the other
    TEP LoRa boards of the design, by air. No wires.
It is drawn at about the same shape as the real product. TEP additions: the PANEL pad opens the board's panel, the
USB-C port opens the serial
monitor, and the Grove socket's pins are on the left, so that you can wire them.
Limits (say them before you start): your sketch gets 8 KB of RAM in the simulation (the real one: 512 KB plus 8 MB of
PSRAM), about 256 KB of
flash, int is 16 bits in the simulation (use long / int32_t for big numbers), no FreeRTOS tasks, no second core, no
Bluetooth, no ESP-IDF, no
real TLS, no soft AP. The speaker, the microphones, the microSD slot, the battery, the keyboard's light and the
rolling of the trackball are NOT
modelled, and LVGL does not fit. See MODEL SCOPE AND LIMITS.

ONE DEVICE (search "T-DECK" in Pick Devices):
  LILYGO T-DECK  "LilyGO T-Deck" V1.0 (Microprocessor ICs > ESP32 Boards), prefix U, model TEPNET.DLL. Two TEP
  windows, none with
  a Windows title bar: the panel (the PANEL pad: Wi-Fi, Pins, Test, Settings, Help) and the serial monitor (the USB-C
  port, 115200 baud:
  Monitor, Plotter and Board tabs - the same window as our TEP Serial Monitor Advance).
The same TEPNET.DLL also runs our other Wi-Fi boards; it replaces any older TEPNET.DLL (keep only this newest one in
MODELS).

TEST STATUS
V1.0: verified in Proteus 8.5 on 31 Oct 2026 with the demo project as shipped. What the Proteus run showed:
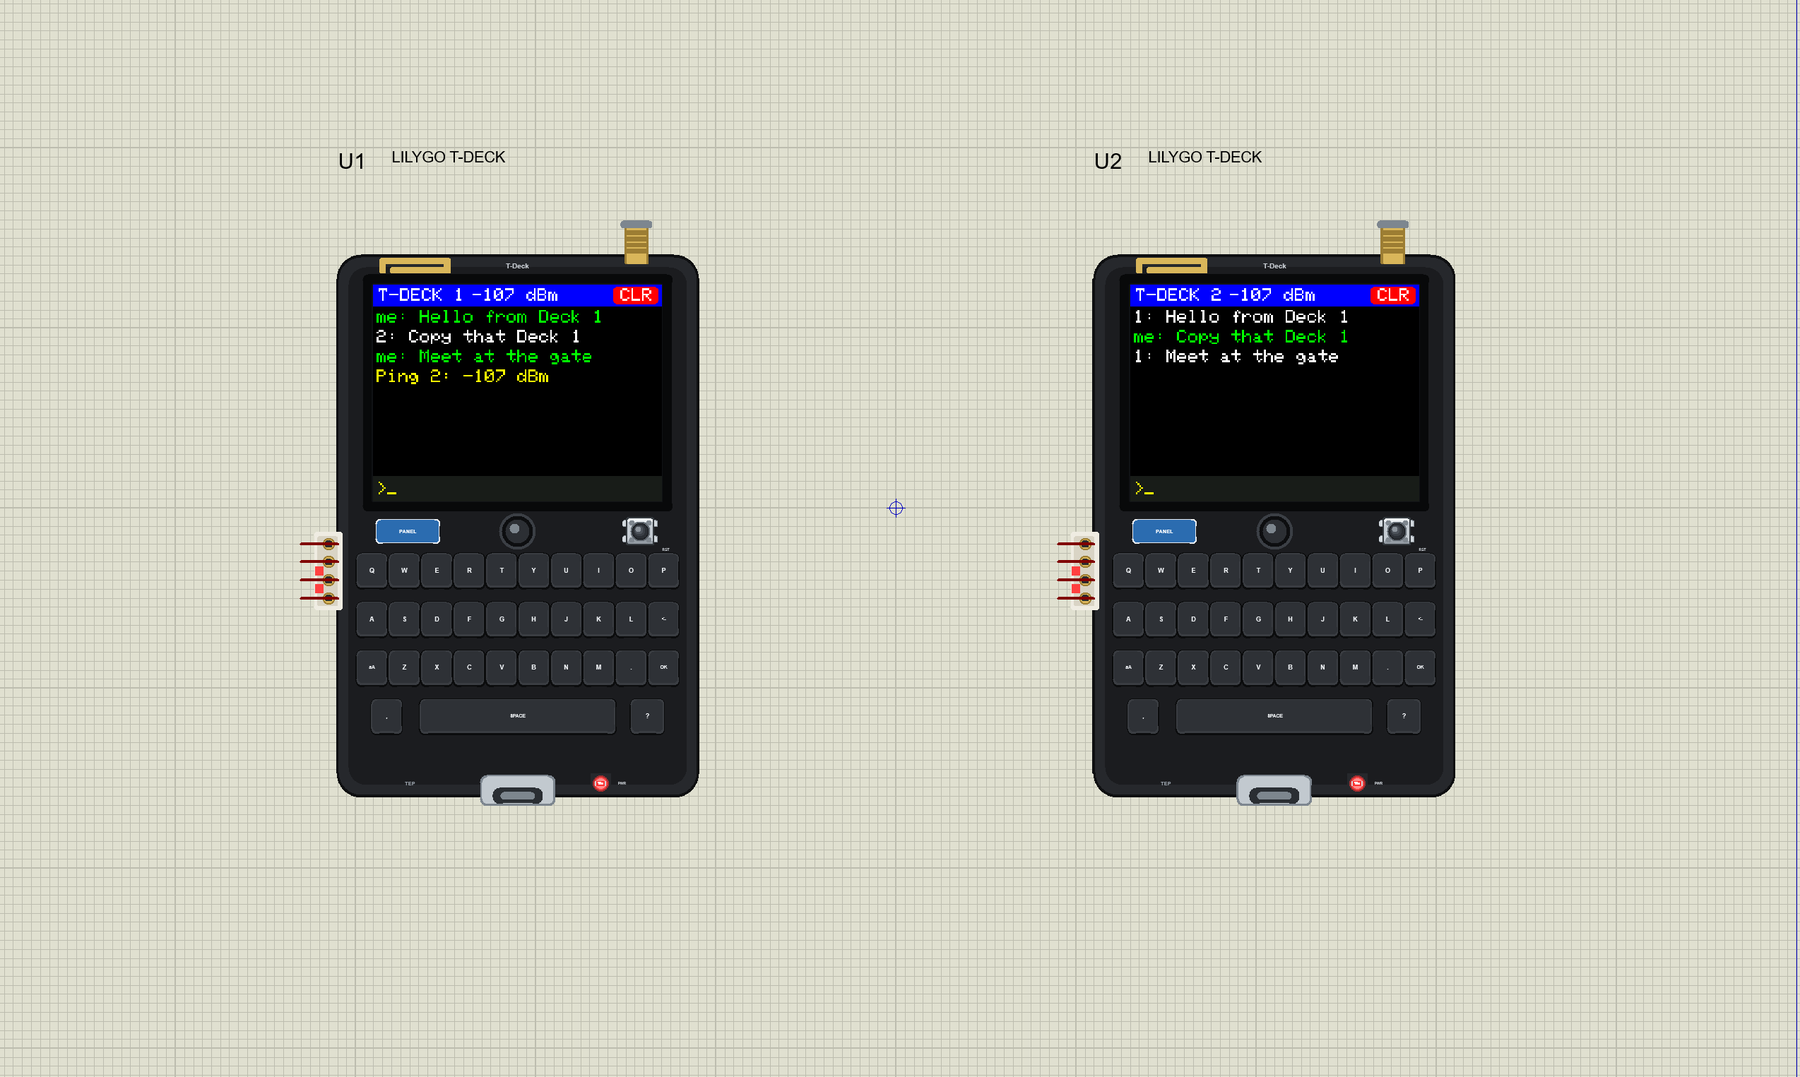
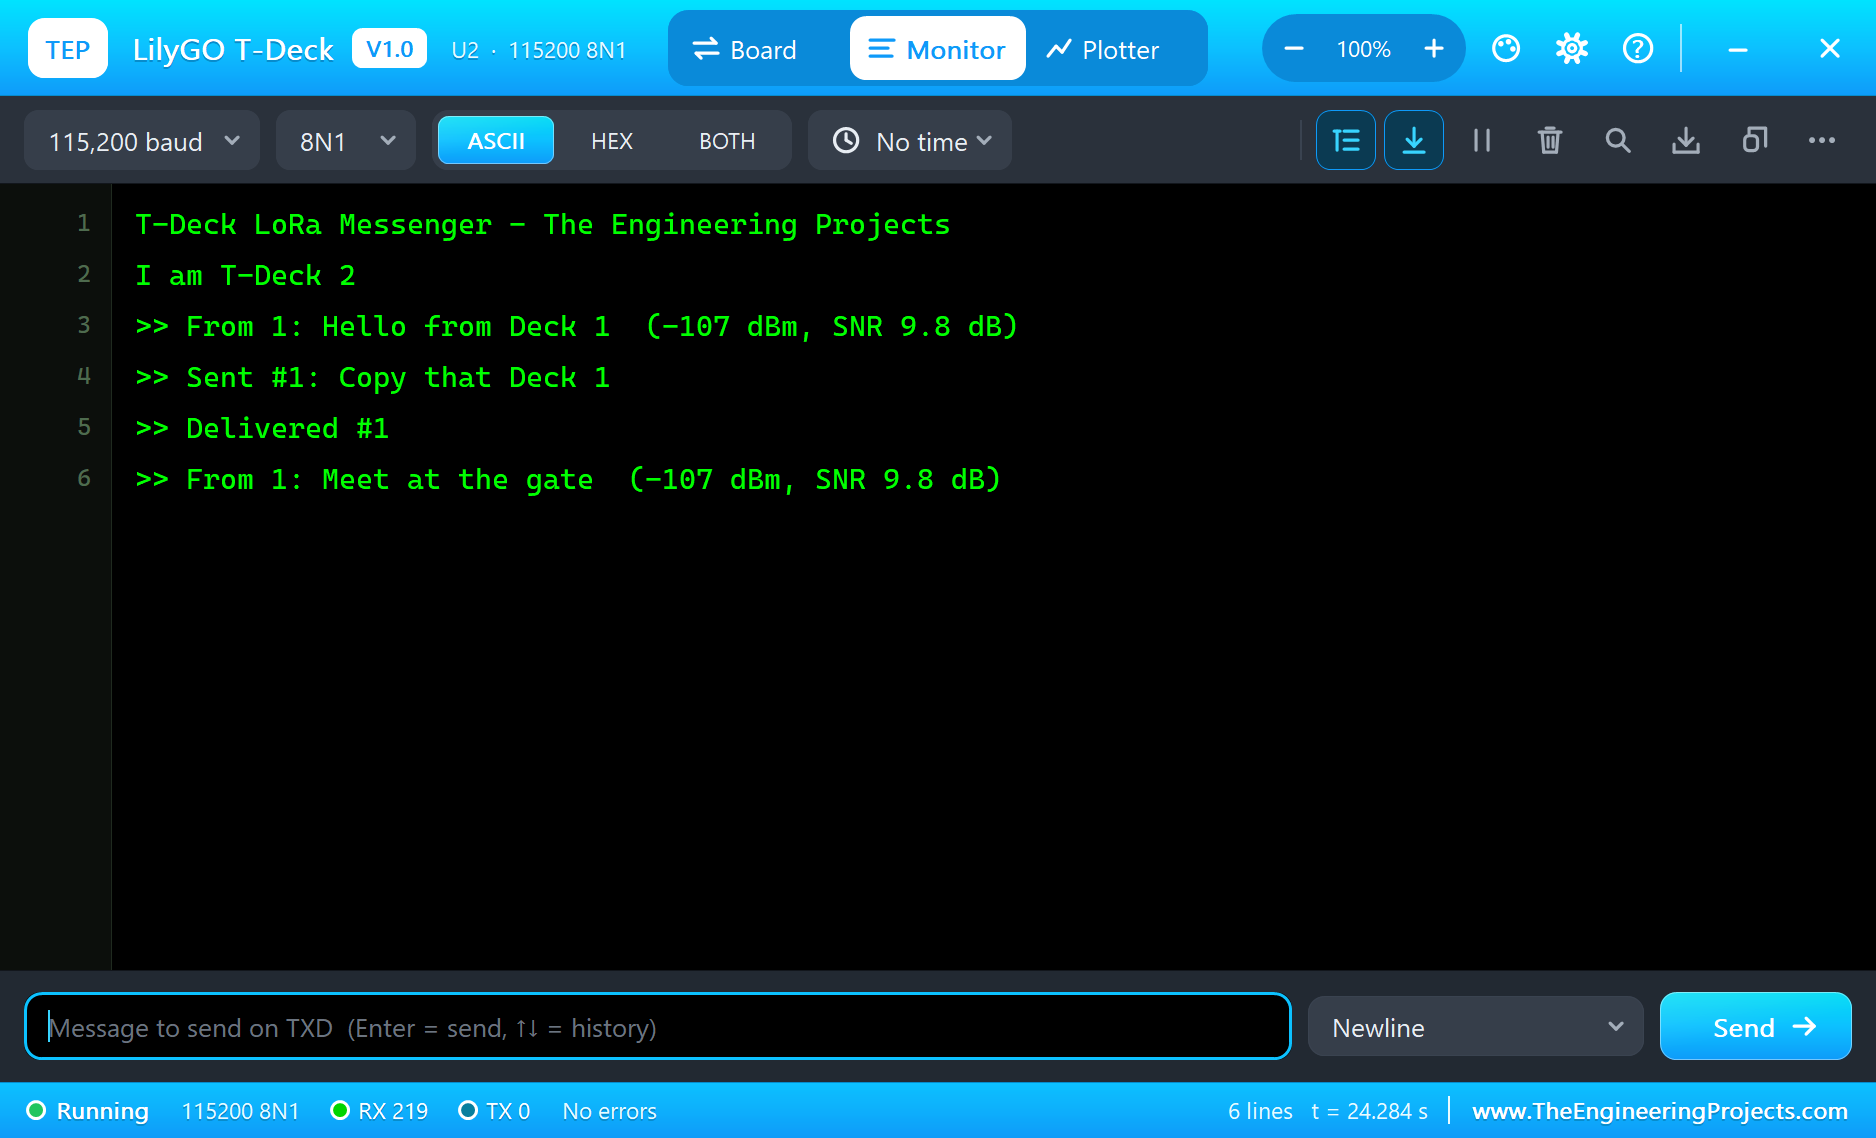
* LilyGO-T-Deck-LoRa-Messenger: both T-Decks printed "I am T-Deck 1" and "I am T-Deck 2"; each screen showed its own
  number and the CLR button.
* Typed on U1, OK: ">> Sent #1: Hello from Deck 1", U2 printed ">> From 1: Hello from Deck 1  (-107 dBm, SNR 9.8 dB)",
  U1 printed ">> Delivered #1" and its line turned green.
* Typed on U2: ">> Sent #1: Copy that Deck 1", U1 printed ">> From 2", and U2 ">> Delivered #1". A second message from
  U1: ">> Delivered #2".
* The trackball's click on U1: ">> Ping #3", ">> Ping answered by 2: they heard us at -107 dBm". CLR on U2's glass:
  "Touch at 290, 12", ">> Messages cleared".
* Real mouse clicks on the part: a key, OK, CLR on the glass and the trackball did the same.
* about 30 s of simulation, no errors, with the panels and both monitors open.

INSTALLATION (about 3 minutes)
1. Close Proteus. Extract the WHOLE ZIP to a normal folder (e.g. Desktop).
2. Copy TEPTDECK.LIB from "Proteus Library Files" to the LIBRARY folder of Proteus, for example:
     C:\Program Files (x86)\Labcenter Electronics\Proteus 8 Professional\LIBRARY
   (on some PCs: C:\ProgramData\Labcenter Electronics\Proteus 8 Professional\LIBRARY).
3. Copy TEPNET.DLL from "Proteus Model Files" to the MODELS folder (...\Proteus 8 Professional\MODELS) -
   replace an older TEPNET.DLL (this one is the first that knows the T-Deck).
4. Delete TEPTDECK.IDX from the LIBRARY folder if it is there.
5. The Arduino IDE (only to compile your own sketches - the demo has its HEX file): copy the folder
   "Arduino Code\TEP Boards for Proteus\hardware" into your sketchbook folder (normally Documents\Arduino), so that
   Documents\Arduino\hardware\tep\avr\boards.txt exists (replace an older copy); restart the IDE. The Arduino AVR Boards
   platform must be installed (it comes with IDE 1.8.x; in IDE 2.x install "Arduino AVR Boards" from the Boards
   Manager once).
   Tools > Board > TEP Boards for Proteus > LilyGO T-Deck (TEP Proteus). From the Library Manager: RadioLib, Adafruit
   ST7735 and ST7789,
   Adafruit GFX and Adafruit BusIO.
6. Start Proteus. In Pick Devices (P) search "T-DECK".

RUN THE DEMO
Keep the .hex file and TEPNET.DLL beside the project in "Proteus Simulation".
LilyGO-T-Deck-LoRa-Messenger.pdsprj - U1 and U2 are two T-Decks with one sketch (TDeck_LoRa_Messenger.hex), and no
wires between them: they send
each other text messages by LoRa, 1 km apart (the LORADIST property).
Press Run. Each screen shows its own number. Click keys on U1, then OK: the line is cyan, U2 shows it and answers, and
the line turns green.
Answer from U2 in the same way. Click the trackball on U1 for a PING: the answer shows how well U2 heard it. Click CLR
on the glass to clear
the messages. Closed a window? The USB-C port opens the monitor, the PANEL pad the panel.

THE PINS (the label on the part, what it can do in the simulation)
  G43, G44        the Grove socket: Serial's TX and RX (the built-in monitor is on them too)
  3V3, GND        3.3 V (the logic), ground
Inside, not on the socket: the display (MOSI 41, MISO 38, SCK 40, CS 12, DC 11, backlight 42), POWERON 10, the touch's
INT 16, the keyboard's
INT 46, the trackball (3, 2, 1, 15; its click 0) and the battery pin 4. The names in sketches are LilyGO's:
BOARD_POWERON, BOARD_TFT_CS, BOARD_TFT_DC,
BOARD_TFT_BACKLIGHT, BOARD_SPI_SCK, BOARD_SPI_MOSI, BOARD_SPI_MISO, BOARD_I2C_SDA, BOARD_I2C_SCL, BOARD_TOUCH_INT,
BOARD_KEYBOARD_INT, BOARD_BOOT_PIN,
RADIO_CS_PIN, RADIO_DIO1_PIN, RADIO_RST_PIN, RADIO_BUSY_PIN, KEYBOARD_ADDR, TOUCH_ADDR.
Each T-Deck keeps its inside lines to itself, so several of them can run in one design.

THE KEYBOARD AND THE TOUCH
Wire.requestFrom(KEYBOARD_ADDR, 1); one byte: the character, 0 = no key. OK is 13, the back arrow is 8, aA makes the
next letter a capital.
Touch: write the register 0x814E (two bytes, high first), read 6 bytes: the status, the id, X low, X high, Y low, Y
high; then write 0 to 0x814E.
X is 0 - 319, Y is 0 - 239 with setRotation(1). INT (16) is LOW while a finger is down. A click holds the finger down
for at least 0.1 s of
simulation. Dragging on the glass is not followed.

PROPERTIES (double-click the part > Edit Properties)
  PROGRAM   the sketch's HEX (Arduino IDE: Sketch > Export Compiled Binary with LilyGO T-Deck (TEP Proteus))
  LORADIST  the LoRa distance to the other boards (10 m ... 20 km; the demo: 1 km)
  WIFISSID  the router in range (default TEP-WiFi);  WIFIPASS  its password (default 12345678)
  MONITOR   YES = the built-in serial monitor on Serial;  BAUD  its speed (115200, or AUTO)
  AUTOOPEN  YES = the monitor window opens at Run (the demo: YES)

TROUBLESHOOTING
* The display stays black: BOARD_POWERON must go HIGH first; then SPI.begin(BOARD_SPI_SCK, BOARD_SPI_MISO,
  BOARD_SPI_MOSI) and tft.init(240, 320).
* The picture is sideways: tft.setRotation(1).
* RadioLib fails with -2 (chip not found): new Module(RADIO_CS_PIN, RADIO_DIO1_PIN, RADIO_RST_PIN, RADIO_BUSY_PIN),
  after BOARD_POWERON.
* No packets arrive: both boards need the same frequency, bandwidth, spreading factor and sync word; call
  radio.startReceive() again after each send.
* A packet appears after every send: DIO1 also rises when a transmission ends - see sendPacket() in the demo.
* The keys or the touch do nothing: Wire.begin(BOARD_I2C_SDA, BOARD_I2C_SCL); for the touch also
  pinMode(BOARD_TOUCH_INT, INPUT).
* An integer goes wrong above 32767: int is 16 bits in the simulation - use long.

BUG REPORTS AND FEATURE REQUESTS
Please post them in our forum with a screenshot and the Serial Monitor text:
  https://www.theengineeringprojects.com/forum/category/lilygo-t-deck-proteus-library

LICENCES AND THIRD-PARTY NOTES
* The board model (TEPNET.DLL), the symbols and artwork (TEPTDECK.LIB) are made by The Engineering Projects. The
  source code of the models is not included.
* TEP Boards for Proteus (Arduino Code): its core, the variants and the EEPROM, SPI and Wire libraries are modified
  copies of the Arduino AVR core 1.8.6 - GNU Lesser General Public License 2.1 (LGPL 2.1, the text:
  LICENSE-LGPL-2.1.txt); its WiFi, WebServer and the other libraries and our core files are MIT (LICENSE-MIT.txt).
* The demo sketch uses RadioLib (MIT), Adafruit ST7735 and ST7789, Adafruit GFX and Adafruit BusIO: install them with
  the Library Manager to rebuild.
* Proteus is a product of Labcenter Electronics and is not included. LilyGO and T-Deck are names of LilyGO, ESP32 of
  Espressif Systems and LoRa of Semtech.
  This library is not made or endorsed by them or by Labcenter.

REBUILDING THE FIRMWARE (OPTIONAL)
The HEX file is supplied. Install TEP Boards for Proteus (INSTALLATION step 5), open Arduino
Code\TDeck_LoRa_Messenger, select LilyGO T-Deck (TEP Proteus)
and use Sketch > Export Compiled Binary. For a real one select "ESP32S3 Dev Module" in Espressif's "esp32" package,
define the pins of the variant and upload.

MODEL SCOPE AND LIMITS
Modelled: the GPIOs on the socket and inside; digital I/O, analogRead 0 .. 4095, PWM (analogWrite / ledc), tone and
attachInterrupt through the board model; Serial
(the board's monitor), Wire and SPI; the ST7789 display, the GT911 touch, the keyboard, the trackball's click; the
SX1262 with RadioLib, between the TEP LoRa boards
of a design; WiFi station mode, DHCP, TCP, UDP, WebServer, HTTPClient and mDNS.
Not modelled: the ESP32-S3 itself (the two 240 MHz cores, the PSRAM, the flash), the ESP32-C3 behind the keyboard, the
speaker, the microphones, the microSD slot,
the battery, the keyboard's light, the rolling of the trackball, Bluetooth. The simulation runs below real time.

VERSION
TEP LilyGO T-Deck library V1.0 (Nov 2026). Device LILYGO T-DECK (TEPTDECK.LIB / TEPNET.DLL), TEP Boards for Proteus
1.53.0 (adds the T-Deck). Demo sketch
TDeck_LoRa_Messenger V1.0.Development1 release
 Development1 release
-
V1.0LilyGO T-Deck Library for Proteus V1.0this page
V1.0 is the only release in the Download Center so far. When a newer version is published, it appears above with its own download page.
Installation10 steps
 Installation10 steps
From the download to a working project, in order. The steps follow what the package contains.
You will need
- Proteus Design SuiteProteus 8 or newer (Labcenter), on Windows
- Arduino IDE1.8 or 2.x, with the board of the tutorial chosen under Tools → Board
- The compiler named in the tutorialto build the source files into firmware
- Any archive toolWindows, macOS and Linux extract ZIP files on their own

Steps
- 1
Extract the archive
Right-click lilygo-t-deck-tep-v1-0-7f9d487f87544340813065d953814b06.zip and choose Extract All (or open it with 7-Zip or WinRAR) into a folder you can find again. Keep its folder structure (LilyGO-T-Deck-TEP-v1.0) as it is.
- 2
Copy the library files into Proteus
Move TEPTDECK.LIB and the files into the LIBRARY folder of your Proteus installation: C:\Program Files (x86)\Labcenter Electronics\Proteus 8 Professional\LIBRARY for Proteus 8, or the matching Proteus 7 folder. Older versions keep it under ProgramData\Labcenter Electronics. If Proteus is open, close it first.
- 3
Add the simulation model
Copy TEPNET.DLL into the MODELS folder next to LIBRARY, so the component can run, not only be drawn.
- 4
Restart Proteus and place the component
Start Proteus, open a schematic, press P (Pick Devices) and search for the component by the name used in the tutorial. It appears with its pins ready to wire.
- 5
Install the Arduino library
In the Arduino IDE choose Sketch → Include Library → Add .ZIP Library and pick the library, or copy its folder into Documents\Arduino\libraries. Restart the IDE to see its examples.
- 6
Open the sketch in the Arduino IDE
Open TDeck_LoRa_Messenger.ino, eeprom_clear.ino and eeprom_crc.ino and 17 more, select your board and port under Tools, then Verify. Sketch → Export Compiled Binary writes the HEX file a simulation needs.
- 7
Build the source code
Open abi.cpp, Arduino.h and binary.h and 52 more in the compiler named in the tutorial (MikroC, Keil, MPLAB, Code Composer or the Arduino IDE) and build it to get the firmware.
- 8
Load the HEX file
In Proteus double-click the microcontroller, set Program File to TDeck_LoRa_Messenger.hex and run the simulation. For real hardware, flash the same file with your programmer.
- 9
Open the example simulation
Open LilyGO-T-Deck-LoRa-Messenger.pdsprj in Proteus to see the wiring exactly as in the tutorial. Check the controller's Program File path, then press Play.
- 10
Follow the tutorial
LilyGO T-Deck Library for Proteus: ESP32 TFT LCD, Keyboard, LoRa explains every connection and setting in order; keep it open beside the files while you build.
FAQs9 questionsContact TEP
 FAQs9 questions
How do I download LilyGO T-Deck Library for Proteus V1.0?
Wait for the 30-second guest countdown on this page, then press the download button; the file comes straight from our storage. Members who are logged in skip the wait. If the browser opens the file instead of saving it, use its Save as option. The download link is made for you when the countdown ends and works for 15 minutes; a saved or shared link stops working, so share this page instead.
What is inside the archive?
LilyGO T-Deck Library for Proteus V1.0 comes as a ZIP archive of 237 files (3.1 MB, 7.0 MB unpacked) holding Proteus library files, simulation model DLLs, a Proteus simulation, an Arduino sketch, an Arduino library, compiled HEX firmware and source code. Open the File Structure tab for the full list of 237 files.
What should I do if the download does not start?
Check the browser's download list first; an ad blocker or a company firewall can also hold it back, so try another browser or network. If the file arrives incomplete, download it again. For an installation problem, read the Install tab or tell us in the comments with your software version and the exact error message.
Is this file free?
Yes. Every file in the TEP Download Center is free for learning, personal and student projects. If you share it, link back to this page or the tutorial so others find the latest version.
How do I check that the file arrived complete?
Compare its SHA-256 with the one on this page, cb26ef49f093448cd586a8aad27bfa5df8fde0ff70adb7527ce7887cb950fa0e. In PowerShell run Get-FileHash "lilygo-t-deck-tep-v1-0-7f9d487f87544340813065d953814b06.zip"; on macOS or Linux run shasum -a 256 "lilygo-t-deck-tep-v1-0-7f9d487f87544340813065d953814b06.zip". The same value means the file is exactly the one in our storage; a different one means the download broke off, so download it again.
Do I need WinRAR to open the ZIP file?
No. Windows, macOS and Linux open ZIP archives on their own (Extract All, or double-click). WinRAR and 7-Zip work too. Extract the whole archive before using the files.
Where do I put the LIB and IDX files?
Both files go into the LIBRARY folder of your Proteus installation (Proteus 8: C:\Program Files (x86)\Labcenter Electronics\Proteus 8 Professional\LIBRARY; Proteus 7 has the same folder under its own name). Restart Proteus afterwards and search for the component with P.
Which Proteus version does the library need?
The tutorial names the Proteus version the library was made and tested with. Most TEP libraries work in Proteus 7 and Proteus 8; if the component does not appear after a restart, check that both the LIB and the IDX file were copied and that Proteus was fully closed while copying.
How do I get the HEX file into the simulation?
Compile the sketch in the Arduino IDE (Sketch → Export Compiled Binary gives you the HEX next to the sketch), then in Proteus double-click the board, set Program File to that HEX and run.
Members skip the wait. Log in or join TEP.

- 0Total downloads
- 4%Popularity
- ProteusCategory
- 0Comments
- ssyedzainnasirUploaded by
- 4 Nov 2026Uploaded at


 SHA-256
cb26ef49f093448cd586a8aad27bfa5df8fde0ff70adb7527ce7887cb950fa0e


 Need help with this file?
 Tags
Related Proteus
All Proteus tutorials
More ESP32 project files
All ESP32 tutorials

Comments
0