Hello everyone, I hope you all are fine and having fun with your lives. Today, we are going to design our First Project in C#. In the previous tutorial, we have seen a detailed Introduction to C#, where we have studied its importance in the software world.
Today, we are going to create our first project in C#. So, let's get started with our first code in the C# Tutorial series.
There are different languages available in Visual Studio i.e. C, C++, C# and F#. C# is the most commonly used programming language among all.
Now, I assume that you have installed Visual Studio and are ready to design your first project.
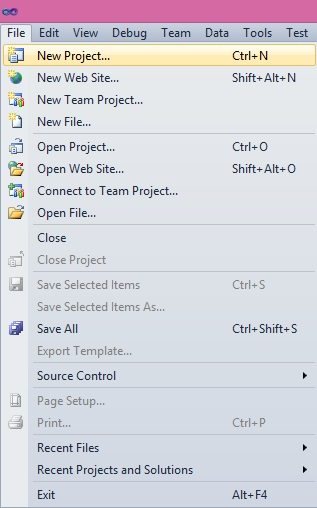
So, open your Microsoft Visual Studio, and create a New Project by clicking File and then New Project, as shown in the figure on the right.
You can also create a new project by clicking Ctrl+N.
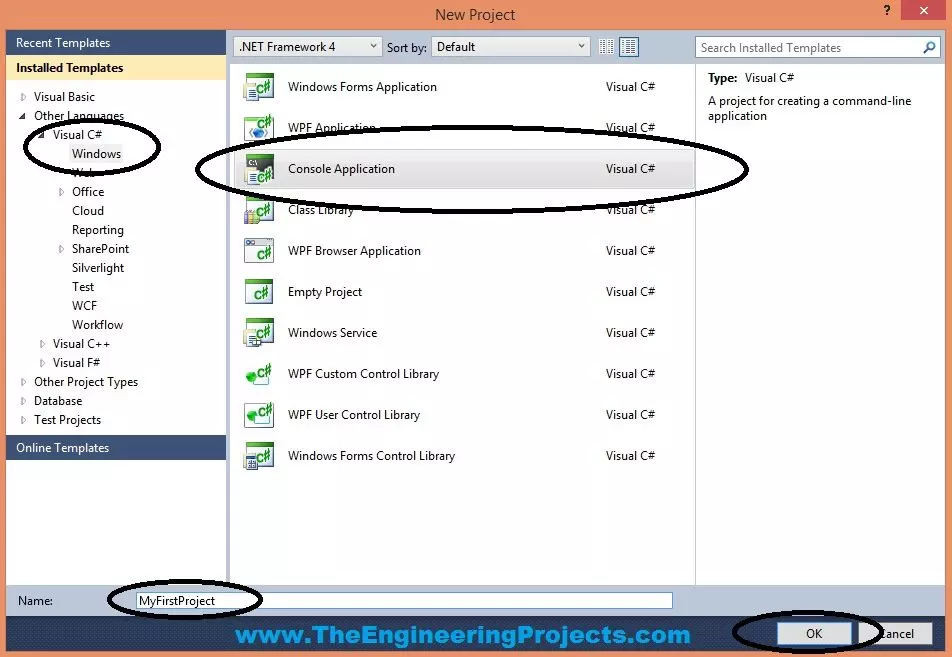
Now once you create the New Project, a new pop up window will open up, as shown in below figure:
Now, as shown in the above figure, first of all, select the Visual C# as obviously we are gonna use the C# language in introduction to C#.
Next, select the Windows and then Console Application.
Next, we need to give a name to this Console Application, which I have given is MyFirstProject and finally click the OK button.
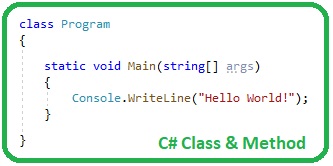
Now in this window, we are gonna update our code in C#. Currently, it has simple Hello World code, as shown in below figure:
Let's understand this code, line by line:
Namespace Declaration
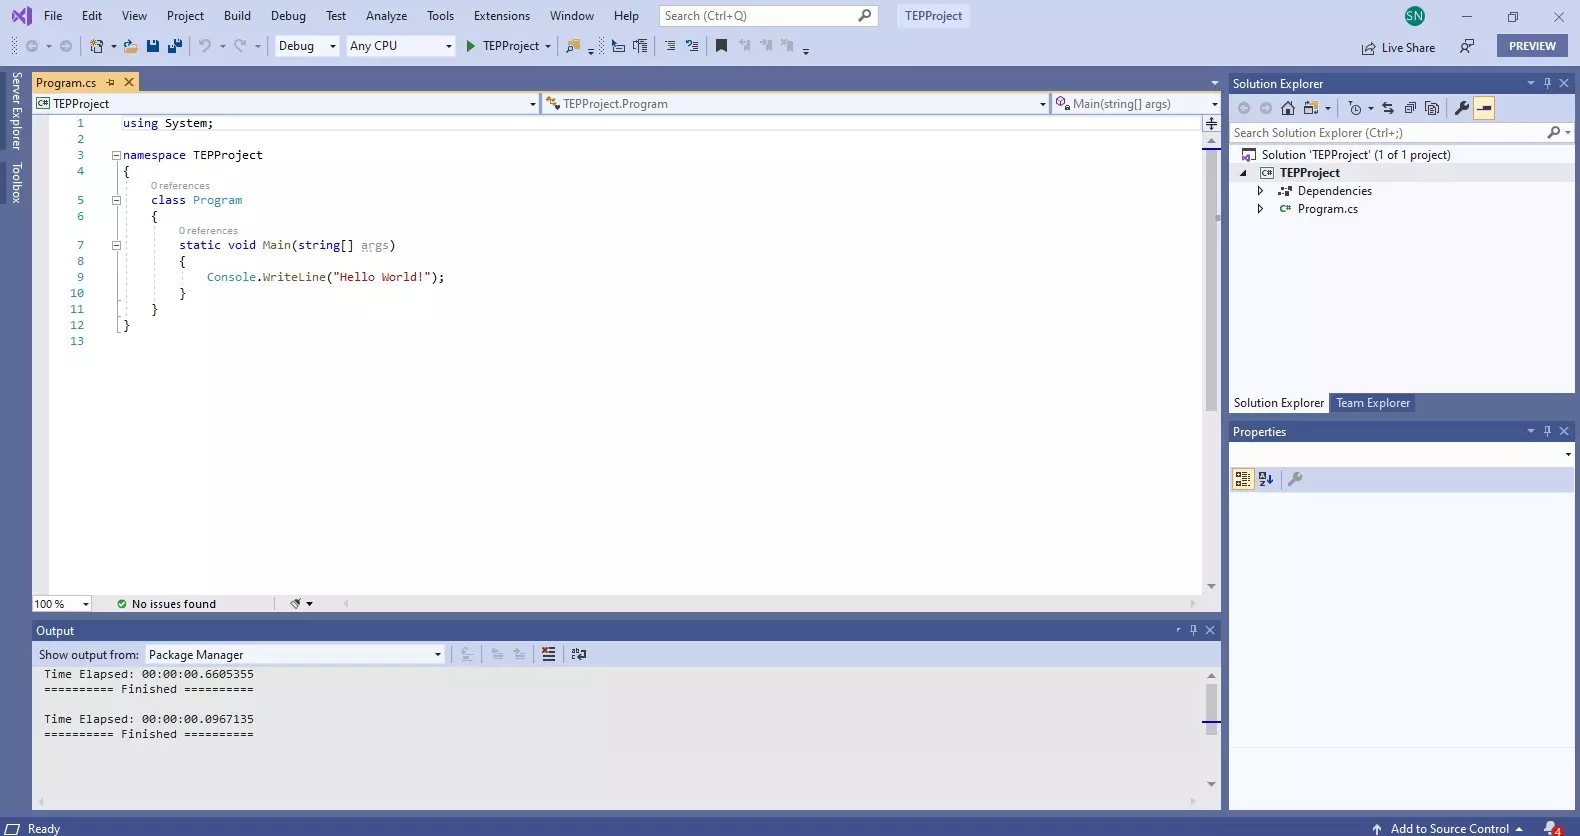
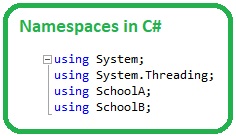
The first line of code is "using System", here the System is a built-in C# Namespace and we are declaring it at the top of our code.
Currently, we are using just 1 namespace but later on, we are going to add a lot more and all these namespace declarations will come at the top of our code.
You can think of a namespace as a library that has different classes & methods in it.
So, when we declare it at the top, then all its classes become available to use in our code i.e. Console is a class of System namespace.
Projects Namespace
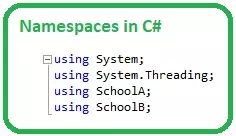
Next, we have namespace TEPProject, which is the namespace of our newly created project, all of our classes will be placed inside this namespace.
You can see this namespace has curly brackets { }, which has all the remaining code in them.
Program class
When you run your code, the compiler finds the project's namespace and inside this namespace, it makes a search for a C# Class named Program and in Program class, it goes into the C# Method named Main.
That's why we have the class Program inside our namespace TEPProject and inside this class, we have our static void Main(string[] args) function.
This Main function is a static function and it has arguments with datatype string.
This Main Function is the entry point of our compiler in our project, we have to write our code in this function or method. ( Functions are also called methods )
Inside this Main function, we have simply printed Hello World to our Console.
This Console is a member of namespace Systems, if we remove the namespace from the top then this Console will create the error.
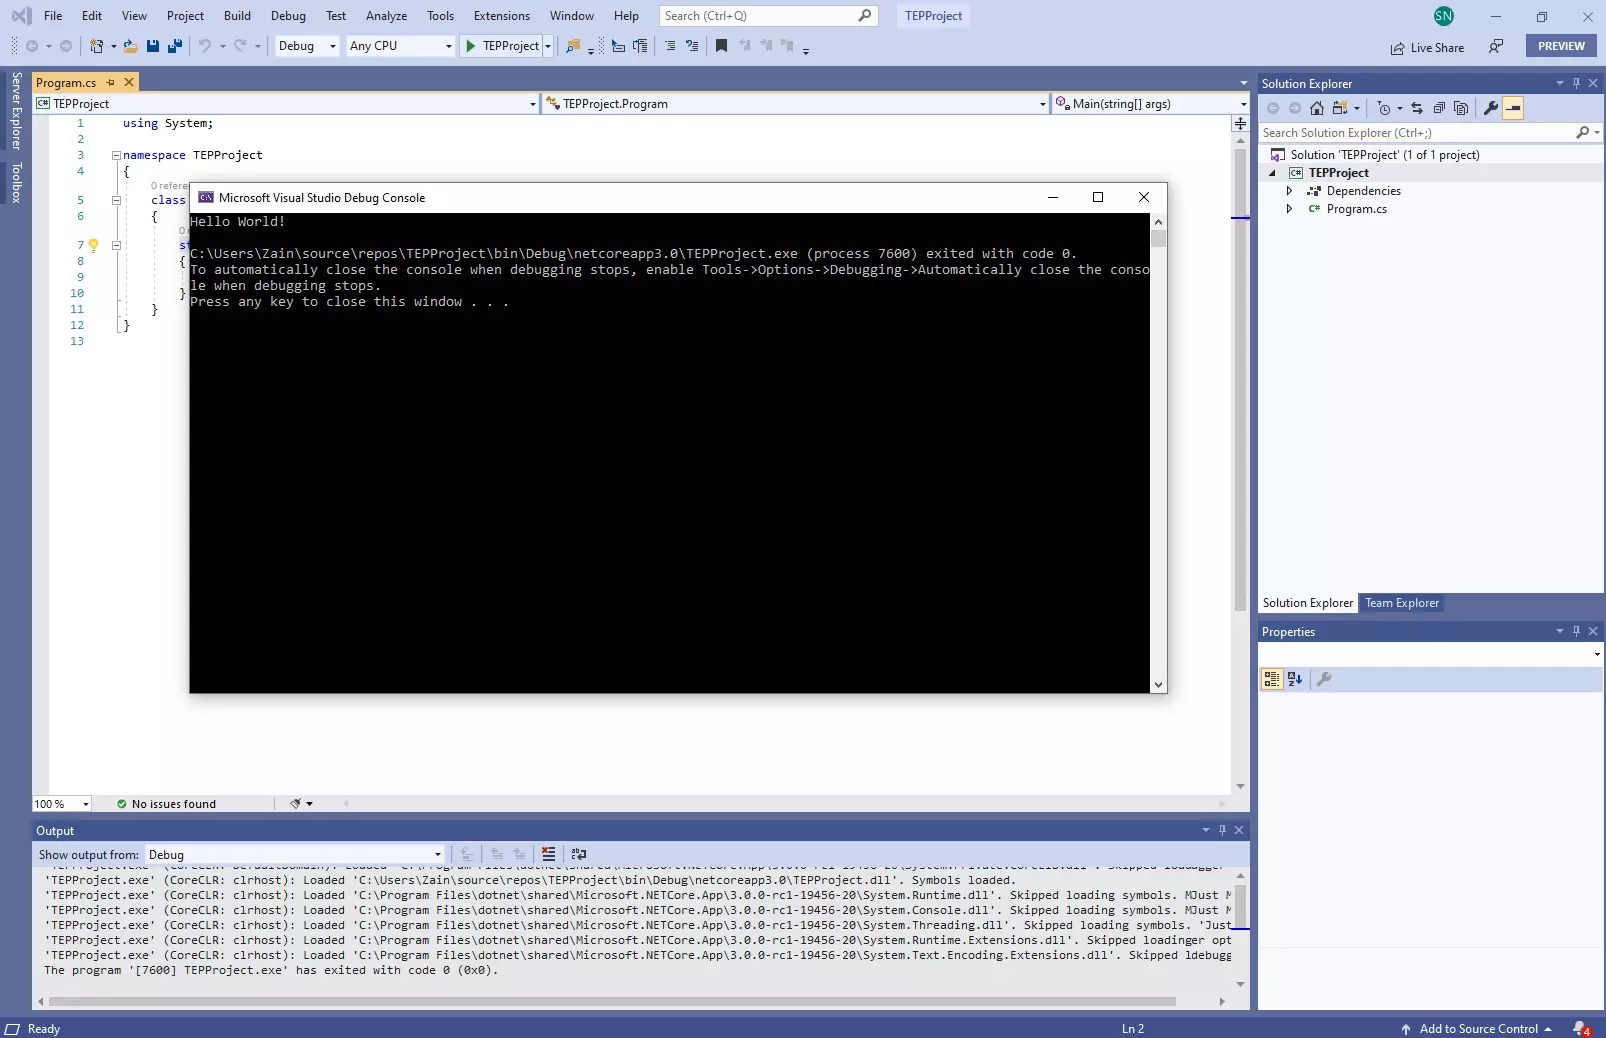
So, now let's run our code and if everything goes fine then you will get something as shown in the below figure:
We have Hello World printed in our console panel, it's doing nothing else.
Moreover, if you are not getting things like C# Namespace or C# Methods etc. then no need to worry, we will cover all of them in coming tutorials in detail.
Extend C# Hello World Project
Solution Explorer contains all files of your project and Program.cs is the actual code file in which I am going to write our code.
So, let's add the below code in our Main function of Program.cs File:
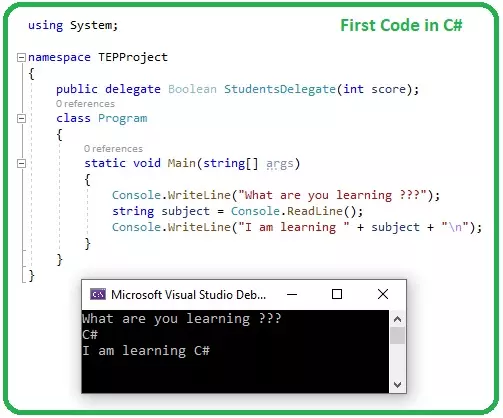
Console.WriteLine("What are you learning ???");
string subject = Console.ReadLine();
Console.WriteLine("I am learning {0}", subject);
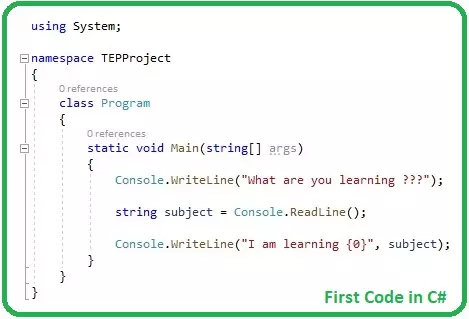
Now your Program.cs file will look something as shown in the below figure:
In the first line of code, I am printing "What are you learning ???" on the console.
In the second line, I am waiting for incoming data from the console, which the user has to enter, and I am saving that data in a string variable called subject.
In the third line, I am printing the data entered by the user on the Console.
You must have noticed {0}, it's one way of adding data in a string and is called Place Holder Syntax.
You can add as much data as you want, separated by commas, and can print them as {0} {1} {2} and so on.
Let's run our code and we will get a similar output, as shown in the below figure:
I have entered C# and it has printed it back, as you can see in the console.
Now when you press any key, the console will stop.
You can also use Concatenation instead of Place Holder Syntax, let's have a look at the third line, in below code:
So, now I have used + sign instead of curly brackets {0}, it's called concatenating a string.
If you run your code, you will get the same output, as shown in the above figure.
That's all for today. I hope you guys have got something out of it. In the next C# tutorial, we will have a look at Introduction to Data Types in C#. So stay tuned and have fun !!! :)