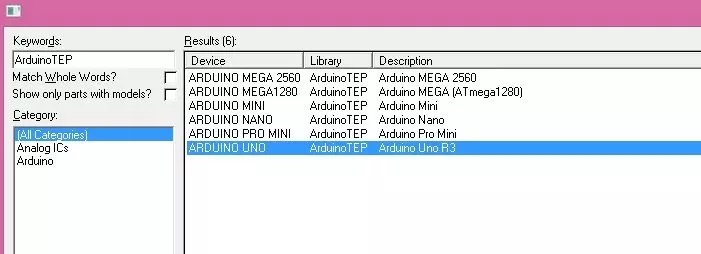
Hello friends! In this tutorial, we will install the Arduino Library for Proteus and use it to simulate a small Arduino circuit. This package brings several classic Arduino board components together, so you can choose a board that matches your project without installing each original library separately. Updates Arduino Library for Proteus Latest version: Arduino Library for Proteus V4.0 (October 2026): six boards with working LEDs, a RESET button and a built-in serial monitor Earlier versions: V3.0 (2023) · V2.0 (2021) · V1.0 (2015, this tutorial) One board only? UNO · Mega 2560 · Mega 1280 · Nano · Pro Mini · Mini (V4.0) Helping Tools Serial Monitor Advance : a serial terminal window for the UART of your board Serial Monitor Expert : the serial monitor with extra debugging tools LCD Libra ...
Hello friends! In this tutorial, we will install the Arduino Pro Mini Library for Proteus and build a simple blinking-LED simulation. We will start with the library files, prepare a program for the correct board variant and then load its HEX file into the simulated microcontroller. Updates Arduino Pro Mini Library for Proteus Latest version: Arduino Pro Mini Library for Proteus V4.0 (October 2026), with working PWR and 13 LEDs, a RESET button and a built-in serial monitor Earlier versions: V3.0 (2023) · V2.0 (2021) · V1.0 (2015, this tutorial) Other boards: UNO · Mega 2560 · Mega 1280 · Nano · Mini (V4.0) All six V4.0 boards in one package: Arduino Library for Proteus V4.0 Helping Tools Serial Monitor Advance : a serial terminal window for the UART of your board Serial Monitor Expert : the ...
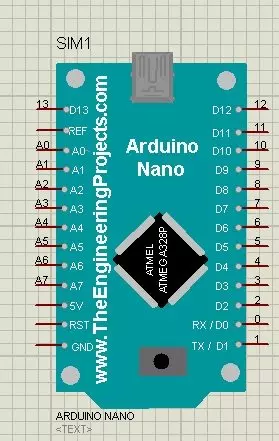
Hello friends! In this tutorial, we will install the Arduino Nano Library for Proteus, load a compiled Arduino program and run an LED-blinking simulation. We will follow the same sequence you would use for a larger project: identify the board, install its model, check the basic circuit and then add your application. Updates Arduino Nano Library for Proteus Latest version: Arduino Nano Library for Proteus V4.0 (October 2026), with working LEDs, a RESET button and a built-in serial monitor Earlier versions: V3.0 (2023) · V2.0 (2021) · V1.0 (2015, this tutorial) Other boards: UNO · Mega 2560 · Mega 1280 · Pro Mini · Mini (V4.0) All six V4.0 boards in one package: Arduino Library for Proteus V4.0 Helping Tools Serial Monitor Advance : a serial terminal window for the UART of your board Serial ...
Hello friends! Today, we will interface a seven-segment display with the 8051 microcontroller and use it to show the digits zero through nine. This is a useful first display project because you can trace every visible segment back to one output bit in your program. We will use the AT89C51 and examine the original Proteus circuit with its 74LS245 buffer. Before writing the code, we will identify the display type, build a digit table and calculate the timing. We will also correct an important issue in the historical schematic: LED segments need individual current-limiting resistors. The original screenshots and project download remain available below. They are useful references for the simulation, but some details need care when moving to hardware. In particular, the displayed circuit and ac ...
Hello friends! In this tutorial, we will study an electronic quiz project with the 8051 microcontroller. The project combines a keypad, a character LCD and serial communication to create a small question-and-answer game. You can play alone or compete with a second player who enters answers through a computer terminal. We will begin with the game rules, because the circuit only becomes useful when its behavior is clearly defined. Then we will follow the connections, organize the firmware and examine question selection, scoring and input handling. These are useful skills for menu systems, classroom projects and other embedded applications that accept input from more than one source. The original project used an AT89C51, a 20x4 LCD and a 4x4 keypad in Proteus. Its screenshots and demonstratio ...
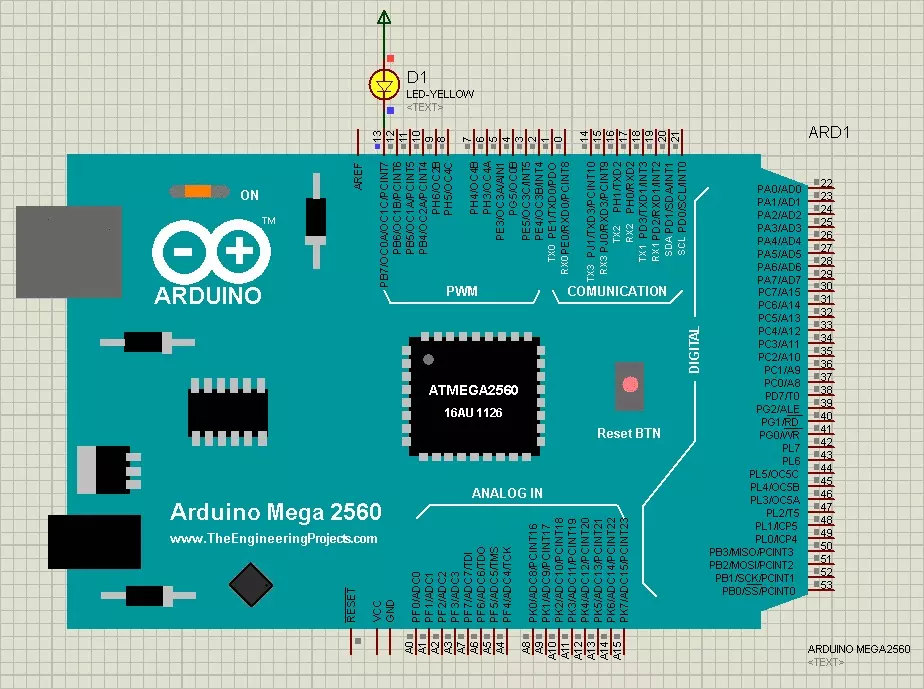
Hello friends! Today, we are going to install the original Arduino Mega 2560 Library for Proteus and run an Arduino sketch on its simulated board. We will begin with the library files, place the Mega in a schematic, load its compiled firmware and test a simple external LED circuit. Updates Arduino Mega 2560 Library for Proteus Latest version: Arduino Mega 2560 Library for Proteus V4.0 (October 2026), with working LEDs, a RESET button and a built-in serial monitor Earlier versions: V3.0 (2023) · V2.0 (2021) · V1.0 (2015, this tutorial) Other boards: UNO · Mega 1280 · Nano · Pro Mini · Mini (V4.0) All six V4.0 boards in one package: Arduino Library for Proteus V4.0 Helping Tools Serial Monitor Advance : a serial terminal window for the UART of your board Serial Monitor Expert : the serial mo ...
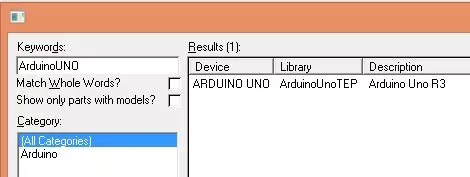
Hello friends! Today, I am sharing the original Arduino UNO Library for Proteus and explaining how to install it, load a compiled Arduino program and run a simple LED simulation. This library gives us a recognizable UNO board inside the schematic, making it easier to connect circuits using the board's familiar pin labels. Updates Arduino UNO Library for Proteus Latest version: Arduino UNO Library for Proteus V4.0 (October 2026), with working LEDs, a RESET button and a built-in serial monitor Earlier versions: V3.0 (2023) · V2.0 (2021) · V1.0 (2015, this tutorial) Other boards: Mega 2560 · Mega 1280 · Nano · Pro Mini · Mini (V4.0) All six V4.0 boards in one package: Arduino Library for Proteus V4.0 Helping Tools Serial Monitor Advance : a serial terminal window for the UART of your board Se ...
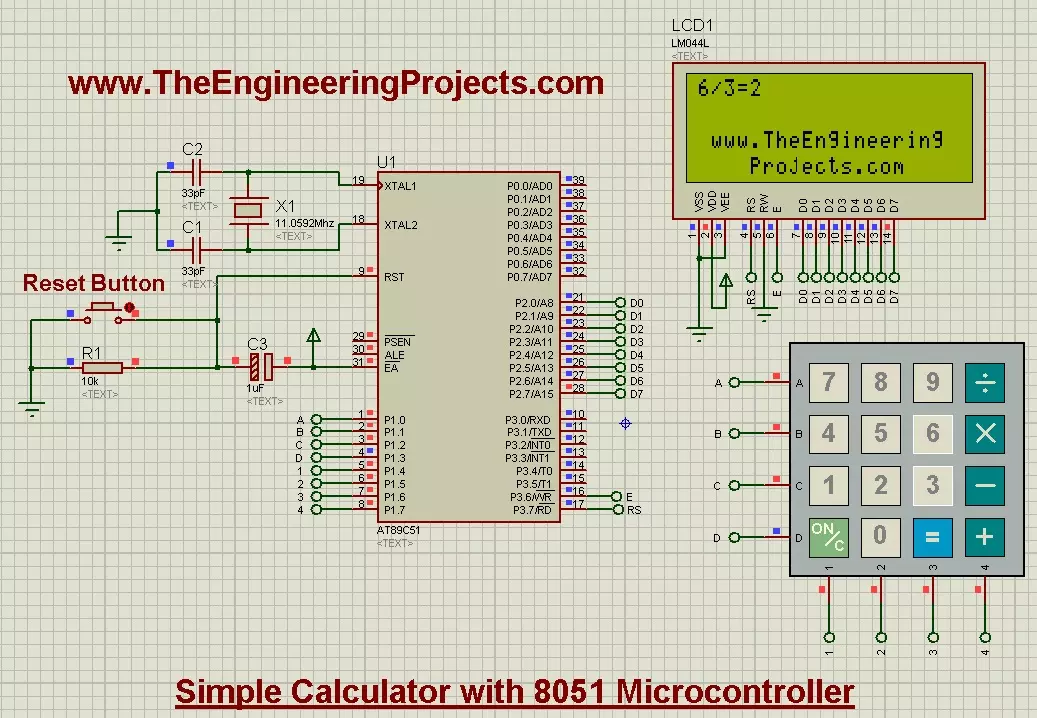
Hello friends! Today, we are going to design a simple calculator with an 8051 microcontroller in Proteus. We will combine a 4×4 keypad, a 20×4 LCD and an AT89C51 so that you can enter an arithmetic operation and see its result on the display. We have already covered LCD interfacing and keypad interfacing with the 8051 . Those lessons provide the input and output functions. Here, we will add the application logic that decides which key is valid and when a calculation should take place. This remains a single-digit calculator, like the original project. It accepts two operands from zero through nine and supports addition, subtraction, multiplication and integer division. We will also handle negative results, invalid input and division by zero explicitly. Figure: Original 8051 calculator showi ...
Hello friends! Today, we are going to interface a 4×4 keypad with an 8051 microcontroller in Proteus. We will read the pressed key through the AT89C51 and display its character on a 20×4 LCD, so we can see exactly what the program receives. This project builds on our LCD interfacing tutorial . The display remains our output device, while the keypad becomes an input device. Together, they form the basic user interface for a calculator, menu, password entry system or small control panel. I will explain the keypad matrix before discussing the program. We will then add debouncing, prevent one held button from producing repeated characters and keep typed text within the upper two LCD rows. The original simulation, images and download are preserved for reference. Figure: Original keypad characte ...
Hello friends! Today, we are going to interface a character LCD with an 8051 microcontroller in Proteus. We will use an AT89C51 to send commands and text to the display, then explain how the LCD decides where each character should appear. This is the next step after our 8051 serial communication tutorial . A serial terminal is useful during development, while an LCD lets a project present information directly to its user. Both are valuable when we need to observe values inside an embedded program. The original project actually uses an LM044L-style 20×4 display, so we will follow that arrangement throughout this lesson. A 20×4 LCD has twenty character positions on each of four rows. The same interface principles apply to many 16×2 modules, but their visible layout and row handling are diffe ...