


How to Use a Raspberry pi as a VPN Server


Welcome to the next tutorial of our Raspberry Pi programming course. Our previous tutorial taught us how to use a raspberry pi as a DNS server. We also looked at the benefit of this DNS server. This tutorial will teach us to set up Raspberry pi as a VPN server.
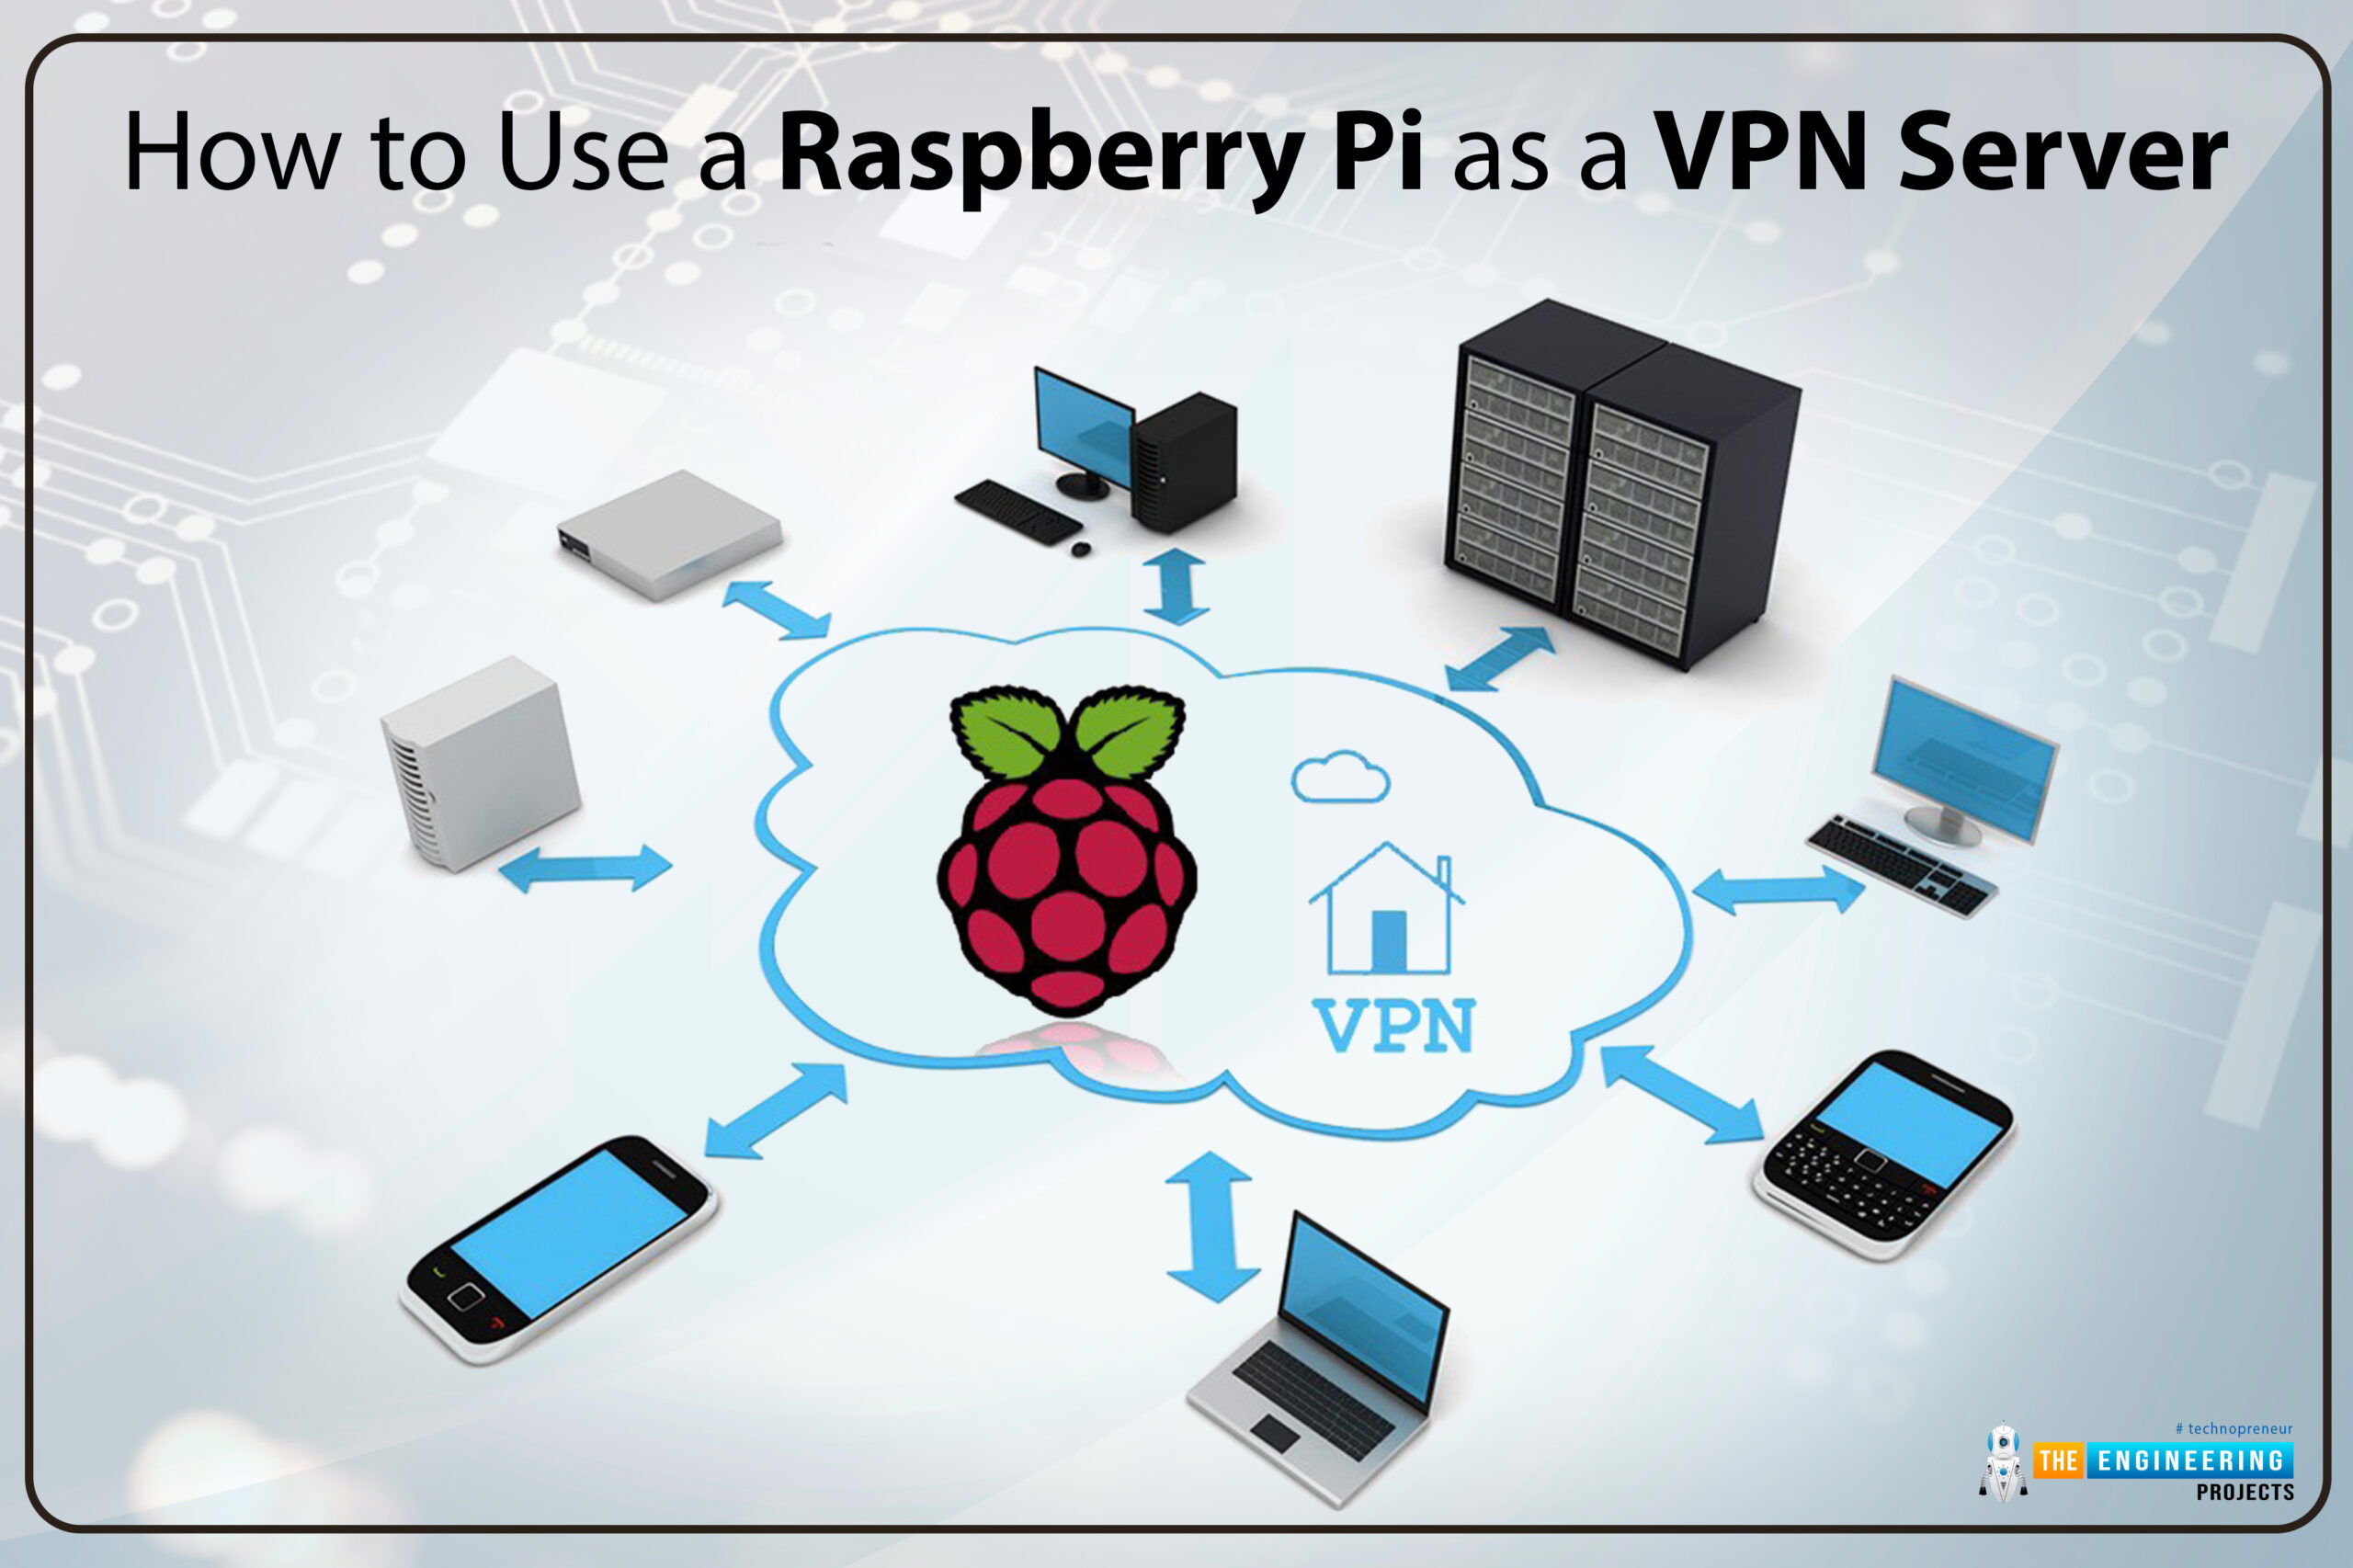
This is an excellent method for increasing your network security and getting access to your local area network from the world wide web, but setting up your VPN server might be a challenge. Pi VPN uses a guided install to turn your Raspberry into a low-cost, high-performance VPN server.
What is Pi VPN?
It is an OpenVPN server optimized for all Raspberry platforms above pi 2. It allows you to access your home network over the internet safely and securely. Smart devices and your network can be connected via a "bridge" created by connecting a Raspberry Pi to your router.

A virtual private network (VPN) is a secure option if you frequently use your router to forward traffic. Anyone can gain access to your network through any of the ports you forward. For maximum network security, use Pi VPN, which only exposes a single port and employs industry-standard encryption algorithms.
How can we choose a VPN service provider?
Selecting a virtual private network service is critical before you begin this project. It would be best to bear in mind cybersecurity, bandwidth, and delay when making this decision.
Ensure that your Virtual private network supplier doesn't record how you use their services. Nevertheless, speed and delay are critical here.
As a result, we've decided to go with IPVanish in this project. When it comes to network latency and network bandwidth, IPVanish is among the best.
Preparation for Pi VPN
The Raspberry Pi can get the best out of the device with a wired or wireless connection.

Use the Interfacing settings menu to turn on the secure shell service in RPi Settings. The configuration tool can be launched from the Pi menu or with the following command:

Activate the secure shell server and then restart your Pi
You can disconnect your display and switch off your desktop once your Pi hooks to your local network via a secure shell. It's simple to use a program like Putty or the terminal on your Mac to access your RPi.
Connect to the Raspberry Pi
You will not have to use a monitor to manage your Pi virtual private network server. A Raspberry Pi can be accessed from another device using SSH.

Use the ifconfig command to display your Raspberry IP address before unplugging it from the monitor.
If you configure your Raspberry Pi VPN server on Windows, you should use Putty.

Login to the RPi using the Internet protocol address noted earlier when Putty runs. Check to see if the secure shell is for the connection type. To save this connection to your profile, click the Save button.
You don't need a secure shell client if you're using a Macintosh or Linux computer to install Pi VPN. SSH is in your operating system's terminal, so you don't need to do anything extra.

A security key is saved on your Raspberry Pi the first time you access the raspberry pi. Accept the key and store it on your computer by pressing the Yes option on the screen.
Your password must be entered next. You'll be logged in as Raspberry Pi as long as you haven't changed the default password on your Raspberry

The prompt pi@hostname shows a successful login.

Update Raspbian for Pi VPN
Begin by obtaining a list of the most recent applications. Using the command: you can see if any installed programs are up to date.


Set a static IP address
When it comes to network services, you will have to locate your RPi, implying that you will set up a static Ip before you begin using the app. Also, modify your hostname at this point. When you get access, you'll notice a difference in the prompt. It's a simple way to distinguish between several Pis, but you can always change your hostname.

To establish a static Ip, you'll have to update the configuration file /etc/dhcpcd.conf. Before opening the file, know your router's Internet protocol address and Domain name system. This data is available using the ifconfig utility.
Take advantage of this command when you're ready to edit its config script:


To find an example of static IP configuration, look for the line with the label Sample static IP config inside the file. Simply remove the example comments and replace your Ip, routers, and gateway with your own to get started.

If you prefer a static IP address, remove the comment from it and replace it with the desired value.

Your custom values should be provided for static IP and DNS.

To alter your hostname, run the command below as superuser to open /etc/hostname in nano:


When finished, use Ctrl+X to close the editor. Then, press Yes to save the changes.
The /etc/hosts file must be edited in the same way. The file editing command is:

Change your hostname from 127.0.0.1 to whatever you've selected. Use the command below to force a reboot of your Raspberry Pi:

You should always change your connection's IP address after restarting your Raspberry Pi to reflect its new static address.
How can we figure out Raspbian’s firewall?
In Linux distributions, firewalls are embedded in kernels and will activate by default in Raspbian. The default setting for a new installation is to leave it unlocked.
There are no restrictions on inbound or outbound packets, and the firewall forwards any requests. Before securing the firewall, make sure it is entirely accessible.

Use iptables -L to see if your firewall protocols match. It's possible to return the firewall to its default settings using the following commands:

Choose an encryption
During configuring the Raspberry virtual private network, you will select the level of encryption. What you need to remember is the following:
- Generally, 2048-bit encryption is the best for download and streaming. However, 4096-bit is ideal for emailing and browsing, giving better security.
Allowing 4096-bit is enticing for those who stream film or music; however, it will add a significant amount of overhead and slows down your connection significantly. For the most part, we use 2048-bit encryption, which is the industry standard.
Timing out during lengthy procedures
You'll inevitably stumble across a peculiarity in a secure shell. For more prolonged operations, if you are using SSH to communicate with the Raspberry, the connection is lost whenever the desktop hibernates. Any pi commands running stop working whenever a secure shell connection is lost; therefore, you must re-enter it.
A screen is an excellent tool for dealing with long SSH processes. One task might be the only focus of your screen sessions. Afterwards, you'll be able to join and disconnect at will and return to your session to see how it progresses.

Once Screen installs, you will need only a handful of commands to get the most out of it. Use apt to install screen utility as a starting point:

Once Screen installs, run it by typing the following command into your terminal window:

Even if nothing has changed, the commands you issue will continue to run even if you disconnect.
Whenever your Raspberry Pi connection stops, simply re-SSH in and type:

If only one secure shell session is open, you'll immediately get reconnected.

Installing Pi, the virtual private network
The Pi VPN works once you have your Raspberry working. It's the first step in a multi-part installation that will grant you access to Pi's virtual private network backend capability. Setting up an outgoing virtual private network tunnel connection for privacy will be done in the following steps.
Launch the installer
Configure the Pi VPN via a command-line utility called curl, which you download from the company's website. You don't even need a browser to use curl to download from the internet.

Pi VPN installs using the following command:


You can obtain the installation package and feed it into bash for execution using this command.
Instantly, the procedure of installation begins. It begins by scanning for any packages that need updating on your system. Your system should be the latest version

to proceed.
Launch the pi VPN installation after meeting a few pre-requisites.
The Pi VPN installer
To get the most out of your SSH session, you should use the Pi Virtual private network Installer. We can get started when the Screen changes colour to blue, and an installer notification appears.

Start by pressing Enter to begin the VPN setup procedure.

Static IP addresses are required, and in case you do not have any, you will get a notice. If you have not already done so, head back to the previous section and finish configuring a static IP address.

The Ip that Raspberry Virtual private network detects displays to you. Click the Yes if it is correct.

IP address conflicts display for your attention. Static IP addresses outside the dynamic host configuration protocol range are the safest method of avoiding conflicts with other devices on your network.
To continue, simply press the OK button.

Set the raspberry user, then click the OK to proceed with installing your preferred software.

If you want your Raspberry virtual private network server to get automatic security upgrades, you should select Yes when prompted. Because port forwarding makes your Pi vulnerable to the internet, Pi VPN must be updated.
Make sure you conduct frequent updates manually if you select "No."

After activating automatic updates, it's usual to see the console for some time. You can expect another installation attempt in the next few seconds.

You'll want to use the UDP protocol while setting up a Pi VPN for most circumstances. If you're going to use a VPN subscription service to establish a highly secure two-hop connection, stick with TCP instead of UDP.

The default port you're using for the virtual private network will come in handy later.
UDP uses port 1194 by default, whereas TCP uses port 443. Do not use port 443 when configuring the double-hop virtual private network because it will end up causing a conflict afterwards. Instead, we use TCP port 4430.
Set up an encryption
Select the encryption type you want at this point. Earlier, we explained why you might choose each option and why you should do so. If you're still undecided, refer back to what we discussed.

Using the space bar, choose the encryption you want to employ and press OK. Streaming video is only possible with 2048-bit encryption.

It may take some time to generate these keys. It will take significantly longer if you're encrypting at a high level. Wait for Pi VPN to produce your server keys.
Installing the final piece
The Raspberry Virtual private network setup procedure is nearly complete once the server key generates. After a few more stages, you'll be able to establish a connection.

If you do not have a domain Name system account, choose the public IP. In this case, we will need to input your hostname and domain name system account settings as usual if we are using a Dynamic domain name system.

You will need to select a domain name server provider for your virtual private network. Google is recommended to most people because it is free and straightforward. If you're concerned about DNS leakages, OpenDNS offers safe DNS solutions. If you plan to use Pi-hole to handle DNS requests, you may want to select Custom.

The installation will guide you through the process of adding additional users using the command line. Install a web app for managing users in the following phase. Additionally, pivpn add is an option.

Select Yes and restart your Raspberry Pi.
Setup of the Pi Virtual private network GUI
There is a Pi Virtual private network Graphical interface for Pi VPN. Using it simplifies the process of adding new devices and users.
When you add a new user to the VPN, a *.ovpn profile generates. In addition to creating a user account, you may efficiently utilize the Pi Virtual private network GUI to download the profiles.
If you don't want to utilize the Pi Virtual private network GUI, you can use the following to add or delete users.

Preparing to install the GUI for Pi VPN
Adding a repository is necessary if you want the Pi VPN GUI's required software to be easily accessible. Let me show you how.

Edit apt's source list with nano. The directive is:


Add the lines below to the sources. Make a list of everything you can find:

This will inform apt that Raspberry can install packages. Debian stretch repositories do not currently contain some of the required third-party software Pi Virtual private network GUI uses.
It's not good to include a link to a previous build in the sources.list script, even though we currently need it. Once additional software installs, it may interfere with it. Once these software packages install, you can delete the line in the sources.list you just added.

Next, save the changes and exit the Nano application. Then update with the command below:

Once the check is complete, use the following command to install any new or updated packages:

All you have to do now is tell apt about the new repository. The Pi VPN Graphical interface pre-requisites can now install using the command:


When prompted, select "YES" and allow the setup to begin. Before using the Pi Virtual private network GUI, you must change some config files.

Make sure all of your pre-requisite software install before running the apt update.
Updating the web configuration
The Pi Virtual private network GUI relies on an apache server to function effectively as a web application. However, we need to make a few adjustments before the Pi Virtual private network GUI start operating.

To begin, modify the user’s account under which apache executes. It runs as an unsupported account by default; therefore, we need to change it to the user pi. Use the following command to make changes to the Apache configuration file:


Find the line with $(APACHE RUN USER)

To exit and save, use Ctrl+X.

You'll also want to give yourself complete control over the /var directory, where Apache stores all of its web pages. Use the following command to grant pi complete control over the webroot directory:


Run the following command to move to the /var/www/HTML folder:

The raspberry pi should install the Pi Virtual private network Interface from that location.
Obtaining and installing the GUI for Pi VPN
After troubleshooting, downloading and installing the raspberry virtual private network graphical user interface is a breeze. You only need to use git to check out the project. You've already installed the git software if you've been following along.

Then run the following command from the HTML folder.

The command below will utilize git to copy the Pi Virtual private network GUI project folder into the directory of your apache server so that it is accessible as a web page. With a quick check-in of your browser, you can verify that the installation went smoothly.
Connect to Pi virtual private network GUI
You can now launch the Pi Virtual private network GUI from your internet browser and manage Pi Virtual private network users.


Use the Internet address that matches your setup and launch the Pi Virtual private network GUI from your internet browser.
Once a login screen appears, you've successfully connected to the network. For the time being, simply save a link to the Pi Virtual private network GUI for quick access. Setting up an outgoing VPN connection is the next step in protecting your online activity. If you don't want to utilize IPVanish, you may set up your router and add users without signing up for anything.
Establish outbound virtual private network connection
In the absence of an outbound Virtual private network, all traffic from all connected devices will use the public IP address of the local network to reach the worldwide web. The websites think that you are in the home network whenever you are connected. For example, you may wish to watch Netflix while away from home.
We recommend creating a "double-hop" connection with a VPN service outside the Pi virtual private network for the best results.

VPN connections with two hops allow for complete encryption whenever you access a site using HTTPS. Since the outgoing virtual private network server never notices the request source, the additional security offered by using two tunnels goes far beyond standard Virtual private network solutions.
If your Vpn service provider retains logs, they will not identify the devices from which each specific request was made. This additional layer of anonymity further obscures anything you do online.
Do not bother with this step if all you need is remote access to your local network via Pi's virtual private network. In contrast, if you're looking for safe and anonymous internet access for your mobile device, you can use an outgoing virtual private network connection and Raspberry virtual private network.
Outbound VPN with IPVanish
Due to its low latency, IPVanish is an excellent choice for establishing a double-hop virtual private network connection, requiring two separate virtual private network servers. Any OpenVPN profile-publishing VPN service will follow the same procedure.
Your VPN service's digital certificate and an autologin profile can be obtained below.


SSH onto your Raspberry Pi VPN server, then use wget to obtain the resources you need from the internet. Take a look at your Pi Virtual private network server and ensure it is online before using these instructions to obtain the data you require:

If you want to access the IPVanish server, you'll need to alter the uniform resource locator in the second field.

Make sure you rename the *.ovpn to use the OpenVPN service when connecting to IPVanish. Only profiles ending in *.conf can be connected to the network. Change the name of the file with the command below to outgoing.conf:

Establish the IPVanish connection
You can easily track two concurrent virtual private connections by renaming each interface.
The connection names will not change to or from between the two interfaces when renaming interfaces. To effectively configure your firewall, you must know the device's name.
If you go into the connection settings for each interface, you can modify the name. There is a *.config file for each OpenVPN connection linked with it. By altering the first few lines of each file, you can rename the network's graphical user interface.

To begin, run the command below to edit the Pi Virtual private network settings:

You should change the first line to:

Add a new line to the following:

Save your modifications by pressing Ctrl+X, then Y. /dev/tun-incoming will be created the next time the Pi Virtual private network is online.

Also, edit the OpenVPN outgoing configuration file.

Modify the first statement and add another at the start of the configuration file like before. In this case, the text should be as follows:

In addition, the outbound Virtual private network will need to be updated as well. Enter your name and password so that the Virtual private network can immediately connect to the server's cert you obtained in the previous stage.
To use the IPVanish server SSL certificate, make the necessary changes to the outgoing.conf file. Replace the word ca with:

Please use the following command to direct IPVanish to the password file we will create shortly: auth-user-pass


In addition, you must instruct your outbound virtual private network connection not to relay Local traffic. Your outgoing.conf file must have the following line added to it to allow access via Pi virtual private network to your home network:

Password files are now generated for use with IPVanish by OpenVPN.

Click Ctrl + X followed by the key to save the changes after entering your password and email address. You should encrypt the file because it holds your login details. With chmod, you can prevent anyone from accessing the password file in the OpenVPN configuration directory:

The root user can modify the password script file, which is the bare minimum level of protection required when keeping your login information in the clear text form.
Update the routing table of the Raspberry Pi
Your Rpi should be configured correctly for the outgoing Virtual private network to encrypt your internet connection. The static IP address of your Raspberry Pi must be substituted if it is different.

You'll need to update or generate the file below and add some lines. The command is as follows:

Include the following two lines in your script:

We require only one change to the routing table of your Raspberry Pi. We can use incoming and outbound VPN connections simultaneously when you save the adjustments and restart your Raspberry Pi computer.
Keep your DNS requests safe and secure
To ensure that your connection is genuinely safe, you must prevent DNS leaks. Using a Domain name server that isn't part of your virtual private network encrypted network results in a Domain name server leaks. For example, domain name server login and perform a man in the middle attack on your Virtual private network customers.
Forcing all incoming Virtual private network users to utilize the safe Domain name server from your outbound Vpn service provider is the solution.
OpenVPN config file is updated to change your domain name server without reinstalling the Pi Virtual private network. Use the following command to open the config file for editing:


The lines that send the Domain name server to your virtual private network clients are found by scrolling in the file.

When utilizing IPVanish, you need to replace these lines:

To identify the Domain name servers of a different Virtual private network, you'll need to research online. Save the file after editing it. As soon as the OpenVPN server starts up, your Virtual private network clients will connect automatically to secured servers provided by IPVanish.
Connect to IPVanish
OpenVPN should not connect automatically to the outbound virtual private network provider unless the connection is tested and verified. Type the following into the Run window:

The virtual private network connection status displays in the text on your screen. If you're having trouble connecting, double-check the outgoing configuration file and ensure your user information is in the password file on different lines. Hit Ctrl + C to exit the VPN once you've established a connection.
How can we connect to the virtual private network automatically?
After the connection is tested and found to be working, you should automate the startup for your VPN tunnel. You can connect to every connection using OpenVPN by its configuration file name.
This command will edit the OpenVPN global config file, which you'll need to begin.


Undo this line's comments.

Change it to:

Afterwards, save your modifications and reboot your Raspberry virtual private network server:

Pi VPN router settings
A virtual private network is a tunnel from the wide-area network to the local area network. Consequently, your router must be configured to accept specific connections. If you have a router that doesn't support port forwarding, you may have to perform this manually.
VPN port forwarding
If you didn't specify a port forward before, no Virtual private network clients would be able to access the network. We have to apply an exception to the security of our router's policies to allow these requests.

To access your router, copy its Internet address into your internet browser.

After logging in, go through the menus and select it from the list to enable port forwarding.

You'll have to remember the port number you previously chose in this process. Additionally, you'll need to know the static IP of your Raspberry Virtual private network server.
When you've completed port forwarding, click Save. VPN users can now access their accounts even if they are not in the local network.
Conclusion
This tutorial taught us to set up Raspberry pi as a virtual private network server. We also learned how to set up port forwarding and improve our network security. In the following tutorial, we will learn how to use a raspberry pi as a DNS server.


